

Template Editor for Mass Email Campaigns Follow

The new Mass Email Campaign Template Editor allows Propertybase CRM users to create professional and responsive email templates for Mass Email Campaigns without any coding knowledge. Through a simple drag and drop interface, users can create a template design inline with their brokerage branding by building content blocks, adding images, text, hyperlinks, customizing color schemes, and more!
Note: This new feature is only for Mass Email Campaigns.
Note: This feature is only available with version 1.592 and above. If you need help updating to the current version, click here and this article will walk you through the update process.
NEW in v1.621: Font Size and Line Spacing have been added to the Text Building Block
NEW in v1.626: New setting options have been added to the Header Building Block
Table of Contents
Creating Templates
List of Templates
When you're ready to begin creating email templates, select the Email Template tile in the Marketing Center.
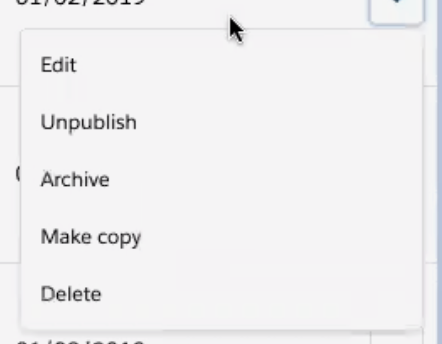
Here you will see the MJML templates that you may select from (all published templates). From this page, you can also use the drop-down to select:
- Edit- To make changes to any published template.
- Unpublished- To remove a published template from use and place it in draft mode.
- Archive- To remove a template from use (these are not editable and cannot be sent out).
- Make Copy- Copy an existing template for use.
- Delete- Remove template permanently.
Creating a new template
Once into the Template Editor, you will see the following:
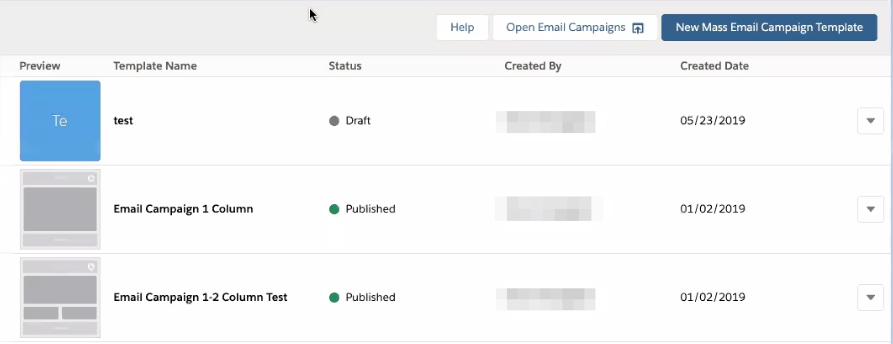
To create a new template, click New Mass Email Campaign Template

Copying an existing template
Using the drop-down to the right you can select Make Copy. This opens a copy of the previously used template in edit mode for you to make changes. Using the copy function is recommended as it provides you with a standard Header and Footer previously created.

Now you can move on to Customizing your template!
Note: should you see "Clone" instead, DO NOT use that, but replace it with "Make Copy" on the Email Campaign page layout in Object Manager
Table of Contents
Customizing your new template
Once Make Copy or New is selected the system will take you through 4 stages while creating your template. These stages are broken down into Information, Settings, Layout, and Content as you'll see below.
Information
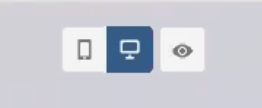
Throughout the Email Template Editor, you will see that along the top center we have used the same icons to select either mobile view, standard view or to render the template to see how it will look once complete.
This section consists of naming or renaming the Template (depending on whether you are creating a new template or copying and editing an existing template) and adding a template description.

Settings
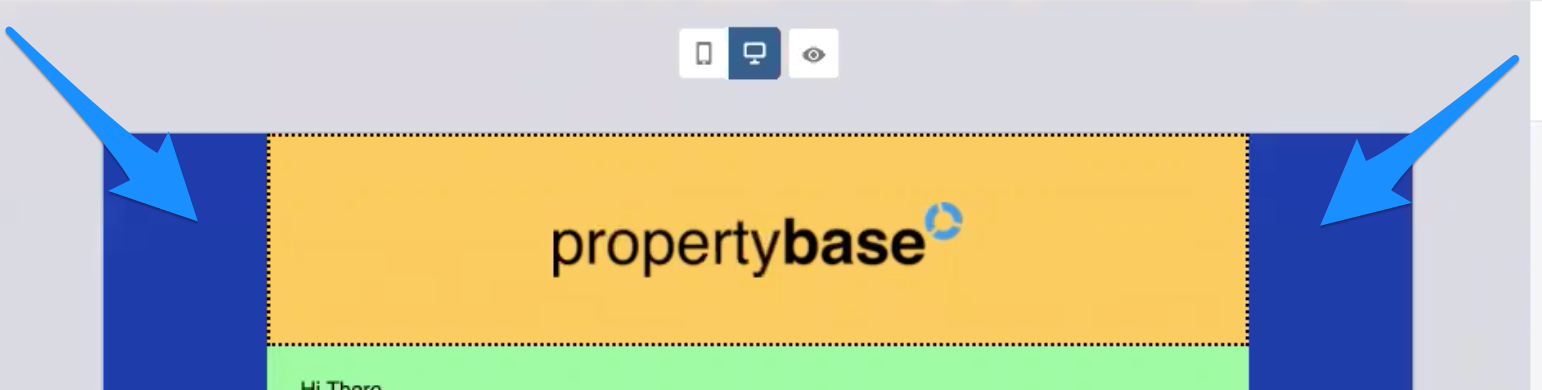
In the Settings section, you can change the background color.
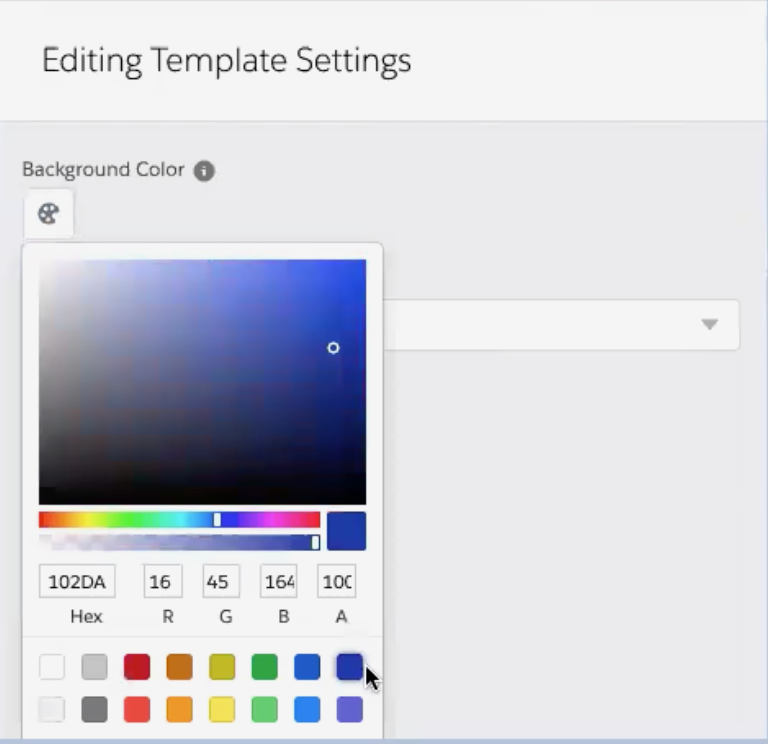
Changing the Background Color in this section will change the color of the background outside the Header, Body, and Footer of the email:
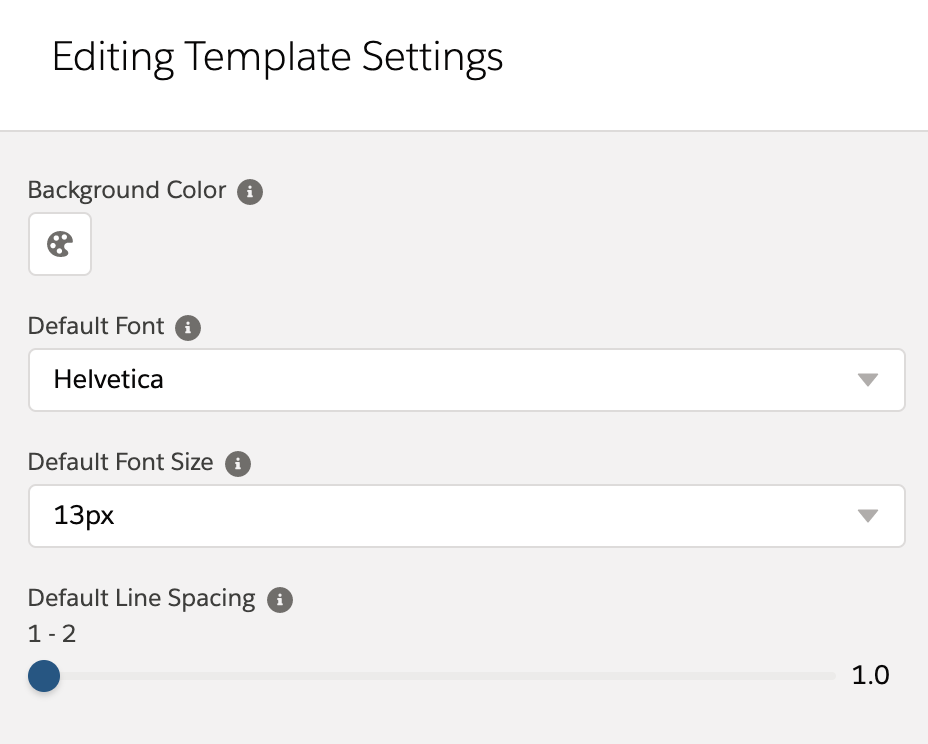
You can also set the Default Font, Font Size and Line Spacing here, which will be used throughout the entire template.
There have also been new settings for Font added to the Text building block:
Edit Font Stack (new)
You can adjust the fonts available in the dropdown for Default Fonts and on the Text Building Block by adding the setting: "mjml_font_stacks" (Name and Key) with the following Value to Settings (click here to see how). You can then adjust the names of the font stacks (name) and fonts in the font stack (values) according to your preferences.
Value for Setting:
[{
    "name": "Helvetica",
    "value": "Ubuntu, Helvetica, Arial, sans-serif"
  }, {
    "name": "Georgia",
    "value": "Georgia, serif"
  }, {
    "name": "Times New Roman",
    "value": "Times New Roman, Times, serif"
  }, {
    "name": "Roboto",
    "value": "Roboto, sans-serif"
  }, {
    "name": "Lato",
    "value": "Lato, sans-serif"
  }, {
    "name": "Droid Sans",
    "value": "Droid Sans, sans-serif"
  }]
Layout
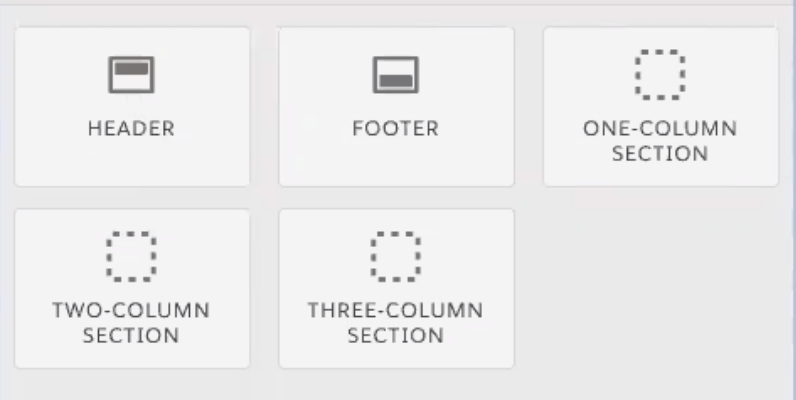
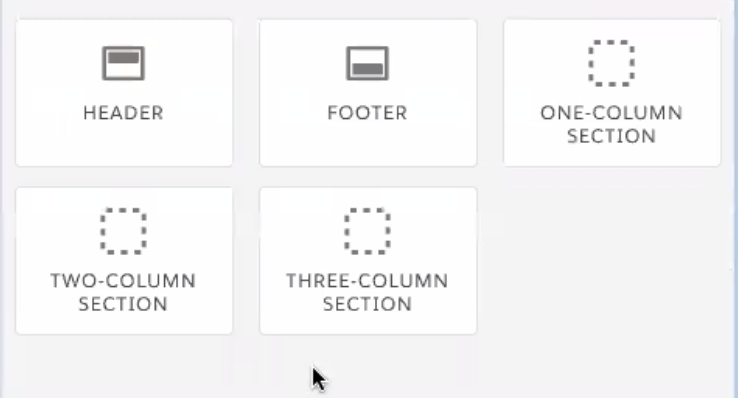
The Layout section is the most robust of the four sections in the Email Template Editor. Here you can use a drag and drop editor to add section(s) within your template. The editable sections of the template here are the Header, Footer and multiple column sections.
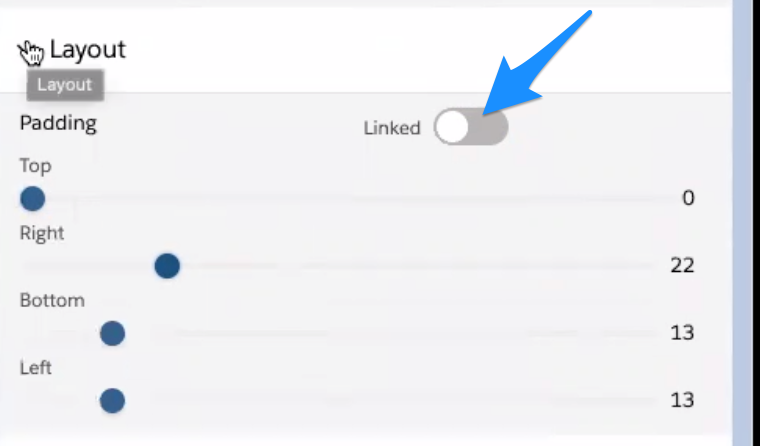
In each of the sections, you can select the “Linked” toggle to link and unlink the padding so they may be adjusted individually.
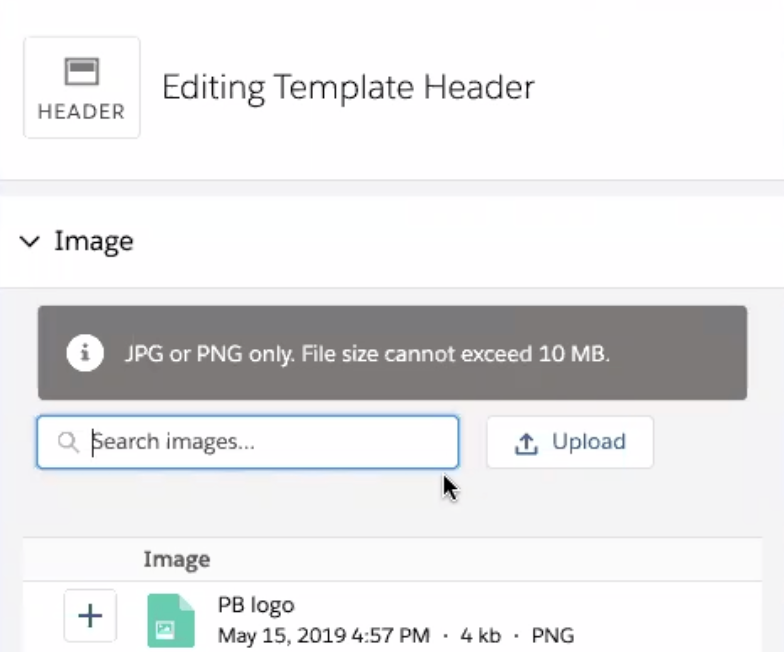
Header component:
Here you can select an image. Images will be expanded to 100% of the uploaded size so it is important that the uploaded size is the size you wish to use.
NEW in v1.626: New setting options have been added to the Image Settings

These include:
- Web Address URL option to create a link of the image.
- Alternate Text space to add personalized text in case the image cannot be loaded or for people with visual disabilities who use screen readers.
- A width section to size the image (in pixels). When a number higher than the maximum of 600px is entered, the maximum width is selected.
- A checkbox to set the image to full width on mobile view to avoid distortion of the image for mobile readers.
- An image alignment option (for use if the size of the image is less than the max of 600px).
You can change the background color:

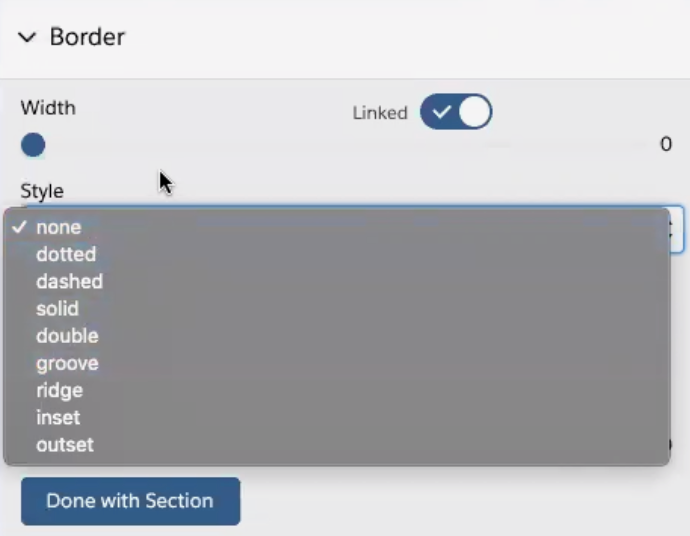
Border Component:
This section allows you to change the border style, color, thickness and the radius (allowing you to round the edges of the border).
Footer Component:
Here you’ll find a section to add the User Icon (agent photo) in User Agent Image by adding your agent image URL. You can adjust the image size, shape and image URL. Using the merge fields from our original template or you can add more merge fields if desired.

The three icons at the bottom of this section are as follows:

- Left icon: Insert additional merge fields (as used previously in Mass Email Campaigns).
- Middle icon: Insert Unsubscribe link. You can now add a custom message to the unsubscribe link and will place the link inside the email template. This replaces the previously used Unsubscribe link at the bottom of the email.
- Right icon: Agent Image icon to edit Agent's photo. When selected you can add the merge field the image is coming from, the size and if the image is round or square (default).
Here, again, you can also adjust the font style (default is Helvetica) and background color for this area of the Template Editor.
Column Sections
Once the Header and Footer are complete you can move on to the column sections. We have added One, Two and Three column sections which are available to drag and drop into the template. These contain the same styling options and elements as the other sections (color, style, border, font, etc.)
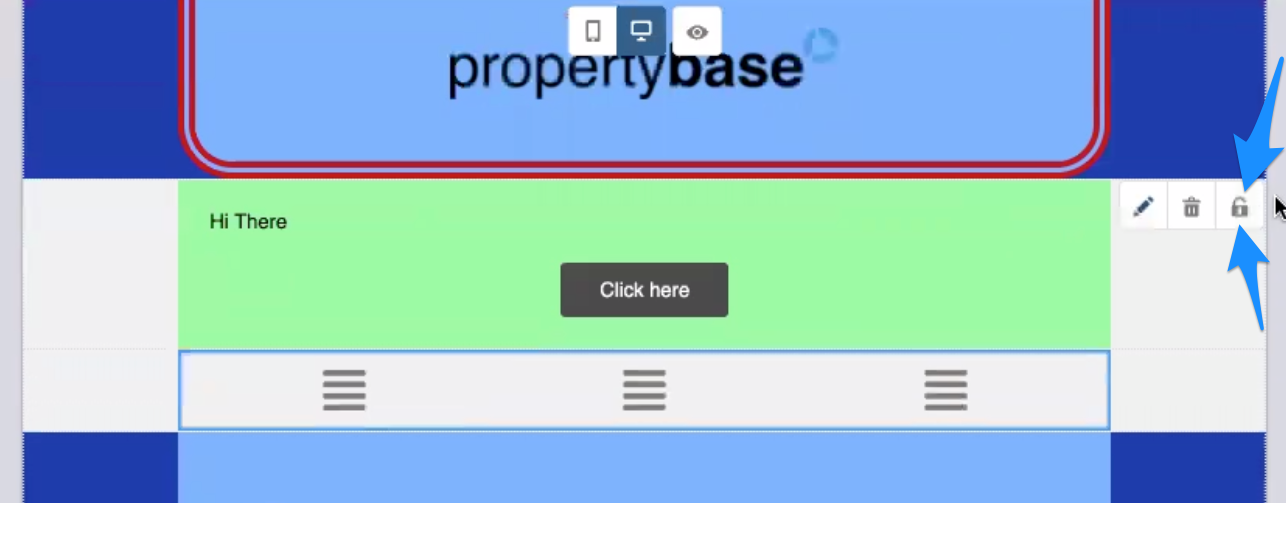
In the One, Two and Three column sections contain a lock icon, if selected this allows you to lock these sections down so they are not editable in Email Campaigns if desired. These drag and drop sections allow you to insert single, double and triple column sections into the template.
Content
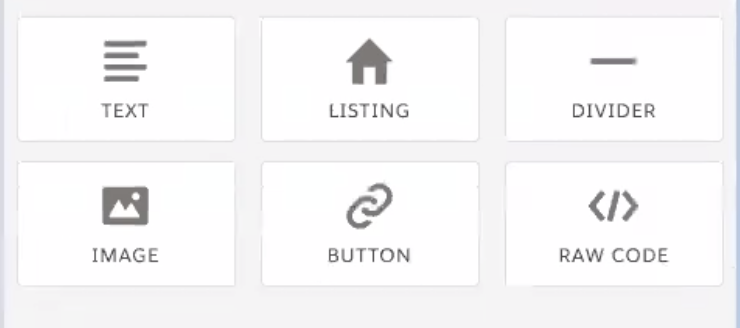
This is also a drag and drop area using our standard components from Mass Email Campaigns (ie: Text, Listing, Divider, Images, Links, etc.). You can drag these into the “DROP COMPONENTS HERE” sections.

After placing the components in the desired location you can customize each of them by adding text, pictures, listings, etc.
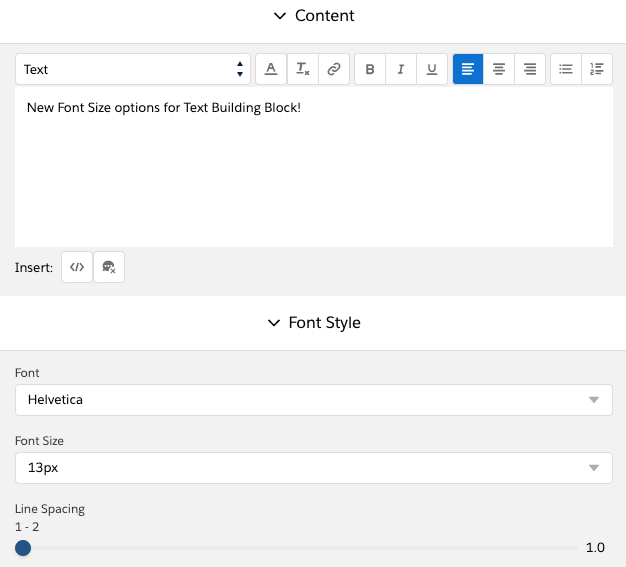
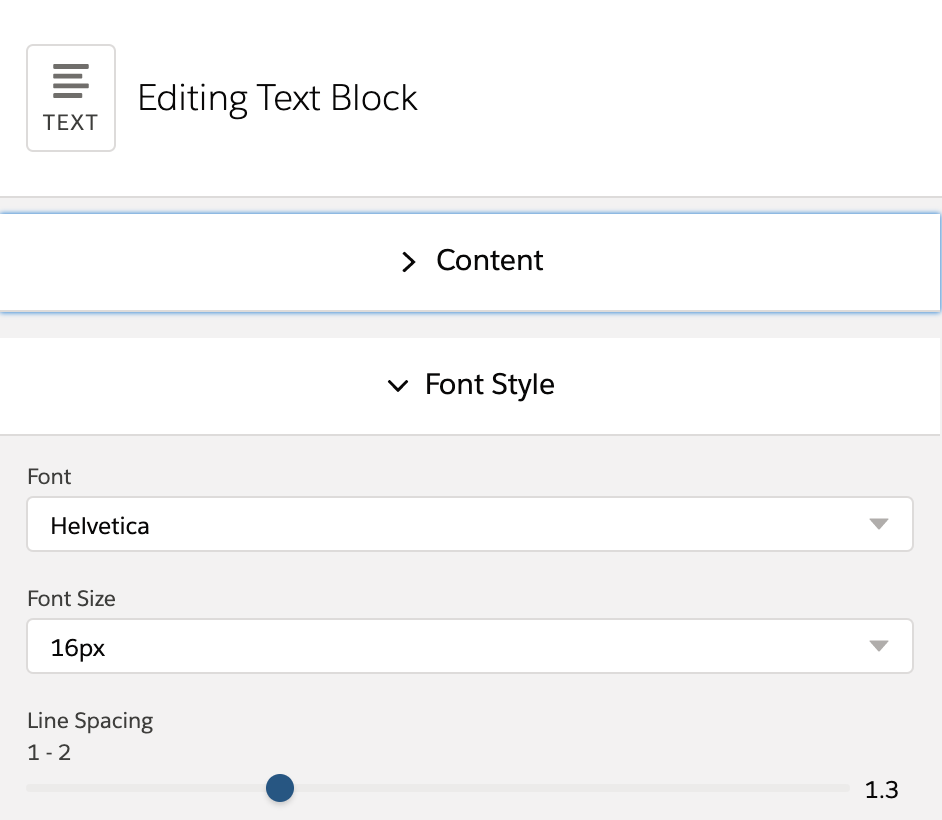
The option to change Front style has also been added to this section.
NEW in v1.621: Font Size and Line Spacing has been added to the Text Building Block:
Once you are finished creating your template you will need to select Save in the top right.

And that's it! You have created your own Template using our new Email Template Editor.
Comments
0 comments
Please sign in to leave a comment.