

Mass Email Campaigns Follow

Propertybase Mass Email Campaigns allow you to send or schedule emails for your entire contact database, design and customize templates, view detailed reports and statistics for your sends and more. Mass Email Campaigns takes the features normally found in a standalone email marketing suite (and the extra associated costs) and makes it available inside Propertybase - which you already use! In this article, we will cover the steps required to configure email campaigns as well as an overview of all available features.
Important: Some configuration is required prior to using Email Campaigns for the first time. Click here to learn more.
Note: Customers migrating from a third-party email marketing platform to Propertybase email campaigns should be respectful of contacts that have previously opted out of correspondence.
Table of Contents
- Create "all email campaigns" list view
- Creating and editing campaigns
- Copying an existing campaign
- Navigating campaign creation
- Defining campaign details
- Saving your progress
Creating Campaigns
Ready to send some campaigns? In this section, we will learn how to build, schedule and send email campaigns.
Note: Before sending campaigns, click here to verify all installation steps have been completed.
Create "all email campaigns" list view (optional)
To build an email campaign, start by opening the "Email Campaigns" tab. (Email campaigns can also be accessed through the Marketing Center located in the Control Center or quickly through the application launcher.)
Not sure how to use the application launcher?
The application launcher (a.k.a. "app" launcher) can be used to access most Propertybase features. If you don't see a tab for something, there is a good chance you can still find it in the app launcher. Follow the steps below to open Email Campaigns using the app launcher.
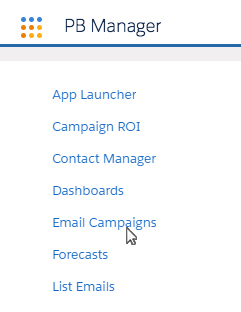
- To open the app launcher, click the "nine dots" in the top left corner of the screen.

- Locate and click Email Campaigns in the feature list.
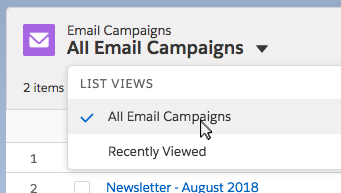
When you first open Email Campaigns, you will be presented with a list of recently viewed Email Campaigns. If you haven't viewed any campaigns recently, this page will be blank. If you would like to view "All Campaigns", you will need to create that list view. Follow the instructions below to do so.
 Not a reader? Watch this video instead.
Create "all email campaigns" list view (optional)
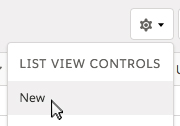
- Click the gear icon to open list view controls, then click New.
- Fill out the fields according to the image below, then click Save.
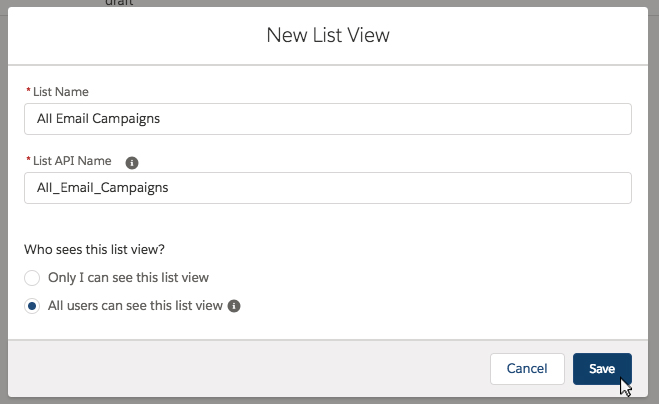
- Leave the filter options at their default settings.

Done! You just created a new list view for email campaigns.
You can view all your campaigns by changing the current list view to "All Email Campaigns".
Creating and editing campaigns
Use the table below to learn more about creating and modifying email campaigns.
|
Creating a new campaign
|

|
|
Modify an existing campaign
|

|
Copying an existing campaign
Another option when creating email campaigns is to start from a copy of an existing campaign. In order to copy an existing campaign, you must first add the Make Copy button. Note: should you see "Clone" instead, DO NOT use that, but replace it with "Make Copy" on the Email Campaign page layout in Object Manager as explained in steps below.
To add the Make Copy button, follow the steps below.
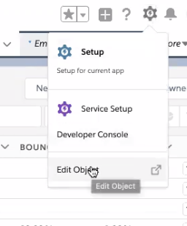
- Select the gear icon in the top right, then select Edit Objects:
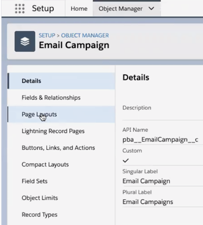
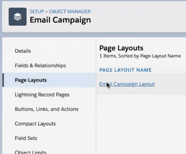
- Select Page Layouts from the menu on the left:
- Select Email Campaign Layout (or your personalized email campaign name):
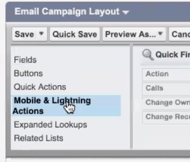
- From here you'll need to select Mobile & Lightning Actions:
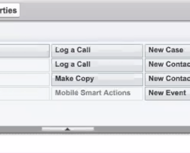
- Now you will see the Make Copy button in the Layout Properties.
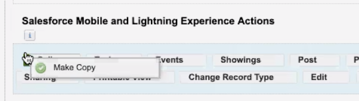
- Drag the Make Copy button down to your Page Layout.
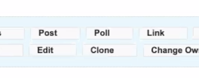
- If you see a "Clone" button in your Page Layout, please drag the Clone button back up to Layout Properties:
- Once you are done here, you can refresh your screen and go back to email campaigns and you will now see the Make Copy button:

To copy an existing campaign, follow the steps below.
- Click on an existing campaign.
- On the following screen, click Make Copy in the top right corner.

That's it! You have successfully copied an email campaign.
Navigating campaign creation
Once you open a campaign, you will notice that there is a "path" at the top of the screen. This path shows your current position in the creation process. In addition to this path, there are a few other interface elements that will help you navigate email campaigns.
Not a reader? Watch this video instead.
Navigating campaign creation
Use the table below to learn more about these interface elements.
|
Campaign path The path at the top of the screen shows your current position in the creation process. You can navigate the elements of a campaign by clicking on any of these four stages. |

|
|
Saving your progress You can save your current progress at any time by clicking the Save button in the top right corner. By using the save feature, you can edit your campaign at a later date without losing progress. Note: Closing a campaign without clicking "Save" will erase changes to the current campaign. |

|
|
Next and previous To move from one stage to the next (see "Campaign path" above), use the left and right arrows at the bottom of the screen. Note: Using these arrows will not erase changes to the current campaign. |

|
Defining campaign details
The first screen, when creating or modifying a campaign, is the "details" screen. If you are creating a new campaign these fields will be blank; if you are editing an existing campaign these will be filled with the information you entered previously. Use the table below to familiarize yourself with each detail field and how it will effect your campaign.
Not a reader? Watch this video instead.
Defining campaign details
|
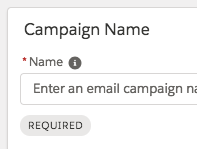
Campaign Name This field is used to distinguish between the different campaigns in your Propertybase account. This field is for internal use only and will not be visible to recipients of your campaign. |
|
|
From Address This field will be used as the first part of the from address. For example: if you entered "name", this would result in the campaign being sent from "name@domain.com". Lowercase is recommended. |

|
|
Domain This field will be used as the second part of the from address. For example: if your domain is "example.com" this would result in the campaign being sent from "name@example.com". Administrators can change the domain in the Control Center. For instructions on changing the domain, see the "Domain Settings" section in the "Prerequisites" tab on this page. |

|
|
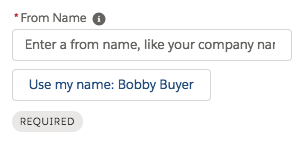
From Name This field will be used as a label for the from address. For example: if you entered "Company Name", this would equal "Company Name <name@example.com>". Using your full name or company name is recommended. |
|
|
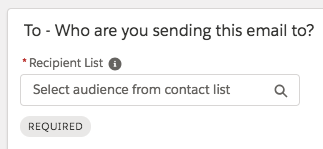
Recipient List This field is used to determine who will receive the current campaign. Campaigns can only be sent to "lists". These lists can be created and modified using the Contact Manager. For more help using the Contact Manager, click here. |
|
|
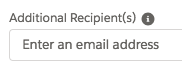
Additional Recipient(s) This field is used to send the current campaign to recipients outside the selected list. When entering more than one additional recipient, email addresses should be separated by a comma. |
|
|
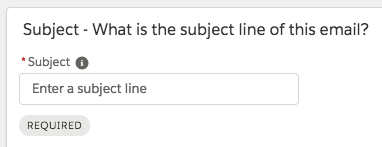
Subject This field will be used to determine the subject for the current campaign. |
|
Once you have determined details for your campaign, the next step is to select a template and add some content.
- Click the "right" arrow at the bottom of the screen to continue.
Saving your progress
You can save your progress at any time by clicking the Save button in the top right corner. This can be done from any of the campaign screens: Details, Template, Content or Send. By using the save feature, you can edit your campaign at a later date without losing progress.
- To save your progress, click the Save Progress button in the top right corner.

To learn more about using templates, click the "Templates & Content" tab at the top of this page.
Table of Contents
- Understanding template types
- Creating your own templates
- Selecting a template
- Defining campaign content
Templates & Content
Once you have determined the details of your campaign, it's time to select a template and start adding content.
Understanding template types
Templates that display this indicator are fully editable. This means that you can add and remove text, images, listings and more using the content editor. If a template does not show this indicator, that means it will not support content editing. It is recommended that you only use "editable" templates when creating email campaigns.
Not a reader? Watch this video instead.
Understanding template types
Creating your own templates
To create custom templates that work with Propertybase email campaigns, you must use the MJML templating language. MJML is a templating language that allows you to quickly create responsive emails that work will all major email clients (Outlook, Gmail, etc.)
Note: This information applies to the "email_template" template type only. Not all MJML features are supported. Please test all custom templates before using them in a campaign.
We do not support mj-head currently and therefore do not support custom fonts. We also do not support setting attributes on the text block:
| We currently support: |
We currently do not support: |
|---|---|
|
|
To create your own templates, follow the configuration steps below. Once complete, open the application launcher, select "Templates" and then click the "New" button.
Required configuration for creating custom templates.
Adding "isMJML" to the template page layout
Click here to learn more about MJML.
Selecting a template
Each available template on this screen will display a preview image (if available), the name of the template and a drag and drop indicator if applicable.
Note: Selecting a new template after creating content (see "Defining campaign content" below) will erase your work!
- To select a template, click the blue select button beneath it.

Once you select a template, you will automatically be taken to the content screen.
Defining campaign content
Once you have defined details and selected a template, it's time to define content for your campaign.
Not a reader? Watch this video instead.
Defining campaign content
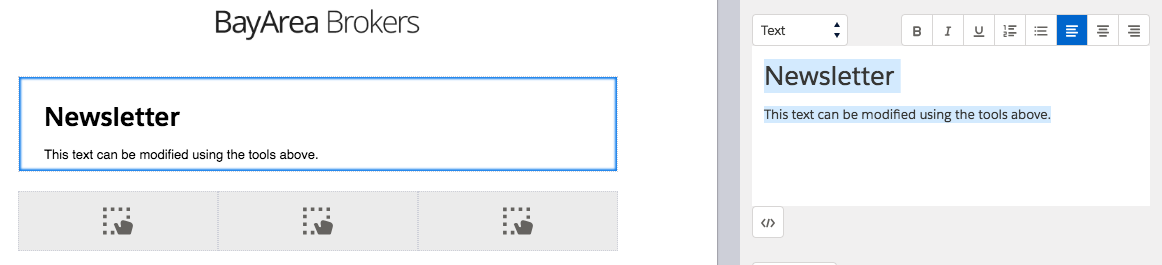
Currently, there are six different types of content available to campaigns: text, listings, dividers, images, buttons and raw code.
- To add content, drag it from the right side and drop it onto an available content area (as shown below.)
Once you have dragged a content to an available content area, a new menu will appear on the right side of the screen. This menu will be specific to the type of content you selected. Use this area to modify the selected content (format text, select a listing, etc.)
To learn more about specific content types, click on the individual sections below.
Adding text to campaigns
Use the table below to learn more about adding text to campaigns.
|
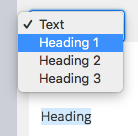
Modify text size To modify the size of the text, highlight it and select from the list of headings. To reset text to the default size, select "text". |
|
|
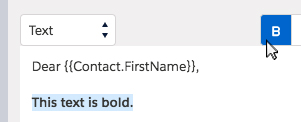
Modify text style To modify the style of the text, highlight it and select from the list of formatting options. |
|
|
Modify font size (only available with Advanced Settings: See above) To modify font size, go to the font size dropdown and update this to the preferred font size. |

|
|
Modify line spacing (only available with Advanced Settings: See above) To modify line spacing, navigate to the line spacing slider and move to the desired line spacing option. |

|
|
Insert merge fields To insert merge fields, click the "code" icon in the bottom left corner and select from the available merge fields. For example: "First Name" will automatically pull the "First Name" field from the recipient's Contact record. |

|
Adding listings to campaigns
Use the table below to learn more about adding listings to campaigns.
|
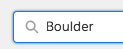
Search for listings You can search your listing database using the search bar. This will display results that contain your search query. |
|
|
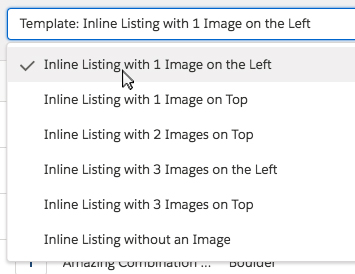
Select a listing template Using the drop down menu, you can select which template should be used to display the selected listing in your campaign. |
|
|
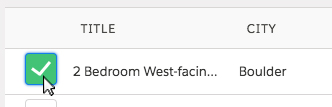
Add a listing to your campaign To add a listing to your campaign, simply click the "plus" sign on the left side of the listing. Once added, this will change to a green checkmark. |
|
Note: Not all listing templates work with all email templates. "Inline Listing with 1 Image on the Left" and "Inline Listing with 3 Images on the Left" should be used with the single column email layout only.
Adding dividers to campaigns
Use the table below to learn more about adding dividers to campaigns.
|
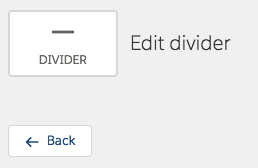
Adding a divider Like other content types, a divider can be added simply by dragging it to a content area in your template. Currently, there are no formatting options available for dividers. |
|
Adding images to campaigns
Use the table below to learn more about adding images to campaigns.
|
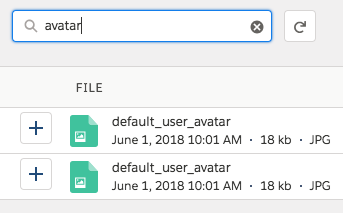
Search for images You can search your image database using the search bar. This will display results that contain your search query. |
|
|
Upload new images To upload new images, use the upload button. |
|
|
Add an image to your campaign To add an image to your campaign, simply click the "plus" sign on the left side of the image. Once added, this will change to a green checkmark. Note: Only images 1 MB or smaller will show up in this list. This size limit will be increased in the future. Keep your eye on the release notes! |

|
Adding buttons to campaigns
Use the table below to learn more about adding buttons to campaigns.
|
Adding button text Use this field to determine a button's text. |
|
|
Adding a button link To link a button to a specific URL, select "Web address (URL)" and specify the URL in the address field below. |

|
|
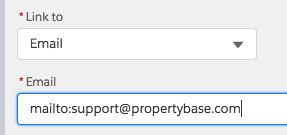
Adding a button email link To link a button to someone's email address, select "Email" and specify the email address after the "mailto:". Note: The email link will not work if the "mailto:" is not included. |
|
|
Change button alignment You can change the alignment of the button, within your email, but using the available alignment buttons. |
|
|
Change button size You can make a button "full width" (take up the entire horizontal space of a content area) by toggling this option. Note: Alignment cannot be changed on full width buttons (see "Change button alignment" above.) |

|
Adding raw code to campaigns
Use the table below to learn more about adding raw code to campaigns.
|
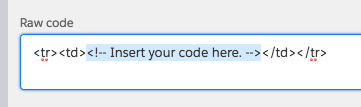
Add raw code To add HTML to an email, drag the "raw code" content type to any content area. Your HTML should go between the table tags, where is says "insert your code here." |
|
Once you are satisfied with the content in your campaign, the next step is to send it.
To learn more about sending and scheduling, click the "Sending Campaigns" tab at the top of this page.
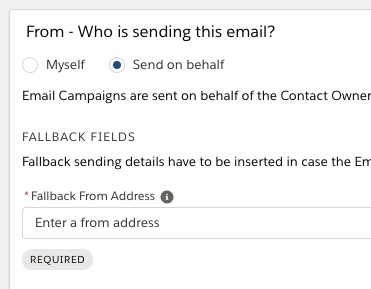
NEW FEATURE - Send Email Campaigns on Behalf of Others
Send Email Campaigns on Behalf of Others
In addition to sending an email campaign from yourself, it is now possible to send email campaigns on behalf of other users in your account. When sending on behalf, all "from" values are filled using the recipient's contact owner. If a value does not exist, fallback values are used. These values are defined with creating the email campaign (see image below.)
Note: Footer information (name, phone number, etc.) is filled using the recipient's contact owner. However, if that information does not exist the sending user's information is used.
How to Activate this Feature
To use this feature, accounts must update to Propertybase 1.551. Click here to update.
- Once updated, open Mass Email Campaigns in the Control Center.
- At the bottom of the page, check the box next to Send on Behalf.

Note: Free version limited to 10,000 contacts per campaign. To increase this limit please contact your Account Executive.
Table of Contents
- Previewing your campaign
- Reviewing campaign details
- Testing your campaign
- Sending or scheduling your campaign
Not a reader? Watch this video instead.
Sending campaigns
Previewing your campaign
Before sending or testing, you should review your campaign for errors, misspellings, out-of-date listings, etc.
Note: If your campaign includes listings, please verify that the information has not changed since you first added the listing to your campaign.
There are several ways to preview your campaign content, each with its own benefits. Review the table below for an explanation for each feature.
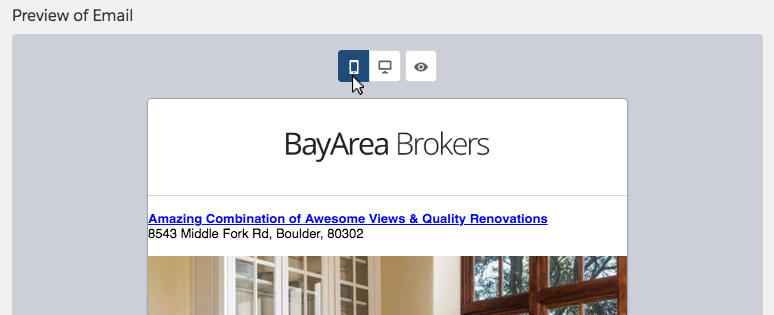
|
Mobile View Use this preview option to see what your campaign will look like on the average mobile device. This preview renders your campaign using your web browser. |
|
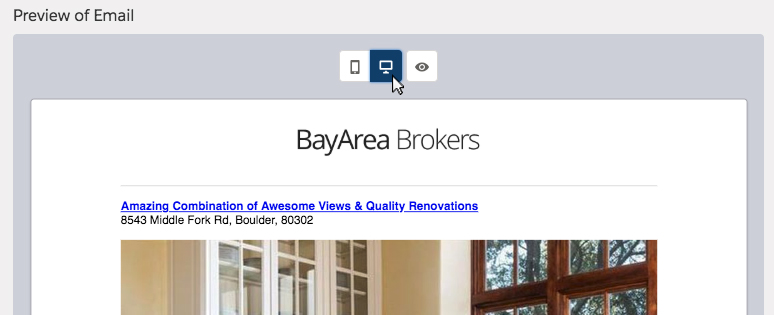
|
Desktop View Use this preview option to see what your campaign will look like on the average desktop computer. This preview renders your campaign using your web browser. |
|
|
Email Preview Use this preview option to see what your campaign will look like within the average email client. This preview takes into consideration how email clients will render your campaign. |

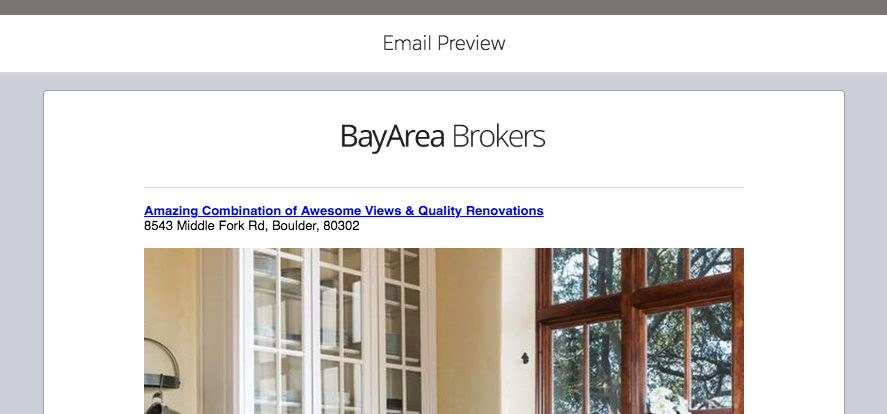
|
Reviewing campaign details
Once you have visually reviewed your campaign, it's a good idea to review the details of your campaign. These details are shown to the right of the campaign preview.
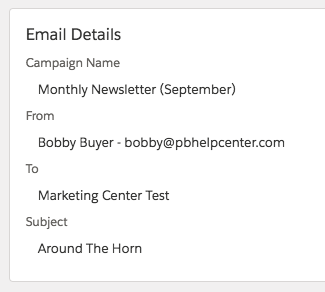
Note: If you see an error, you can make changes on the "Details" screen. To access the details screen, click "Details" in the path at the top of the page.
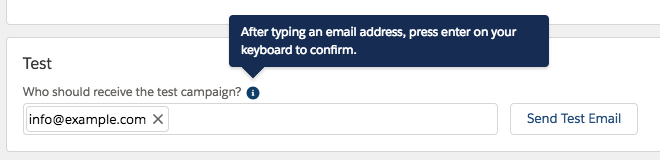
Testing your campaign
If the campaign preview and details look correct, the next step is to test your campaign. To test you campaign, enter one or multiple email addresses in the field below. Once you have determined who should receive the test, click the Send Test Email button.
Sending or scheduling your campaign
Once you've tested your campaign and are ready to send, you have two options. You can send your campaign immediately or schedule it for a future time and date.
Sending a campaign immediately
If you would like to send your campaign immediately, you can do so by clicking the Send Campaign button. After reviewing the information displayed, click the Send Campaign button.

Your campaign will be scheduled immediately. However, it generally takes 10-20 minutes for your campaign to be delivered to your selected recipients.
Scheduling a campaign
If you would like to schedule your campaign for a future date and time, you can do so by clicking the Schedule Campaign button. After selecting a date and time, click the Select send date button.
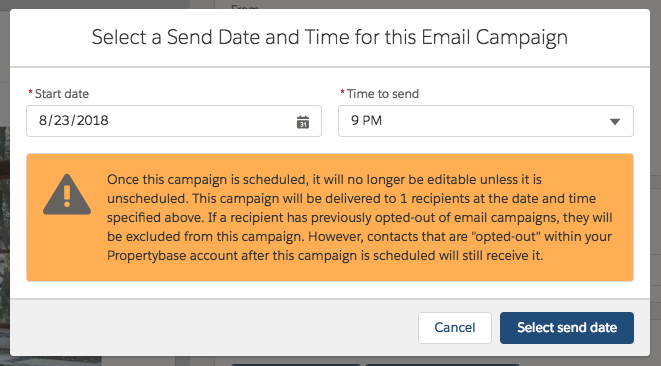
Note: Your campaign will be scheduled immediately. Once scheduled, a campaign is no longer editable.
Changes to campaign content
In addition, updates to contact lists or listing data will not be reflected in the campaign. You will need to unschedule your campaign, update the appropriate information and then reschedule your campaign.
To unschedule a campaign, click the Unschedule Campaign button.
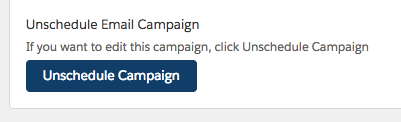
Table of Contents
- Tracking individual contact statistics - New (1.564)
- Tracking email events - New (1.564)
- Viewing campaign-wide statistics
- Creating campaign reports
One of the most powerful benefits email marketing has over traditional marketing is the ability to track how many people opened your emails and see exactly what was clicked. Email Campaigns in Propertybase are no different.
Individual Contact Statistics
Note: Individual contact statistics require configuration. Learn more.
Once enabled, users can track individual statistics for each email campaign sent in Propertybase. Click the yellow box below to view instructions for enabling this feature. Once enabled, continue reading to learn more about utilizing this powerful feature.
Enabling Individual Statistics (Click Here To Learn More)
Users have two options when enabling email campaign statistics. The first of which is the ability to track statistics for individual contacts. Selecting this option will track metrics like click rate, open rate, bounce rate, etc. However, individual "events" will not be shown. In other words, you will see that a contact opened your campaign twice and clicked a URL three times (see image below), however you will not see what time they opened, clicked, etc. or the URL that they clicked on.
Note: This feature consumes data storage in your account.

Email Events
Once enabled, Propertybase will create a new "event" record for each interaction a contact has with one of your campaigns. Click the yellow box below to view instructions for enabling this feature. Once enabled, continue reading to learn more about utilizing this powerful feature.
Note: Email events require configuration. Learn more.
Enabling Email Events (Click Here To Learn More)
The image below shows an example record for an "open" event. Included in this record are fields like contact, email type, event type and more.
Note: This feature consumes data storage in your account.

Viewing campaign-wide statistics
Upon successful delivery of an email campaign, campaign-wide statistics become available. These stats include important metrics like open, click, bounce and unsubscribe rates. To view these statistics for a campaign, follow the steps below.
- To begin, click the "Email Campaigns" tab. (Email campaigns can also be accessed through the Marketing Center located in the Control Center or quickly through the application launcher.)
Not sure how to use the application launcher?
The application launcher (a.k.a. "app" launcher) can be used to access most Propertybase features. If you don't see a tab for something, there is a good chance you can still find it in the app launcher. Follow the steps below to open Email Campaigns using the app launcher.
- To open the app launcher, click the "nine dots" in the top left corner of the screen.
- Locate and click Email Campaigns in the feature list.
- Next, click on a campaign with the status of "sent".

When you open a sent campaign, you will notice that the regular "details", "templates" and "content" sections have disappeared. These sections are replaced by a single page showing you an overview of the campaign details and content, as well as a new "send details" section.
- Scroll down the page until you see the "Send Details" section.
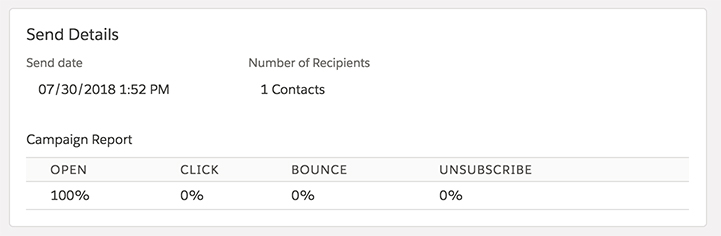
In this new section, you can see percentages for who opened, clicked, bounced and unsubscribed from your campaign. These statistics will help you tailor your future campaigns to be even more effective.
Important to note for bounces: The bounce rate also reflects drop events. A drop event happens if an attempt is made to email someone that has a blacklisted/unsubscribed email. Both drop and bounce count into the bounce rate.
Creating campaign reports
In addition to viewing statistics for your campaigns within the Email Campaigns object, it's also possible to use the same data points to generate reports and dashboards in Propertybase. In this section, we will walk through the steps required to build a report based on the "opens" metric. Through this exercise you will acquire the knowledge needed to build out reports for other campaign metrics like "bounces", "clicks" and "unsubscribes".
Note: New to building reports? Click here for an overview of how reporting works in Propertybase.
- First, click the Reports tab at the top of the screen.
Note: Don't see a Reports tab? You can also access Reports, like any other object, through the application launcher.
- Next, click New Report in the top right corner of the screen.

- From the list of report types, select Email Campaigns.
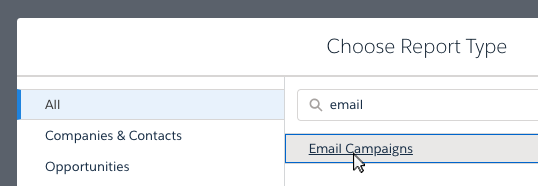
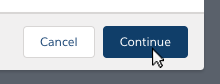
- Click Continue.
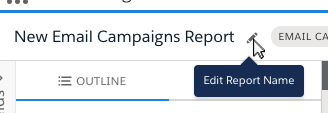
- In the top left corner, click the pencil icon to rename the report.
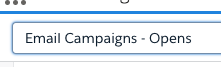
- Name this report "Email Campaigns - Opens" and then hit enter on your keyboard.
Next we need to add columns to our report. These columns will tell us information (name, subject, number of recipients, etc.) about each campaign sent.
- Click the text box where it says Add column...
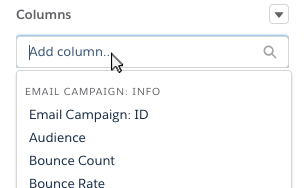
- Next, add the following columns to the report and reorder them based on the image below.

With our columns in place, the next step is to add a group so that they can be organized by rows. In this example, we will use the campaign name for our rows.
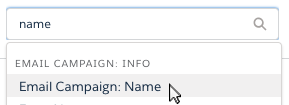
- Click the text box where it says Add group...

- Select "Email Campaign: Name".
Nice work! All of our columns and rows are in place. Next we need to make sure our filters are appropriate for the type of information we want to display.
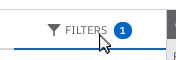
- Click Filters in the top right corner of the screen.
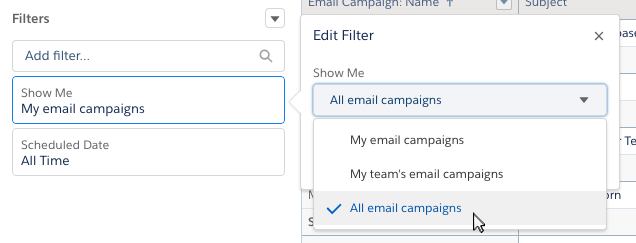
- Next, click "My email campaigns" and determine if you want to see only your campaigns, or if you would like to see campaigns sent by ALL users in your Propertybase account. If you only want to see your campaigns, you can leave this at its default value. In this example, we will select "All email campaigns".
Next we want to add a status filter so that we only see "sent" campaigns. It doesn't make much sense to include campaigns that haven't been sent, right?
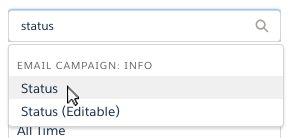
- Click "Add Filter..." at the top of this section.

- In the list of filters, select Status.
- For filter options, set the Operator to equals and then type "sent" in the second text box. When finished, click Apply.

Almost there. Next we need to set a few more options and then we will build our visualization (aka graph.)
- At the bottom of the screen, uncheck "Row Counts", "Subtotals" and "Grand Total".

- Next, at the top of the screen, click Add Chart.
- Click the "cog" icon to modify chart properties.
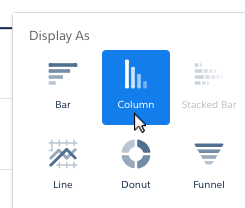
- Underneath "Display As" select Column.
- Next, let's add another unit of measurement to our chart. Click "+ Measure".
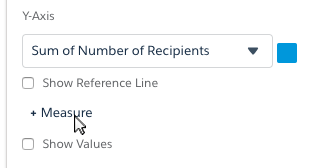
- Copy the settings so that they match those in the image below.
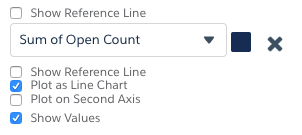
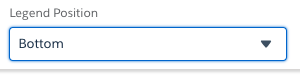
- Lastly, set the Legend Position to Bottom.
- Click Save & Run at the top of the screen.

- In the next window, name your report and also determine which folder it should be saved to.
Note: If you would like this chart to be available to all users, make you save it to a public folder.
Congratulations! You just built a beautiful chart displaying open rates for your email campaigns. With the knowledge gained in this exercise, you can build reports for other key email campaign metrics.
NEW in v1.621 and v1.625: Advanced Settings in Email Campaigns
With v1.621 we have added Advanced Settings for Email Campaign building blocks to include the same settings as in the Template Editor such as: Layout, Borders, Font Styles etc.
Go to the Control Center section: "Email Settings", in there to the tab "Mass Email Campaigns", scroll down to the section "Email Campaign Editor" and check the setting: "Enable Advanced Building Block Settings" then click save.
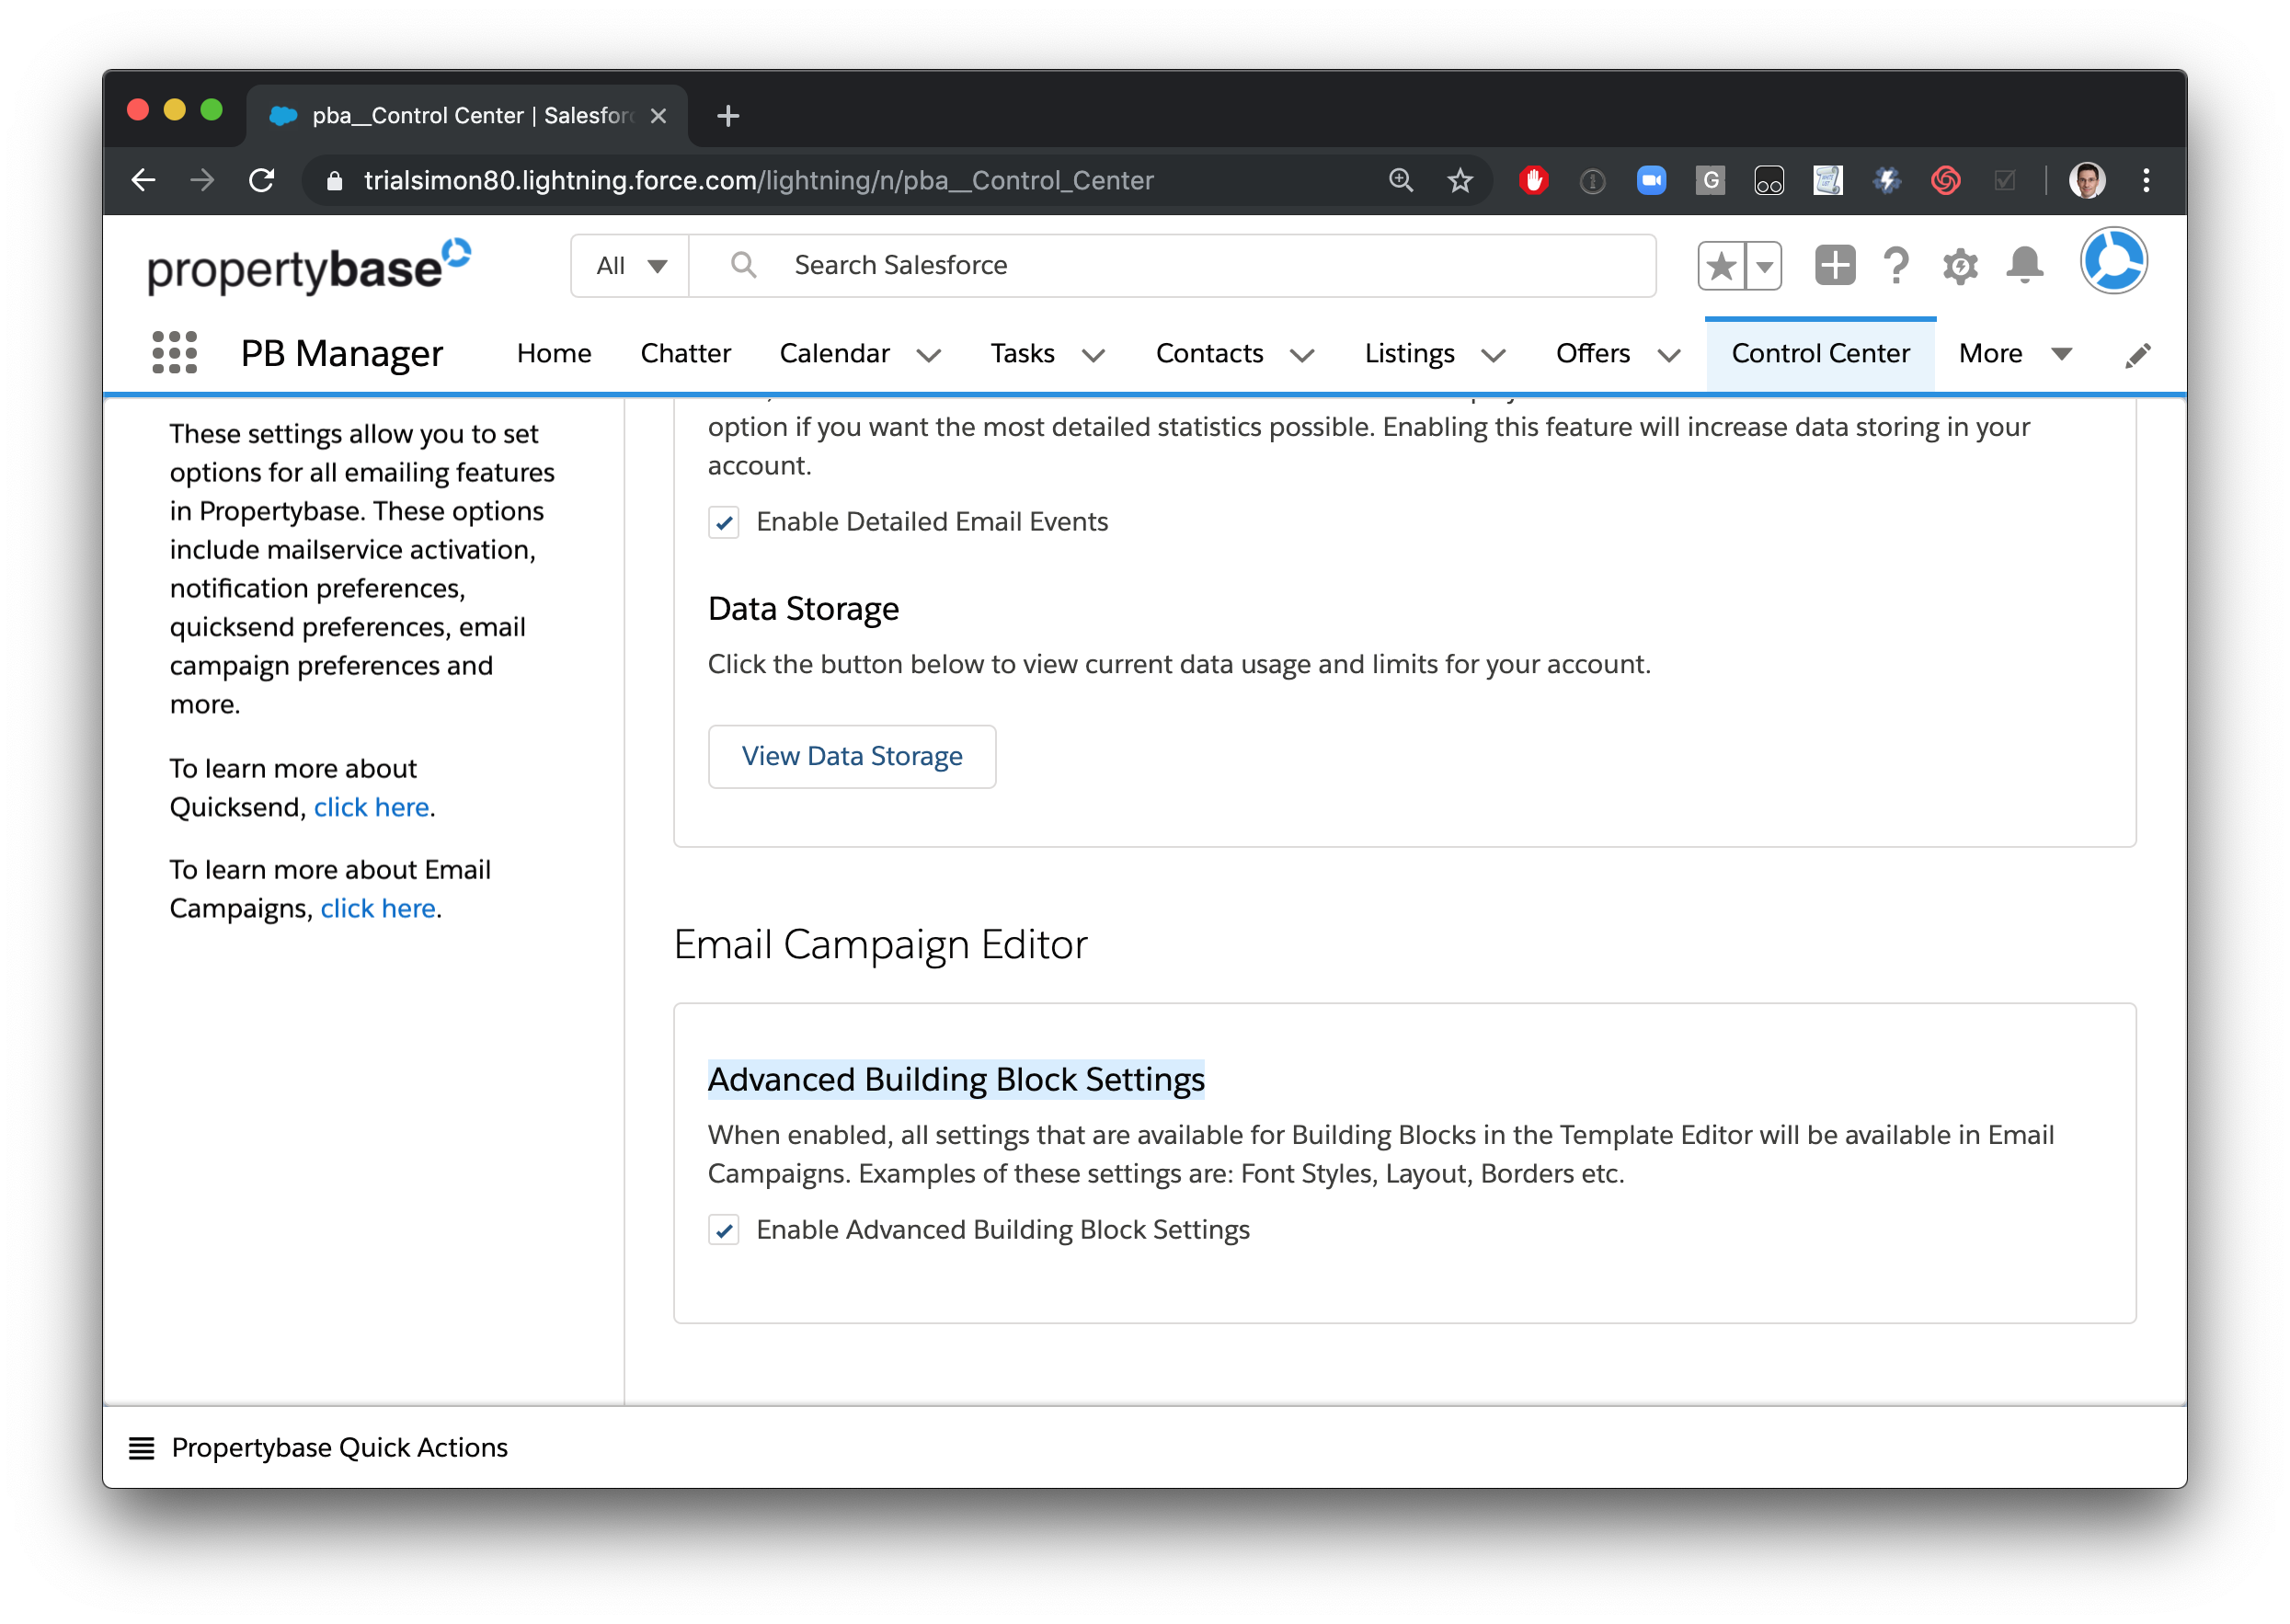
This will add all settings that you are used to in the Template Editor directly to the Email Campaign Editor. For example it will add Font Style and Layout options to the Text building block:

NEW in v1.625: New setting options have been added to the Image Building Block:

These include:
- Web Address URL option to create a link of the image.
- Alternate Text space to add personalized text in case the image cannot be loaded or for people with visual disabilities who use screen readers.
- A width section to size the image (in pixels). When a number higher than the maximum of 600px is entered, the maximum width is selected.
- A checkbox to set the image to full width on mobile view to avoid distortion of the image for mobile readers.
- An image alignment option (for use if the size of the image is less than the max of 600px).
FAQs
What if content or my contact list changes after I schedule a campaign?
When you schedule a campaign, Propertybase makes a "snapshot" of everything related to your campaign. This includes recipients, content, listing information, etc.
If any of this information changes within your Propertybase account, you will need to unschedule your campaign, update the appropriate information and then reschedule your campaign. See the "Sending Campaigns" tab on this page for more information.
Emails are bouncing to some recipients, but I verified them with an email checker. Why?
Like all major email marketing platforms, Propertybase uses a mail delivery service to fulfill campaigns. Typically an email bounces when the recipient address is invalid. However, sometimes the recipient email server classifies the email as spam, based on patterns within the email content. When this happens, there is nothing Propertybase can do. Typically, these types of detections will happen regardless of what email provider a platform uses.
My campaign was not sent to all my recipients, why?
Note: the free version is limited to 10,000 contacts per campaign. To increase this limit please contact your Account Executive for an estimate.
If you had more than 10,000 recipients in a campaign, the ones above 10,000 will be cut off.
There is NO limitation on how many campaigns you send.
The send process takes also into account contacts that are on a "block" list (due to unsubscribing or previously unsuccessful deliveries): those recipients will be removed prior to sending.
To facilitate reporting, you should try not to keep such recipients in your audience/recipient list.
Clients that unsubscribed can permit to receive such emails again. Please have the client send you a confirmation and forward that to support@propertybase.com
Approval Processes on Mass Email Campaigns
This optional feature can be activated in the Control Center in Propertybase Services in the Mass Email Campaigns tab.
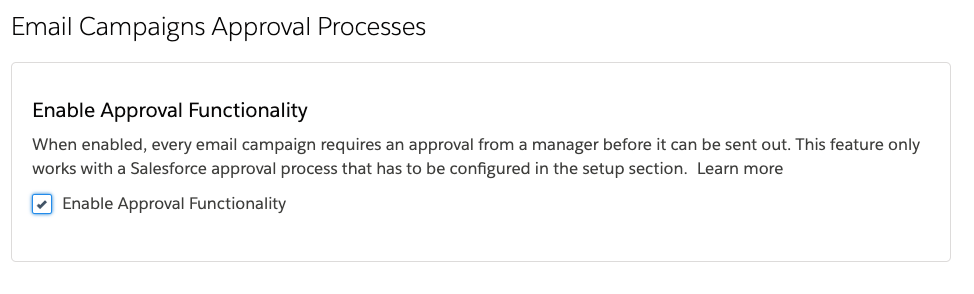
After you have checked the box "Enable Approval Functionality", please click "Save" on top of the page.
This functionality will work hand in hand with native Salesforce Approval Processes. This will only work when approval processes have been set up correctly.
When the approval process is set up, agents will see a button to request approval before an email campaign can be sent out. All editability is blocked when an email campaign is pending approval or is approved. When the approval is denied or the approval request is withdrawn, the campaign can be edited again. Users with the profiles "PB Administrator" and "System Administrator" can always edit the email campaign regardless of the approval status.
Example Approval Process
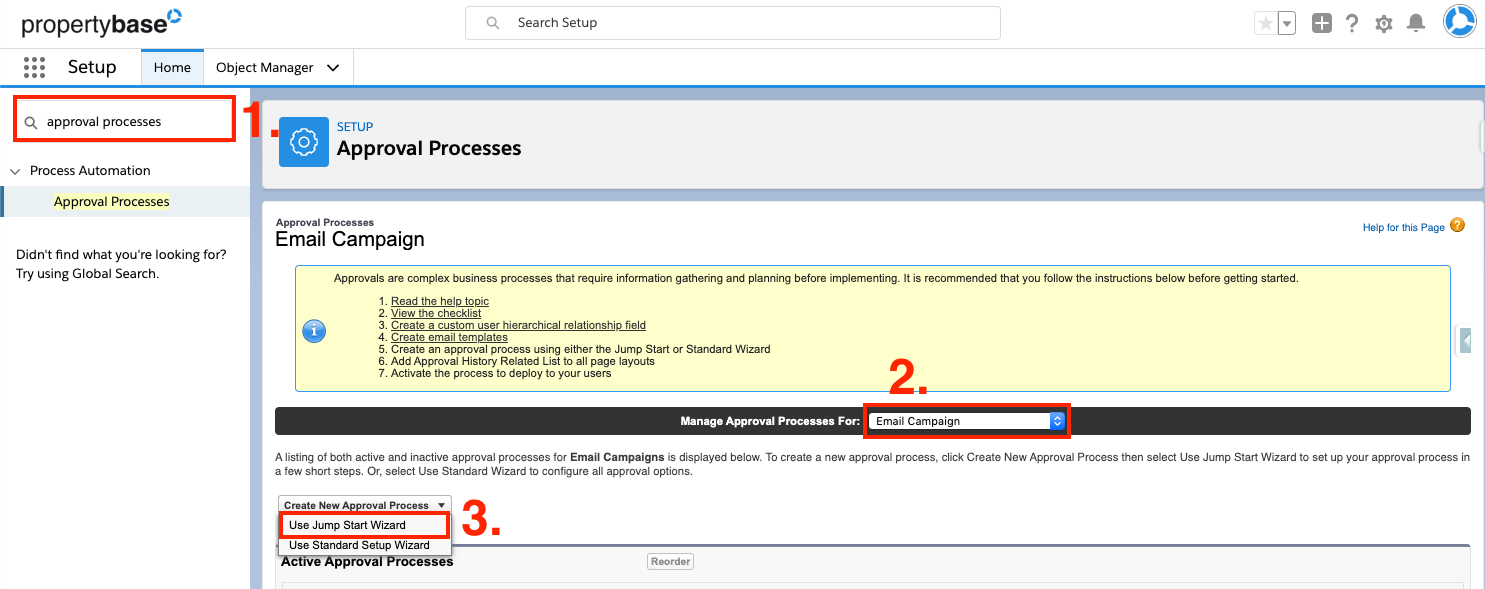
1. Go to "Setup" and search for "Approval Processes" in the search
2. Select "Email Campaign" from the Manage Approval Processes for dropdown
3. Go to "Use Jump Start Wizard"
4. Enter a Name for the Approval Process
5. (Optional) Add an email template - when an approval process is triggered an email will be sent out to the approver with this template. Add the template to Classic Email Templates.
6. Select an Approver, i.e. "Automatically assign to approver(s)" and choose a user that will get the notification and needs to approve the email campaign.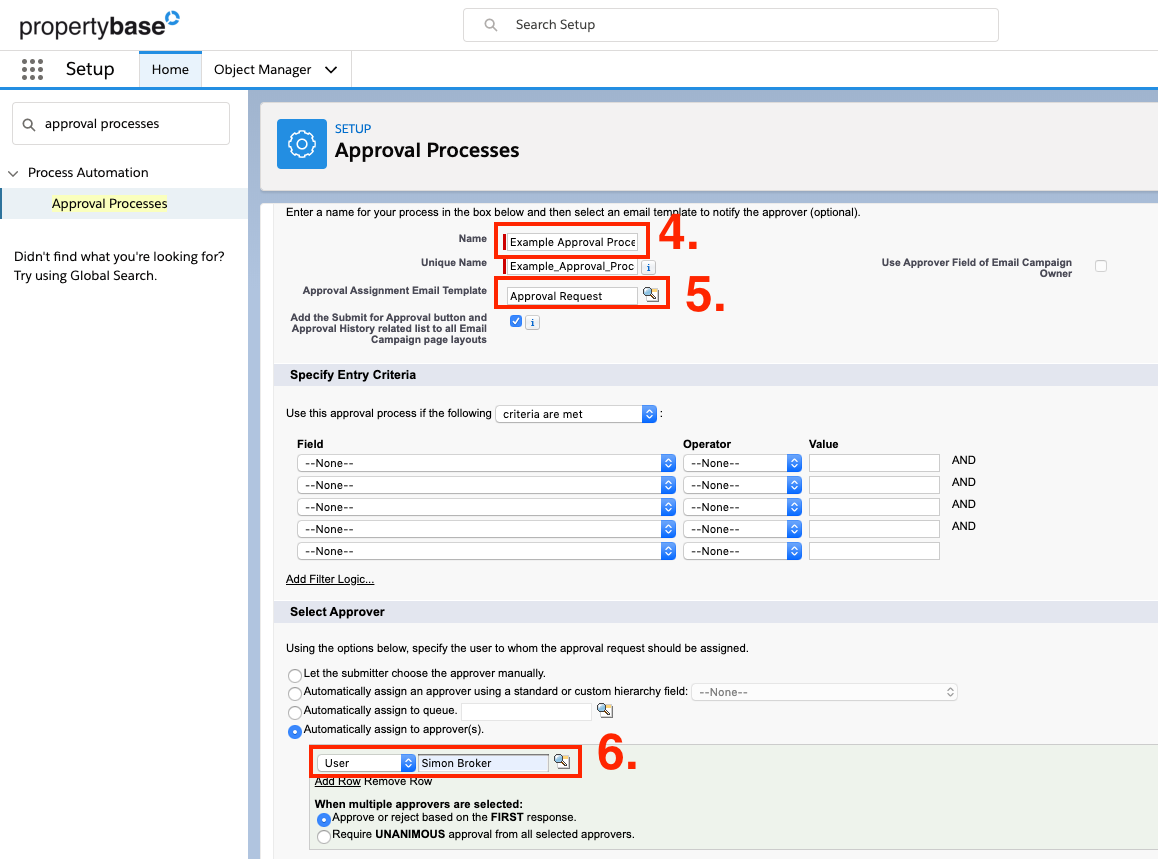
7. Click on "Save", click on "View Approval Process Detail Page" and click on "Activate" - you don't need to make any other adjustments.
Logic
When you now create a new email campaign, before you can send it out you need to click on "Submit for Approval". This will kick off the Salesforce Approval Process.
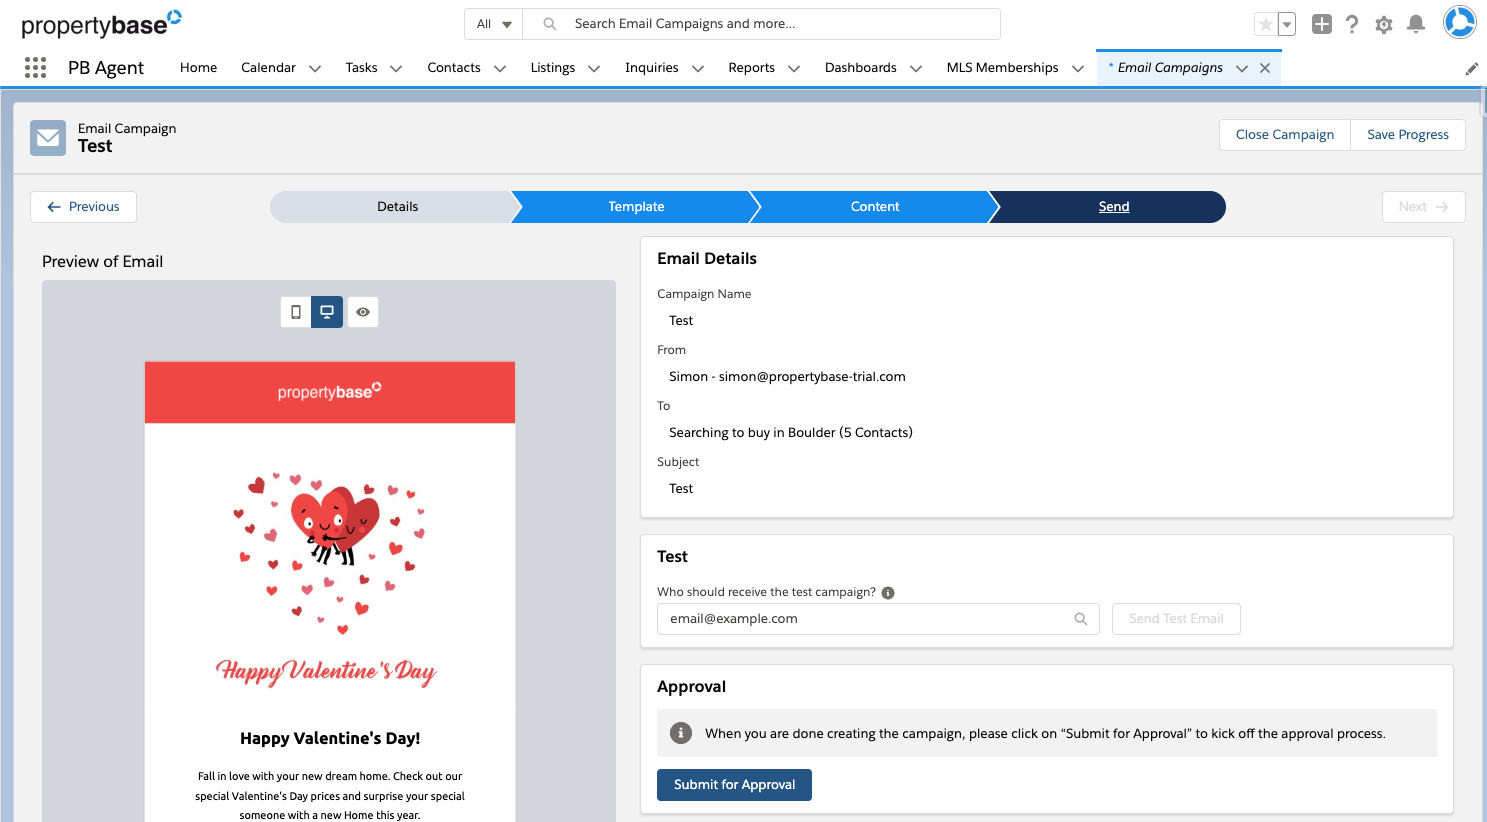
While approval is pending the campaign can not be edited by any user except users with PB Administrator or System Administrator profiles. When the campaign is approved, the "Send" and "Schedule" functionalities will be activated but the edit functionalities will remain locked. Only when the approval is rejected or withdrawn will the email campaign be unlocked again.
Comments
0 comments
Article is closed for comments.