Managing Images & Media Follow
In Propertybase version 1.466 we've updated the Media Manager to take full advantage of the Lightning Design System. That means the experience of managing media in Propertybase just got a whole lot better. In addition to the updated look & feel, the media manager no longer requires flash to be installed or enabled.
Need to upgrade to the latest version? Click here to upgrade.
Getting Started
Images and media that you upload can become available in Emails and PDF, your listings published on Website and Portals. Files uploaded to the Media Manager (tab "Images & Media") are uploaded to an AWS bucket to reduce the storage usage in your Propertybase ORG.
The files are related to the Property (as Property Media), but every Listing shows them in Media Manager and allows you to manage the Media Files of its Parent Property. That being said: if you change the images on a Listing, you are really changing it for the Parent Property and by changing it for all Listings related to that Property.
To access the Media Manager, open any Listing or Property record and click the Images & Media tab.
Uploading Media
To add new media, click the blue button at the top of the media manager. This will open the file browser on your computer allowing you to select a file.
Alternatively, you can drag media from your computer and drop it anywhere in the upload area.
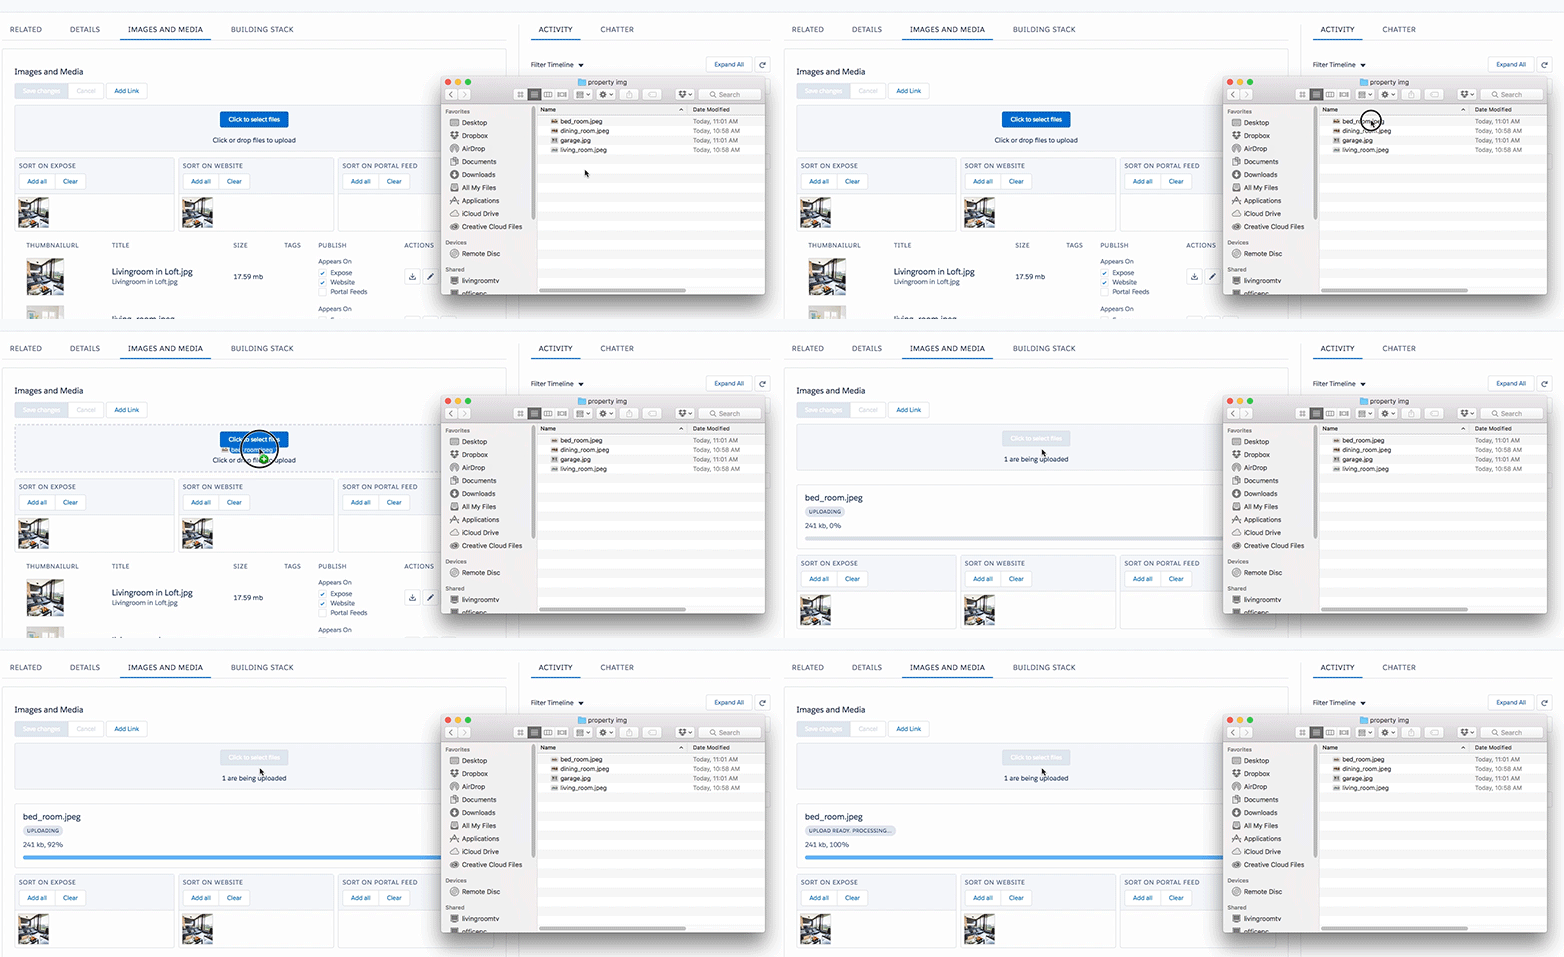
Note: Images are sorted alphanumerically on upload. If you already know the sort order you will want to present them, please use a numbered or abc-naming
Sorting Media
The media manager provides two different ways add or remove media on your expose, website or portal feed. Where ticking "Expose" allows your media to be made available for emails and PDF listing attachments, "Website" for Web Listings integrations and "Portal Feed" for Real Estate XML feeds.
Note: Images are sorted alphanumerically on upload. If you already know the sort order you will want to present them, please use a numbered or abc-naming
Batch Add/Remove
Clicking the "Add all" button will add all uploaded media to the selected platform. Similarly, you can remove all media by selecting the "Clear" button.
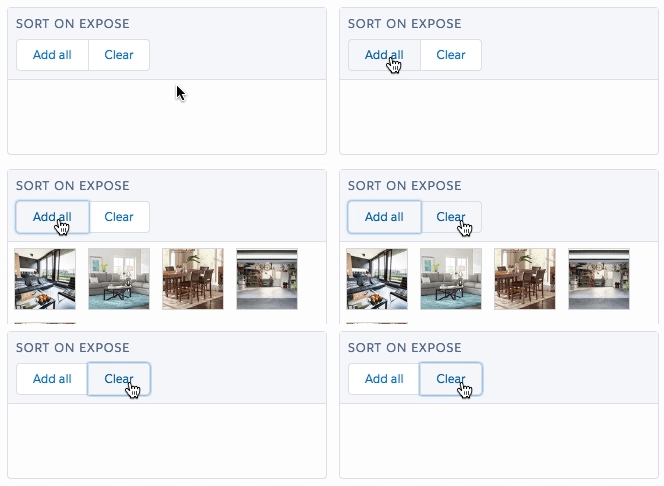
Add/Remove Individually
Alternatively, you can add or remove media individually by using the checkboxes on the right side of the screen.
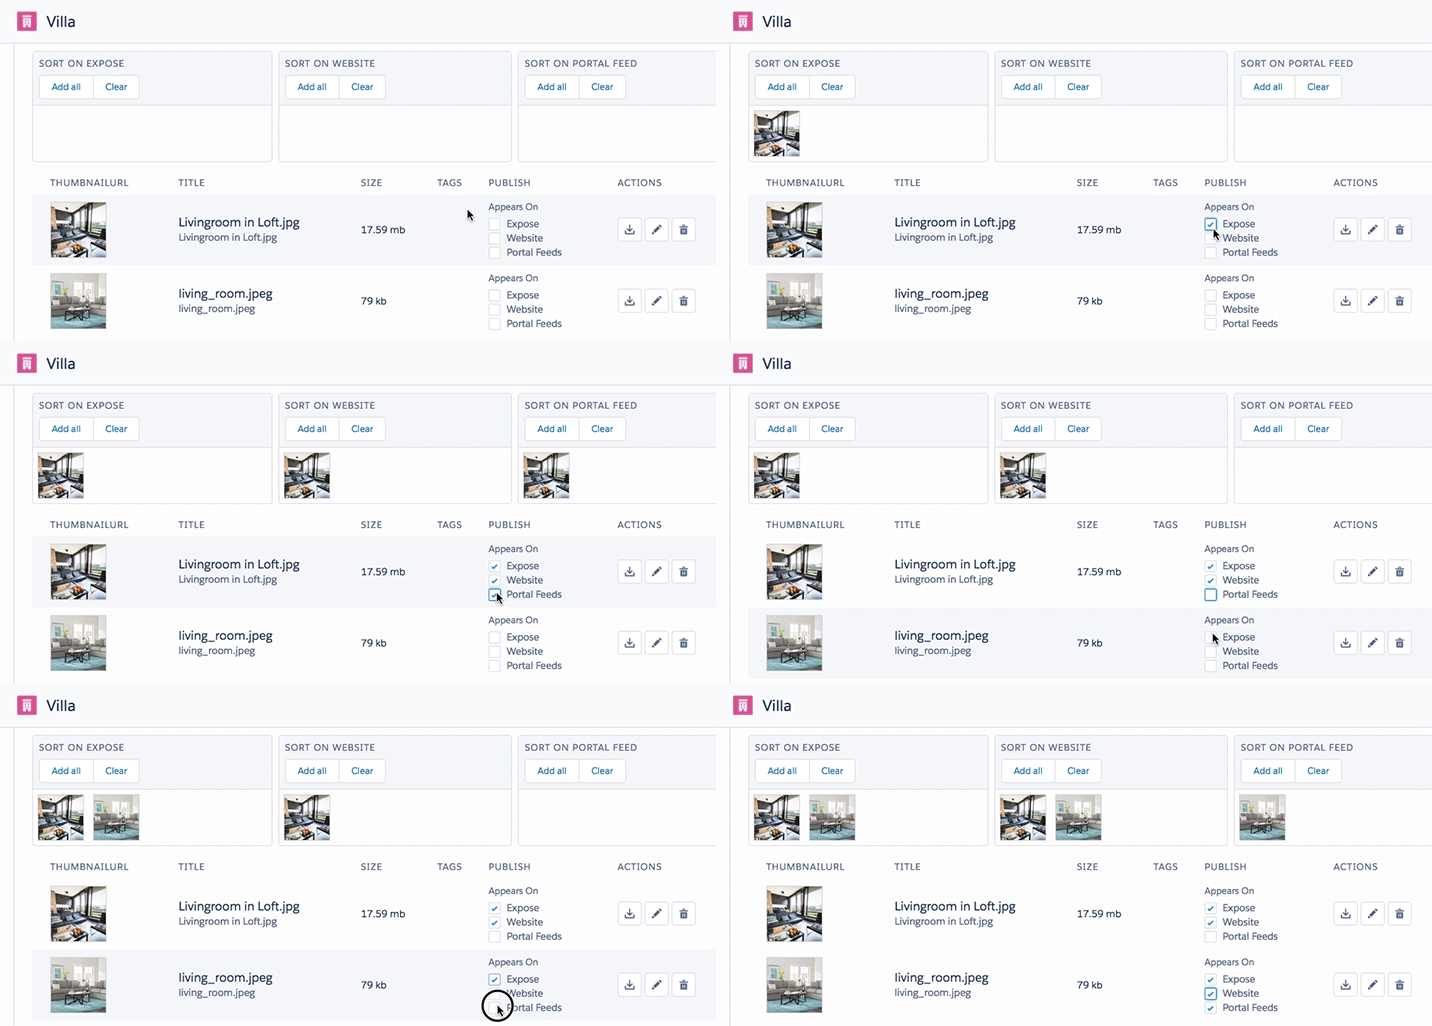
Reordering
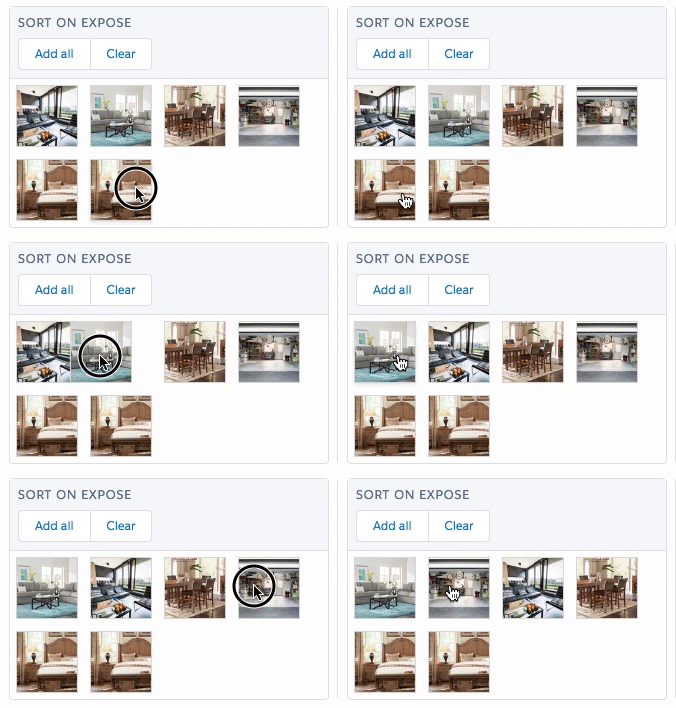
You can also drag and drop media to reorder. This is especially relevant in the expose section - the first image is the featured image for all generated email and PDF listing attachments.
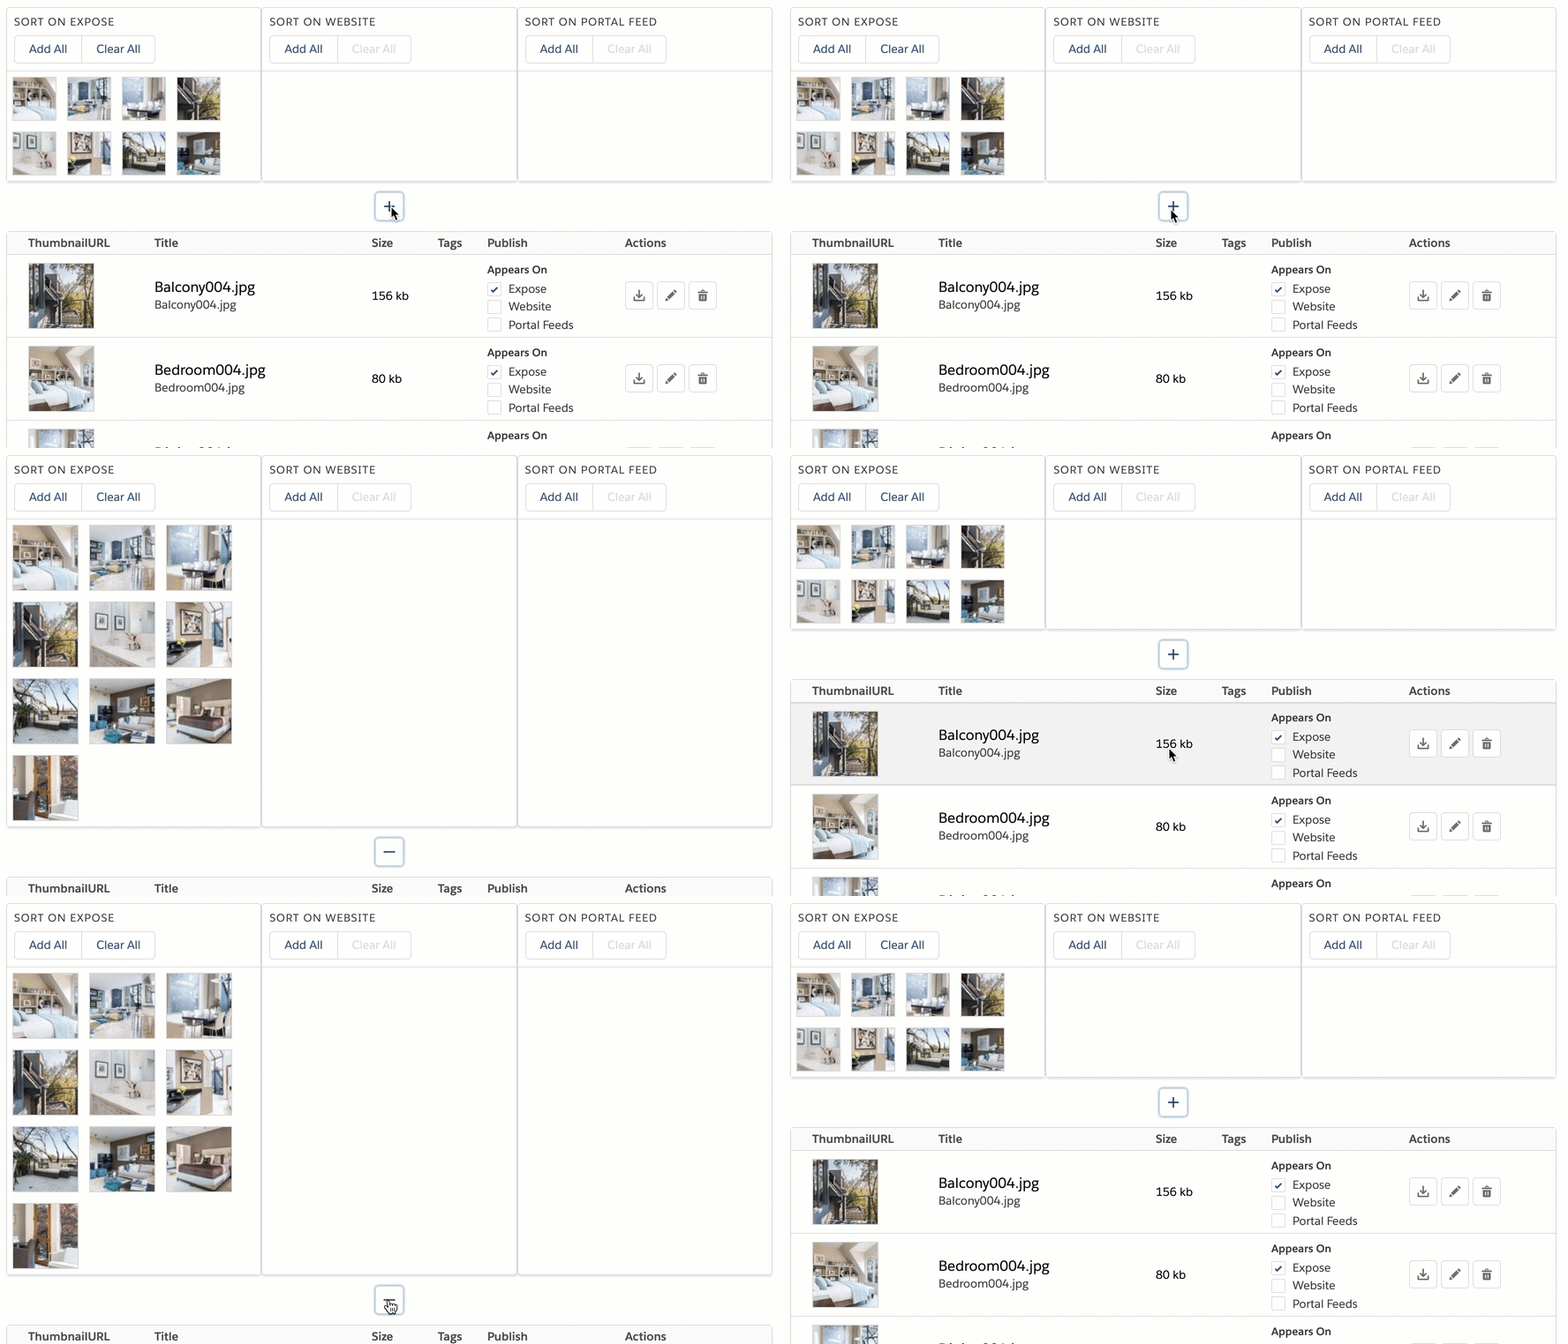
Use the + to expand the view if the preview images are too small or there are too many to see them all.
Saving Changes
You must click Save in order for these changes to take effect.

Modifying Media
Once you have uploaded media you can download, edit or delete using the buttons to the right.

Within the edit window you can rename and tag media.
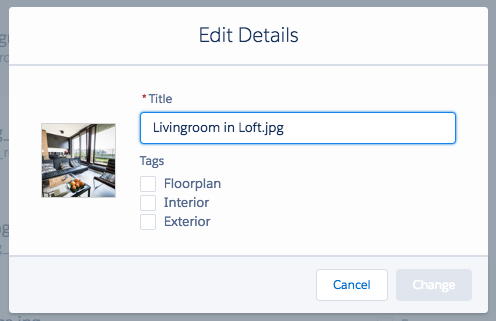
See the advanced tab, in this article, for instructions on adding, removing and modifying tags.
Adding Links
In addition to media, you can also upload external links as a file. To do so, click the Add Link button.
In the modal window that appears you can specify title, link and a category.
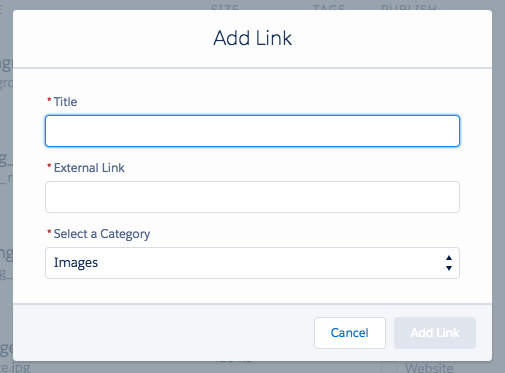
Note: The external link field includes validation. You must prepend "http://" or another URL protocol.
Once you've added a link, you can add or remove it from your expose, website or portal feed the same as media.
Adding, Removing and Editing Tags
Using the Object Manager, you can modify tags within media manger.
- Click the gear icon in the top right of the screen, then click Setup.
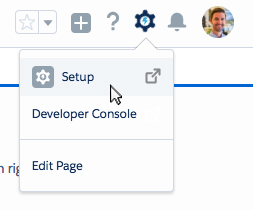
- Click Object Manager at the top of the screen.

- Scroll down and click Property Media.
- In the left menu, click Fields & Relationships.
- Scroll down and click Tags.
- Click New in the section titled Values.

- Enter your new tag and click Save.
Note: You must clear your Propertybase cache for changes to appear.
Configuring for Mobile
The following configuration steps will enable you to use the media manger on your mobile device.
- Click the gear icon in the top right of the screen, then click Setup.

- Click Object Manager at the top of the screen.

- Scroll down and select the Listing object.
- In the left menu, click Page Layouts.
- Click Sale.
- At the top of the page, click Visualforce Pages in the grey box.

- Scroll down to the Mobile Cards section.

- Drag 'ListingMediaManager' from the grey box at the top of the screen to the position shown below.
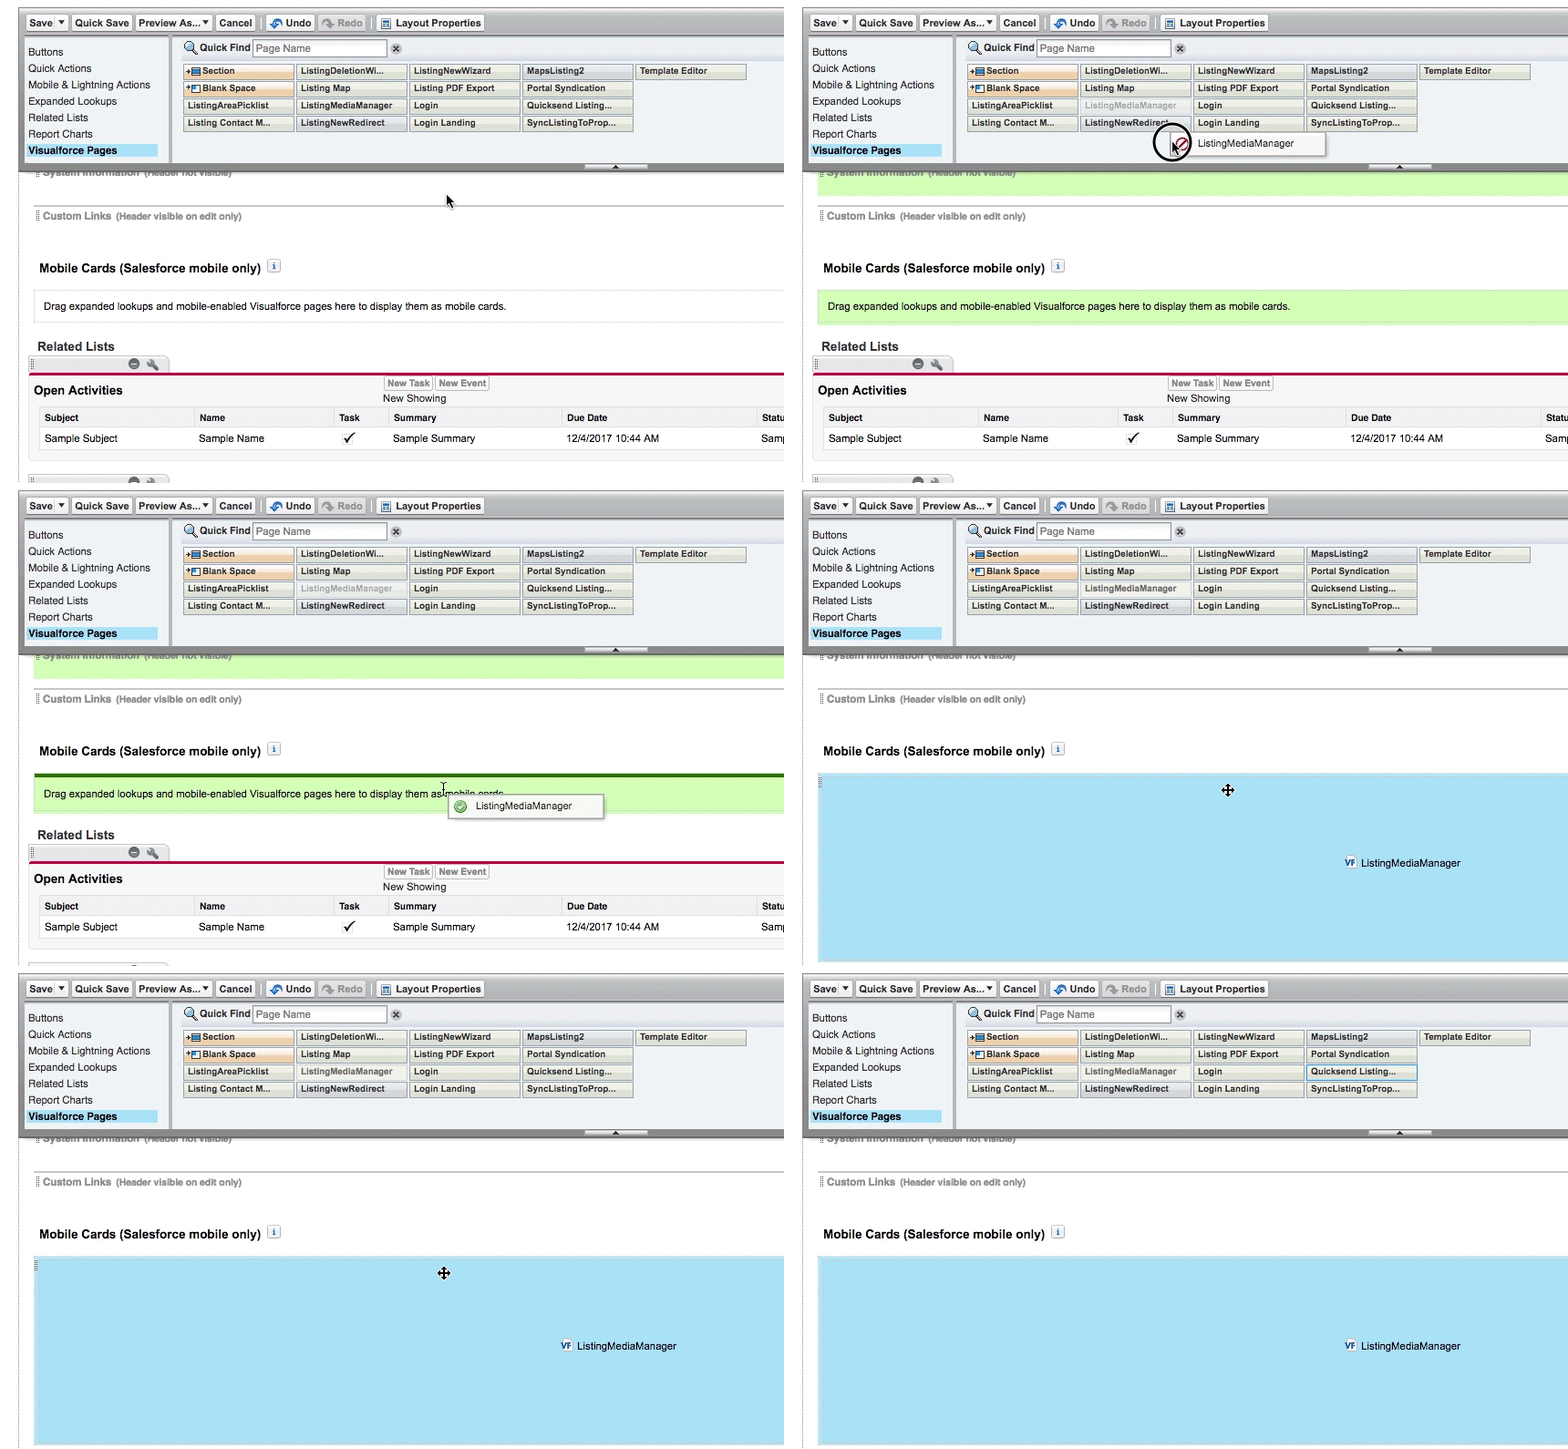
- Click save at the top of the screen.
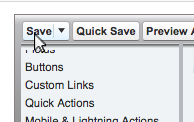
Done! You can now access the Media Manager on Propertybase mobile.
Accessing on Mobile
To access the Media Manager on your mobile device, log into Propertybase using a mobile web browser or the Salesforce mobile app. Once logged in, open any Listing record and click the 'Related' tab.
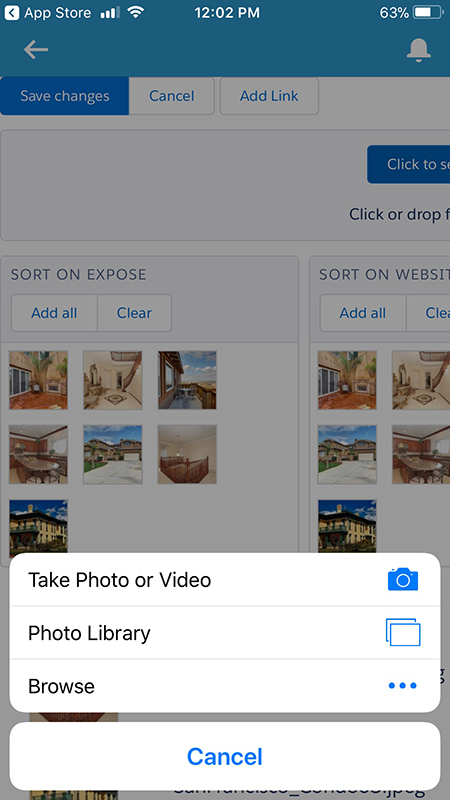
Click here to view Media Manager documentation for Propertybase Classic.
Managing your listing images within Propertybase is a great way to display what the property looks like to your users, in your website or even in PDF print outs. With our improved Media Loader we have gotten rid of the major bugs of our older version and have provided a sleek new look to it as well making it simple to use. Now you are able to add links to videos and upload all types of documents. Here is a more in depth look at the Media Loader.
You can enter the Media Loader for each particular Listing record. Simply press the Manage button found under the Media Manager section.
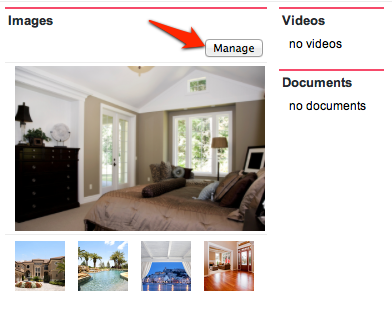
This will open up a smaller window with the actual Manager. The following image depicts the loader. Each part has been numbered with further explanation below:
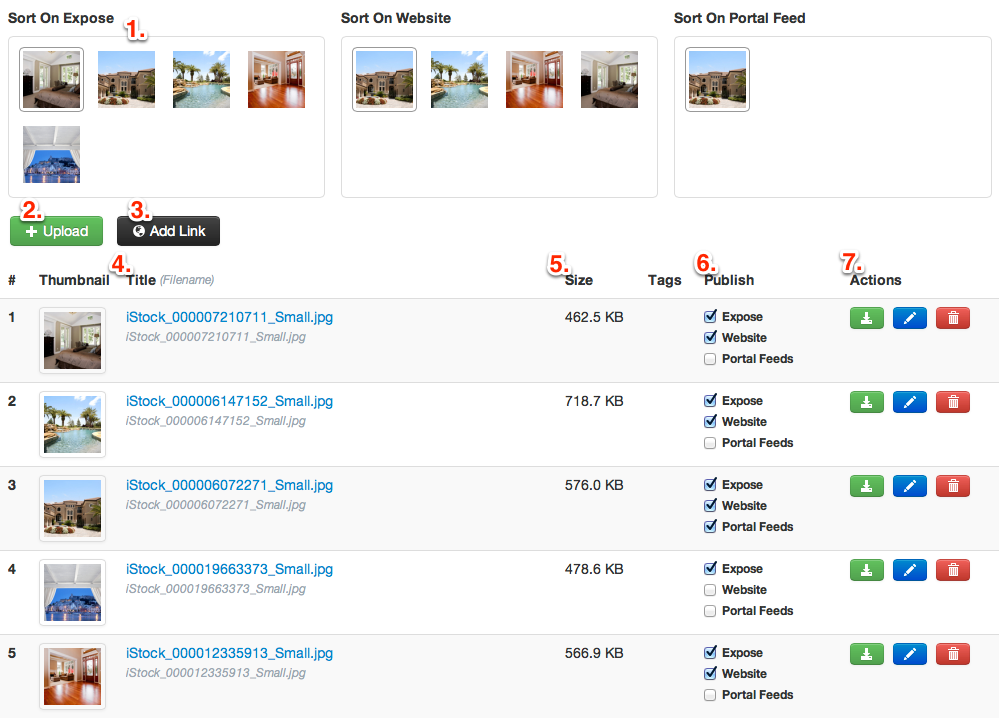
The following is a description of the different parts of the Media Manager:
1. Media Pools - There are three media pools found at the top, which determine where your images will be presented (Expose, Website or Portal Feed). Once the files are in one of these pools, it is possible to sort them by using your mouse and dragging and dropping them into the order you want. The Main image will be the first, while the image that follows is the second, etc.
2. Upload Button - Use this button to upload images or documents to the Media Manager from your computer. (NOTE: If the Upload button is not functional, please open this article to learn how to enable it.)
3. Add Link Button - Use this button to add a link from a video of the listing to have available within the listing record. You Tube and Vimeo will be auto tagged and a thumbnail image might be available.
4. Thumbnail and Title - The thumbnail is a small preview of your image and when pressed will provide a larger image in a pop up window. The title of your image will appear next to the thumbnail and is used as a link to see a larger version of your image.
5. Size - This column shows the actual size of the image or will recognize if the image/video is an actual link.
6. Publish - Using the three checkboxes provided you are able to determine where you would like to present your images. Simply add a checkmark to any of the three options and your image will appear.
7. Action - There are three action buttons:
- Green Download Button - Downloads your image/video/document directly in your browser for visibility outside of the media manager
- Blue Edit Button - You are able to edit the Title of the media and add tags to easily determine which type of media it is
- Red Delete Button - Used to delete media for your listing record
You are able to combine the images uploaded on the media loader to the Cover Flow, so everyone in your organization has a better experience using them.
*ATTENTION: Deleting an image from the Media Manager will permanently delete it from Propertybase.
Jump to Setting dimensions for website images and watermarks to find out how to resize your images and add watermarks.


Comments
0 comments
Article is closed for comments.