Search MLS Listings Follow
As the integration between Propertybase, Propertybase Websites powered by Boston Logic and BackAgent continues to grow, powerful new features will continually be made available to customers on all three platforms. The newest of which is the ability to search MLS Listings within Propertybase. This feature adds a new "MLS Browser" object to the platform. Users of this feature will be able to search MLS Listings and send them to their customers using Propertybase Quicksend. Customers that have the BackAgent Integration will also be able to utilize print marketing capabilities.
Note: The MLS Search tool is currently limited to Propertybase customers with an active Propertybase Website powered by Boston Logic account. Interested in learning more about Propertybase Websites powered by Boston Logic and integrating with your MLS? Contact your Account Executive or Propertybase Support for more information.
Feature Overview
To use the MLS Browser your Propertybase account must be on the latest version. Once you have updated to the latest version a new object will be available in the app launcher. Review the information below to access the MLS Browser and learn more about these features.
Note: For ways to make the MLS Browser more accessible, view the "Configurations" tab on this page.
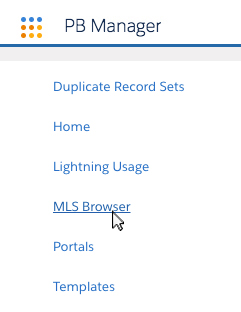
- To get started, click the Application Launcher and then select MLS Browser.
To learn more about each MLS Browser feature and its capabilities review the table below.
|
Text Search Using the search bar, you can quickly search properties using an address, zip code or MLS ID. |
|
|
Sorting Once a list of properties has been generated, sorting options can be applied using the sort by dropdown menu. |
|
|
Filtering Once an initial search has been performed. Filter options allow you to narrow the search using specific criteria. This includes property type, listing status, beds, baths, pricing and more. |
|
|
Draw Search This feature allows you to manually "draw" a shape on the map and see all listings contained within that area. |
|
|
Map Type Using these buttons you can switch between the default map view and a satellite view. Additionally, you can toggle labels and terrain on or off using the checkbox. |
|
|
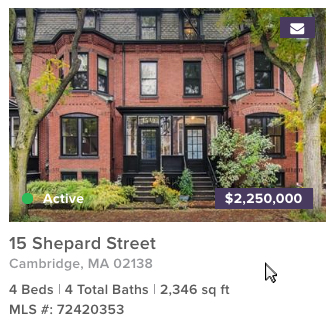
Actions Two actions are currently available for use with listings. The first allows you to email the listing using Propertybase Quicksend. The second allows you to access print marketing options for the current listing. Note: Print marketing capabilities are only available to customers with an active BackAgent Integration. |
|
|
Listing Details To view additional details for a listing, simply click on the listing. |
To learn more about recommended configurations, click the "Configuration" tab at the top of this page.
Configuration
As will all new Propertybase features, the MLS Browser comes with some configuration recommendations. While optional, these configurations will make it easier to access the MLS Browser in your daily work.
Note: To use the MLS Browser your Propertybase account must be on the latest version.
Main Navigation
We recommend adding the MLS Browser to your account's main navigation. Follow the steps below to learn more.
- Click the pencil icon on the right side of the screen, next to the main navigation.

- Click the Add More Items button.

- Type MLS in the search bar and then select MLS Browser from the list.
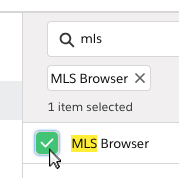
- At the bottom of the screen, click Add 1 Nav Item.

- Click Save.

Done! You can now easily access the MLS Browser from your account's main navigation.
Contact Record
In addition to the main navigation menu, we recommend adding the MLS Browser to the Contact record page. Follow the steps below to learn more.
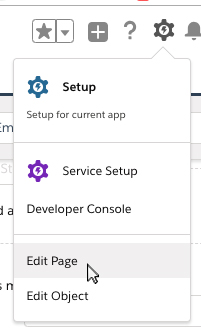
- From any Contact record, click the gear icon and then select Edit Page.
- Next add a new tab after Website Activity.

- Drag a new Visualforce into the new tab section.
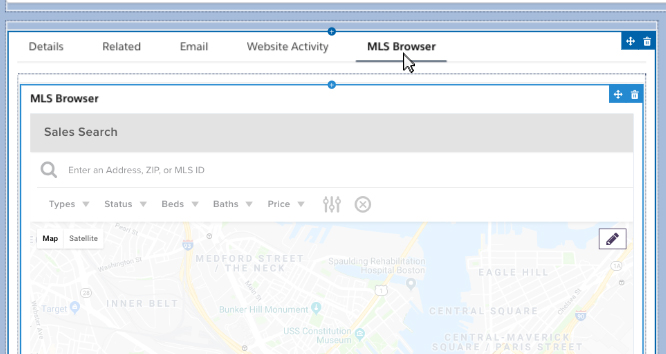
- Modify the Visualforce details to match the image below.

- Click Save and Back at the top of the page.
Done! You can now utilize the MLS Browser directly from the Contact record page.
Creating a Saved Search
In addition to browsing MLS listings it's possible to save your curent search criteria and deliver the results to one or more contacts on an interval of your chosing. Doing so allows you to increase your visibility and stay in constant contact with your leads.
- To creat a saved search, click the Save Search button from the MLS Browser.
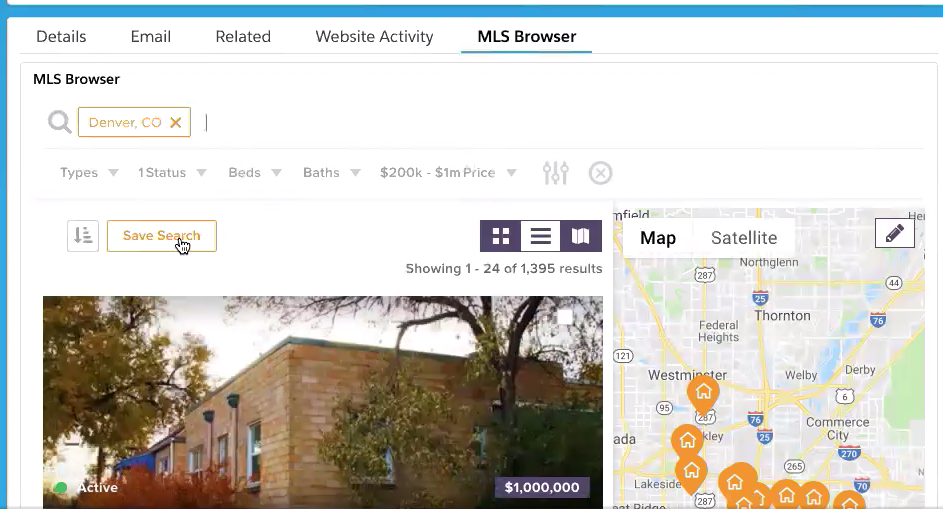
- Next, select a Contact and delivery frequency.
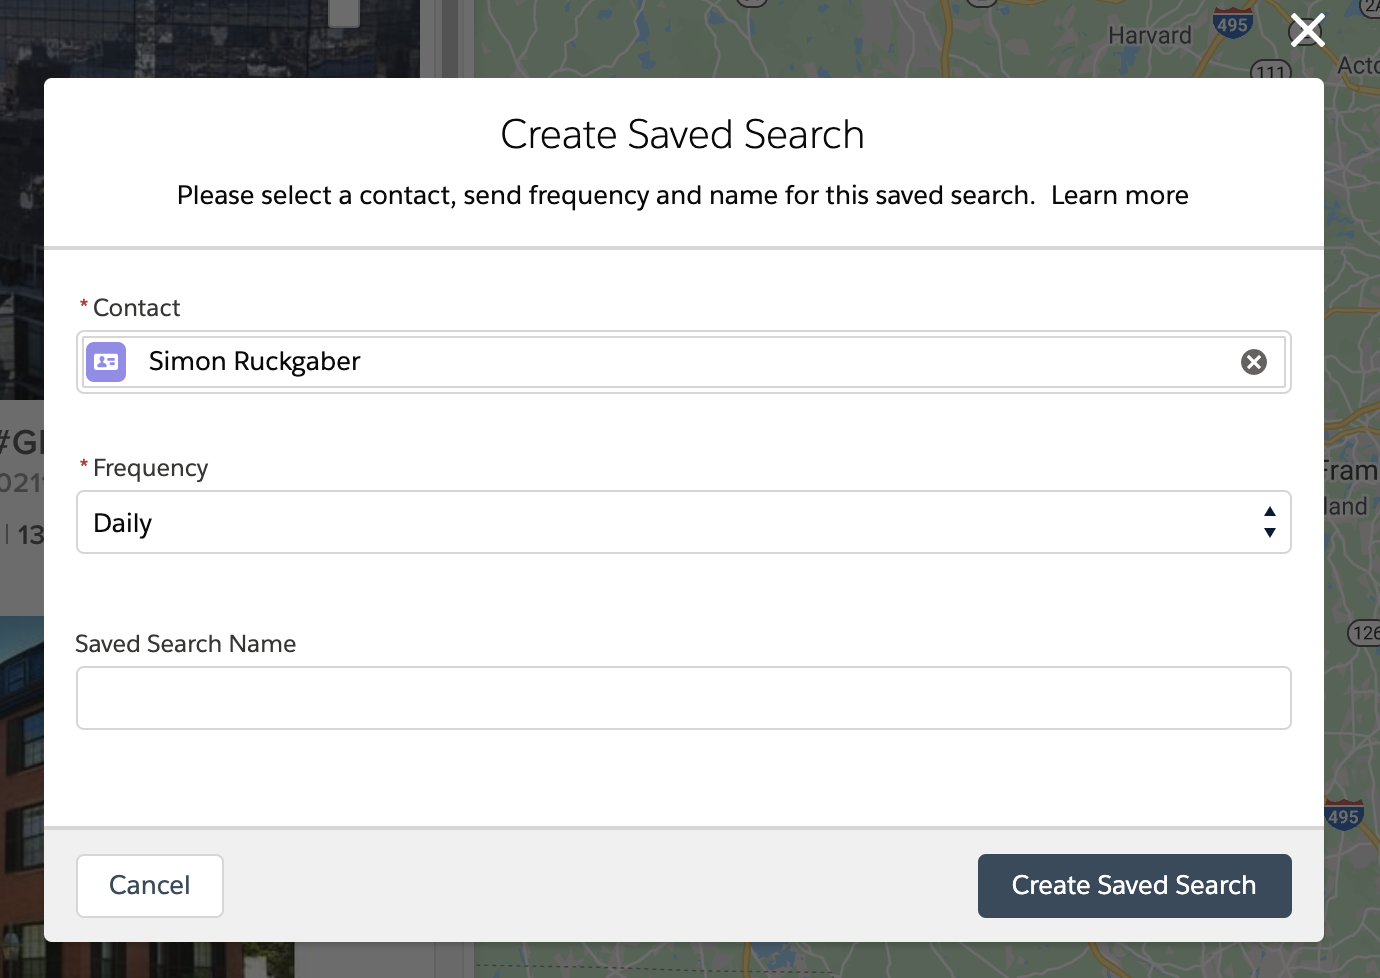
- When finished, click Create Saved Search.
- Once your Saved Search has been created you will see a success message. If you would like to view the newly created Saved Search, click the View Created Record for Saved Search.
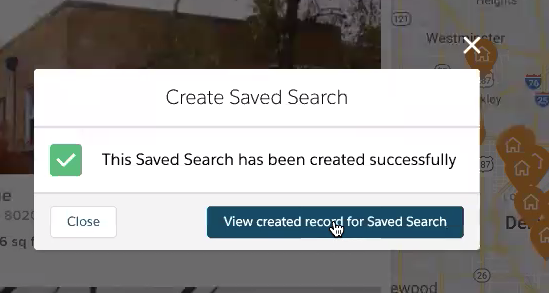
That's it! Saved Searches are a great way to make sure your Contact receives email updates when new listings are posted that meet their search criteria.
Using MLS Browser on the Mobile App
Our updated MLS Browser now works on Mobile App as well! The Mobile app MLS Browser has full functionality, in which you can still create a Saved Search, set Frequencies, set Saved Search Names, etc.
In order to do this in the Mobile App, follow the steps below:
When you are in your Org home screen, you can right-click anywhere and select Inspect

From here, you'll see the elements appear on the right side of your screen.
You'll want to select the Mobile icon shown below:
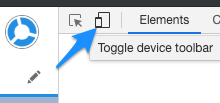
This will change your view to be the Mobile App View and will look similar to this:

Once you're here, refresh your screen and you'll be all set:
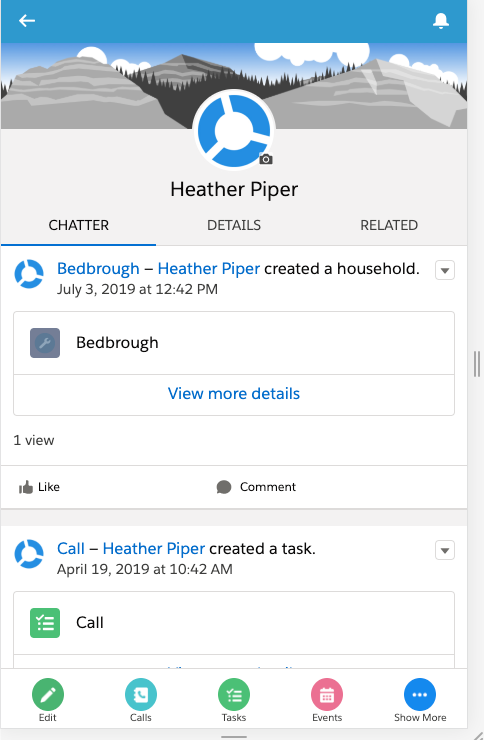
From here you can use all of the MLS Browser functions in the Mobile App!


Comments
0 comments
Article is closed for comments.