Calendar Management Follow
We all know that Propertybase is uniquely equipped to help you manage your real estate business. Did you know that Propertybase also offers powerful Calendar management features? In this article we will explore how you can level up your daily productivity game with the Propertybase Calendar!
Basics
The Calendar can be accessed by clicking the Calendar tab in the main navigation.

Components
Upon viewing the Calendar, the general layout should feel similar to other Calendar tools. Most of the page is consumed by one of three layout options: day, week or month. Events are displayed on the Calendar based on their date and time. Events are colored based on the Calendar they belong to. For a more detailed look at this page, view the feature break down below.
Click the "Events & Showings" tab at the top of the page to learn more about the Propertybase Calendar.
Events & Showings
Now that we've covered the basics of what features are available to the Calendar, let's discuss the different types of events and how to create them. There are two types of Calendar entries: Events and Showings.
Event
An "Event" is simply a term for any Event that you would like to track on the Calendar. There are three default Event types: Meeting, Call and Other. (You can add additional Event types in the Object Manager.) For any Event or Activity that is not a Showing, "Event" is the Calendar event type you should select.
Showing
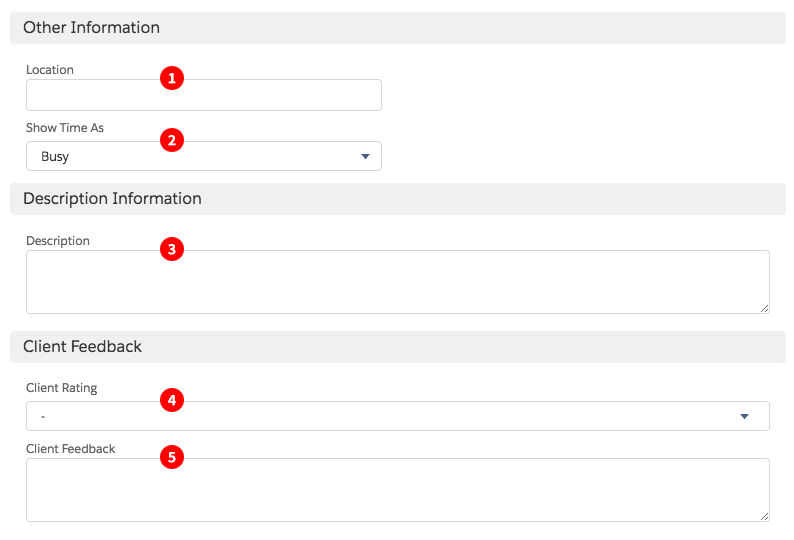
A "Showing" is very similar to an "Event", however there are two additional fields: Client Rating and Client Feedback. Using this Calendar event type will allow you to input additional information specific to Showings.
Create Event
To create a new Event or Showing, follow the steps below.
- Click New Event in the top right corner of the Calendar screen.

- Select a record type, Event or Showing, and then click Next.
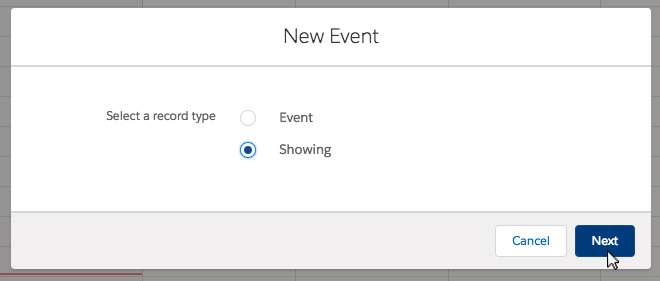
Next fill out all applicable information and click Save.
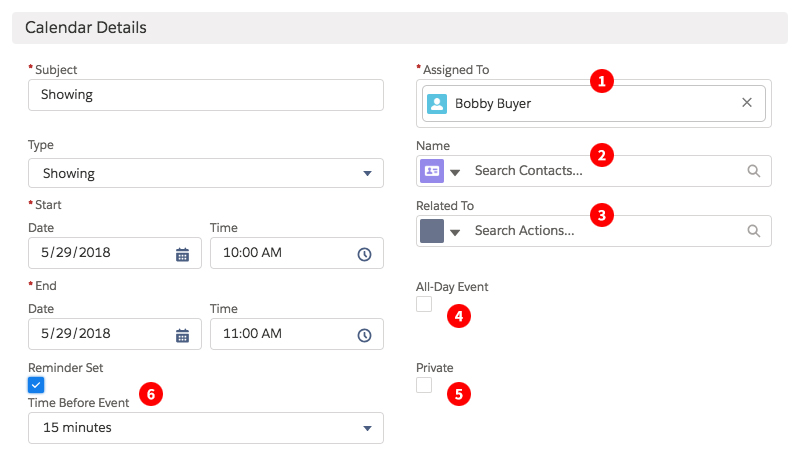
See the section below for more information regarding available fields.
Event Components
In this section we cover some of the less self-explanatory components available when creating (or editing) Events and Showings.
Click the "Calendar Syncing" tab at the top of the page to learn more about the Propertybase Calendar.
Calendar Syncing
When creating and viewing Calendar events, you aren't limited to just Propertybase! Using the Lightning for Gmail and Lightning for Outlook features, you can synchronize your Propertybase Calendar with either of the platforms.
Lightning for Gmail
To get started with Google Calendar sync, follow the steps below.
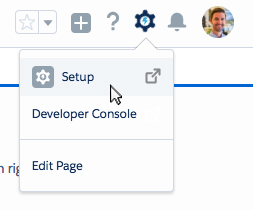
- Click the gear icon in the top right of the screen, then click Setup.
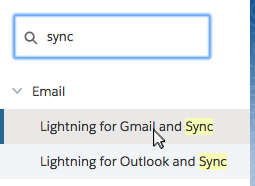
- Select Lightning for Gmail in the Quick Find menu.
- Enable Lightning Sync using the toggle on the right side of the page.

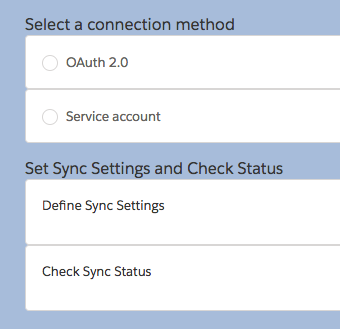
- Follow the steps provided under Connect with Google.

Lightning for Outlook
To get started with Outlook Calendar sync, follow the steps below.
- Click the gear icon in the top right of the screen, then click Setup.

- Select Lightning for Gmail in the Quick Find menu.
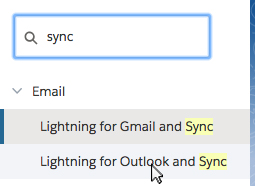
- Enable Lightning Sync using the toggle on the right side of the page.

- Follow the steps provided under Connect with Outlook.
FAQ
Q: When creating meetings with a group of contacts , can I link the event to several contacts?
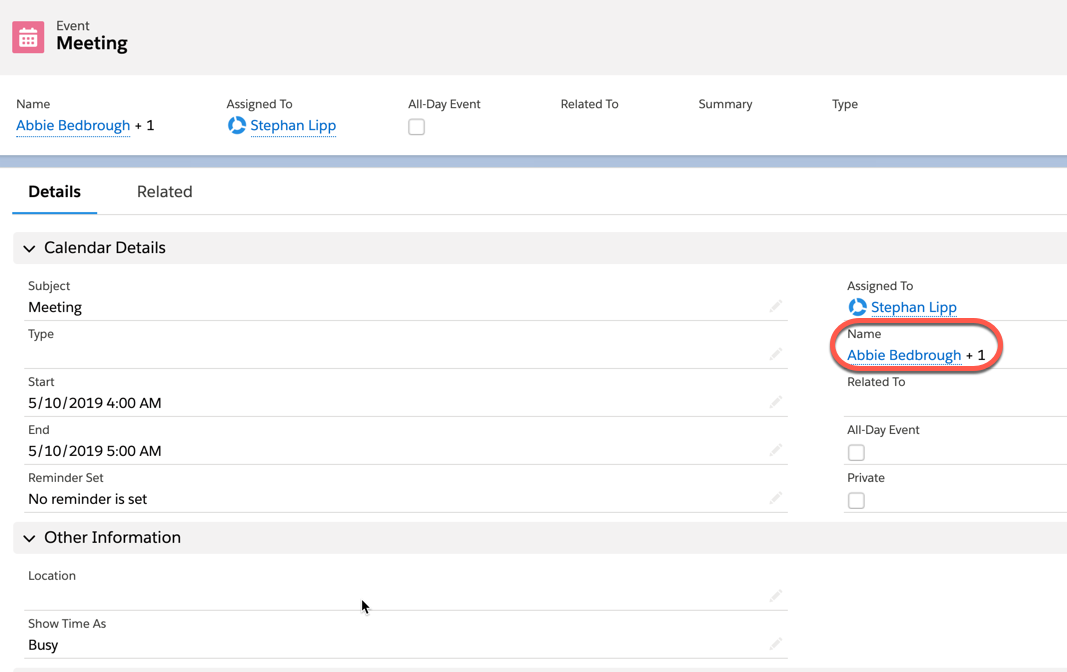
A: Yes, you can link multiple contacts to the same event. Simply search for the additional contacts via the "Name" lookup. Please do note: only the first contact will be shown and all other contacts will appear behind a count e.g. +1 or +3:
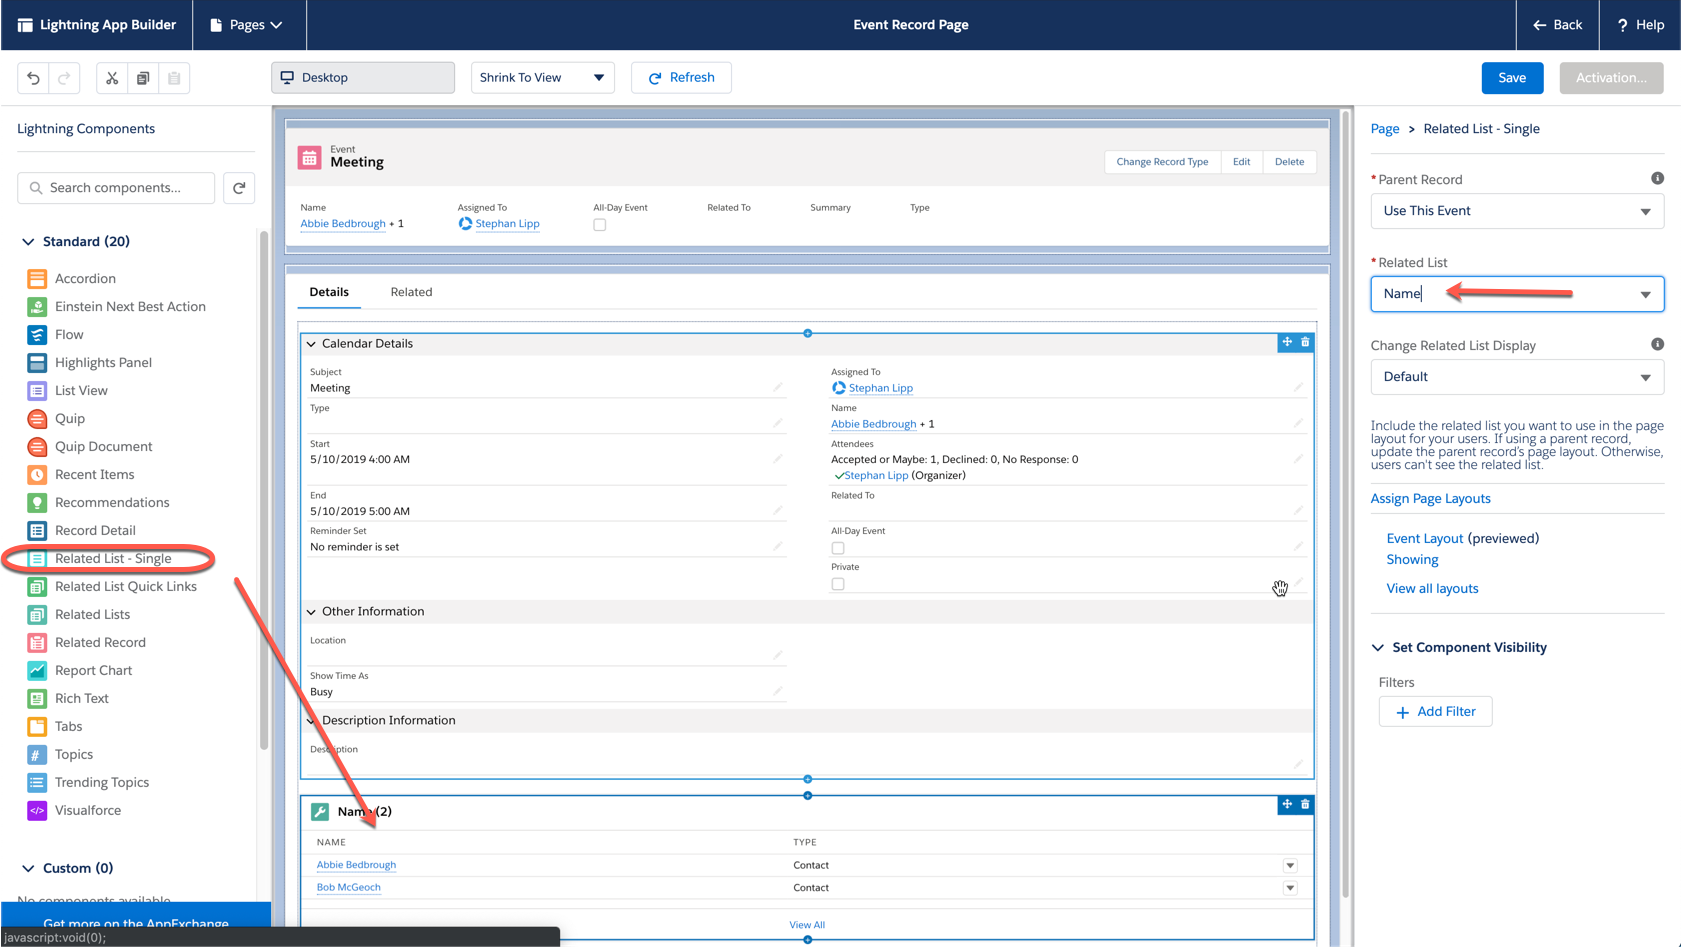
If you want to see who these contacts are, please add the "Name" related list to the layout, either to the related list tab (object page layout editor) or add a "Related List Single" like here to the Record's Lightning Page Layout





Comments
0 comments
Article is closed for comments.