Getting Started Series: Creating Linked Listings Follow
At this point, we've engaged a lead in the system and used Inquiry data to generate and identify a few listings we think our potential buyer would be interested in. How do we associate a Listing record with a Contact record in Propertybase? We create a Linked Listing.
Linked Listings allow you to create an association between a listing and a contact in the system. This allows you to easily send listings to contacts, see potential buyers when viewing a listing record and more.
Getting Started
To create a Linked Listing, select a listing from the Matching screen and click the Linked Listing button.
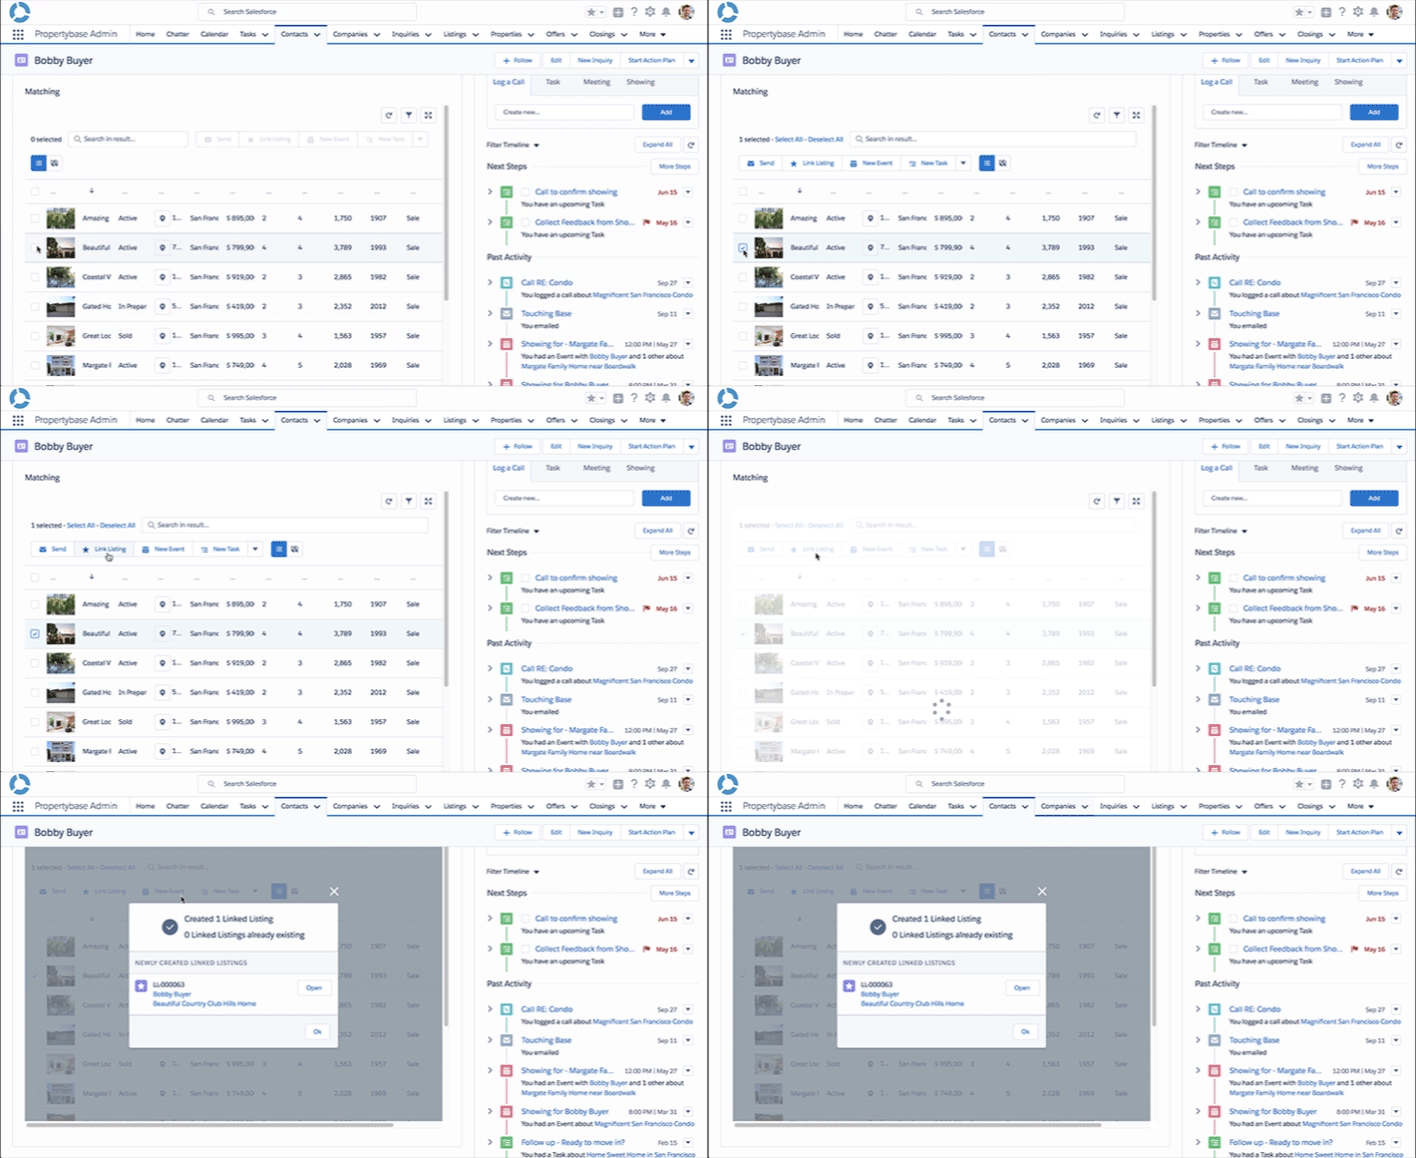
Alternatively, you can also click the New button on related Linked Listings on any Contact record.

Primary Features
Once you've created a Linked Listing, you can view it by clicking "Open" in the resulting modal window. Linked Listings will also show up under the Related tab, on any Listing or Contact record associated with it.
Actions & Details
Similar to other records in Propertybase, the first thing you see on a Linked Listing record are details and actions. Actions allow you to perform a variety of functions related to the Linked Listing. Below it, relevant details are displayed for the Linked Listing so that you can reference the information quickly.

Details Tab
This is where you will find all other fields for a Linked Listing. Information like status, contact, price and more. You can also record Contact feedback here as well.
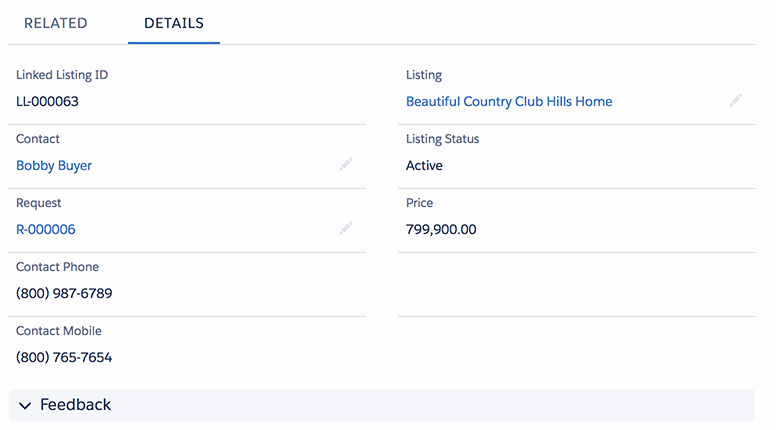
Related Tab
This is where you can take additional notes, upload files and view history for a Linked Listing record.
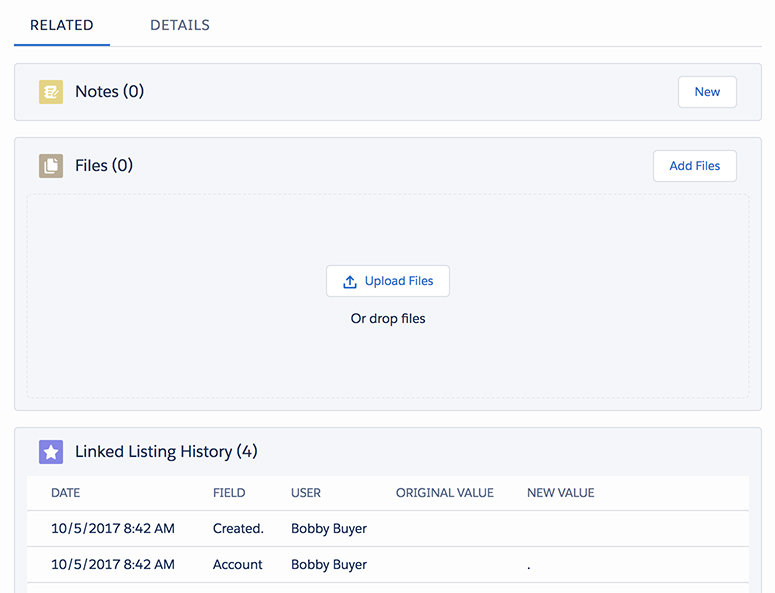
Activity
Like all records in Propertybase, you can also record and associate activities like calls, tasks and meetings with a Linked Listing.
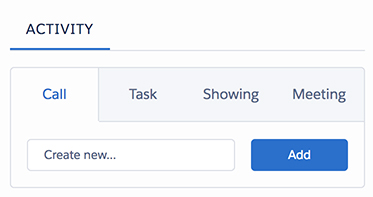
Additional Features
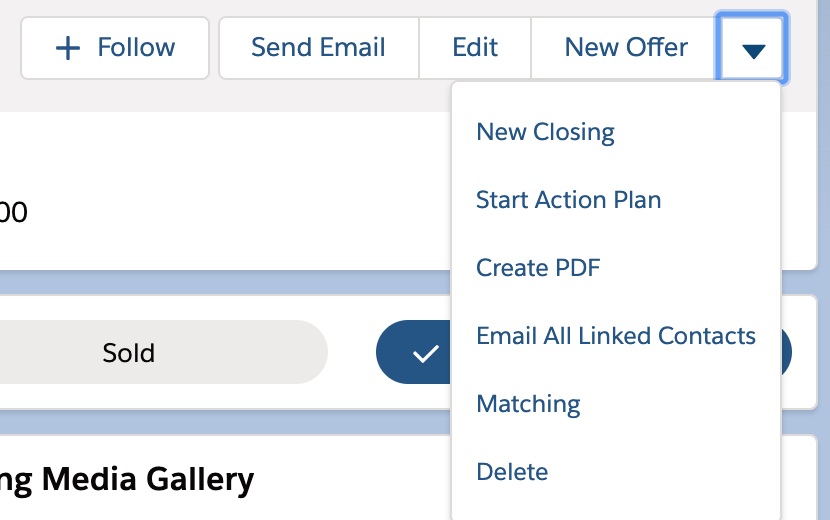
One of the big additional features of creating a Linked Listing is you can email all the contacts that have looked at the property. This is an action button in the top right corner. You can move this forward and not in the drop-down in the Page Layouts. This becomes handy if an offer falls through or you had an open house and you can quickly email everyone in the list.
This is Part 5 of 12 in our Getting Started with Propertybase series. We recommend you continue to follow along, in order, as we walk through the entire Propertybase process, from lead to close.
Getting Started with Propertybase: Table of Contents
Next Up: Using Quicksend
Once you've created a Linked Listing, it's time to send it to potential buyers. For that, we'll use the Quicksend feature.
Click here to learn about Using Quicksend in Propertybase.


Comments
0 comments
Article is closed for comments.