Core Feature: Using Dashboards Follow
If you haven't already, read through the Core Feature: Using Reports article. Knowing how to view and create Reports is crucial to understanding Dashboards. Dashboards are a tool in Propertybase that and extend the functionality of Reports. Put simply, Dashboards are used to view and organize multiple Reports at one time. Most Dashboards have a "theme" (Sales, Inventory, Users, etc.) and contain Reports related to that theme. In this article we'll cover how to organize your Reports into Dashboards, as well as how to view Dashboards and share them within your organization.
Table of Contents
Viewing Dashboards
Dashboards can be accessed through the main navigation menu by clicking the respective tab. If you don't see this tab, you can also access Dashboards by clicking the app launcher on the far left side of the navigation and selecting it from the list of features.

As shown in the example below, a specific Dashboard can be accessed by clicking the arrow in the Dashboards tab and selecting it.
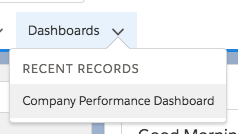
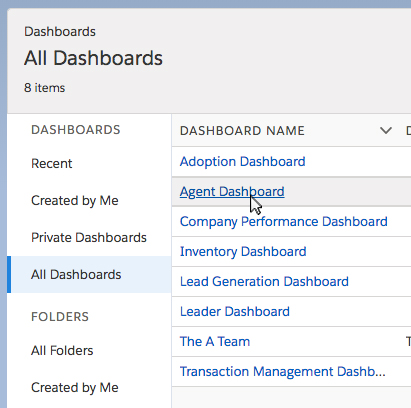
Clicking this tab will bring you to the most recent Dashboards screen. On this screen you will see Dashboards that you have viewed recently. To view other Dashboards, use the menu on the left side of the screen. To view a Dashboard, simply click on it's name.
Dashboard Actions
Clicking the name of a Dashboard will open it. In the top right hand corner of the screen are a list of actions for the current Dashboard. These actions are described in detail below.
Report Actions
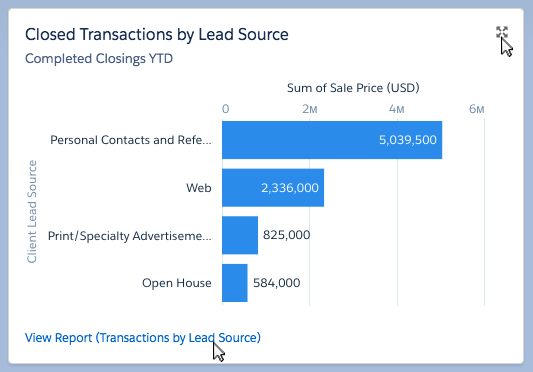
In addition to Dashboard actions, each individual Report has it's own actions. Clicking the top right corner of the screen ("expand" icon), will open the Report in a larger window, allowing for easier viewing. Clicking the link in the bottom left corner of a Report will open that Report in it's own window.
Download a Report
After opening a Report in a larger window you will be presented with an additional option. Clicking the download icon in the top right corner of the Report will download the current Report as an image. This is helpful when putting together documentation or presentations for your business.
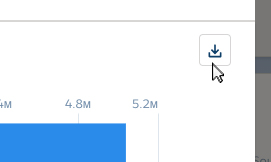
Table of Contents
Folders & Sharing
Depending on the Dashboard type and sensitivity of the information, they may be times when Dashboards should only be visible to specific Users. This can be accomplished through "folders". When you open the Dashboards overview page, you will see a menu for folders on the left side of the screen.
By default there are three folder types: All Folders, Created by Me and Shared with Me. Permissions for those folders are fairly self explanatory. You can also create new folders to share reports with specific groups within your organization.
- To create a new folder, click the New Folder button.

- Select a label and unique name for your folder, then click Save.
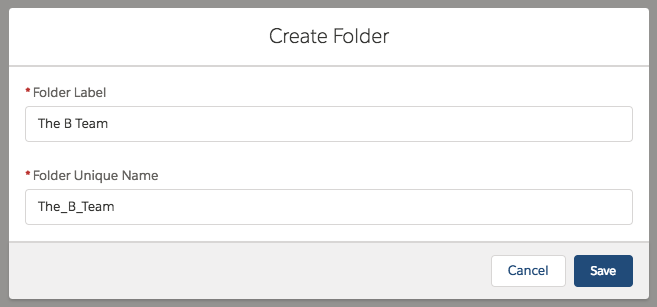
You just created a new folder. However, Propertybase will tell you that there are "No items to display." This will disappear as soon as a Report has been created in this Folder. Next, let's modify the sharing settings for this folder.
- Click All Folders on the left side of the screen.

- On the right side of the folder you just created, click the arrow and then click Share.

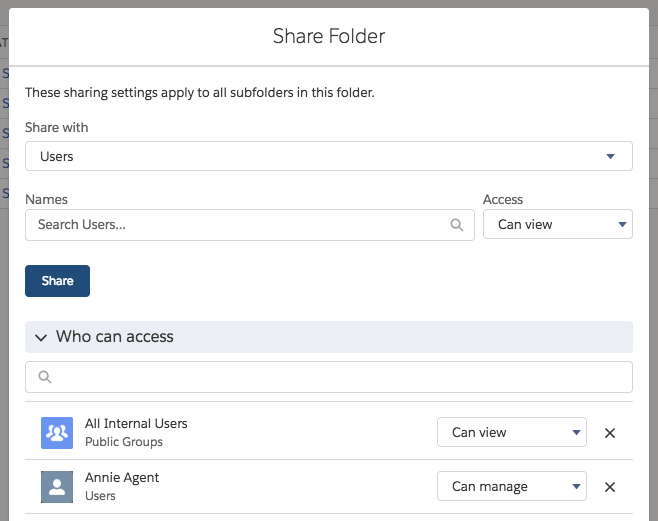
The following screen will provide several options to customize who can and cannot view the current folder.
Creating Dashboards
Like most features in Propertybase, the best way to showcase the power of Dashboards is to create one yourself.
- To create a new Dashboard, click the New Dashboard button.

Note: Don't see the button? Click the Dashboards tab from the homepage. You should see the button in the top right.
- Next, enter a name and description, and select a folder to save to.
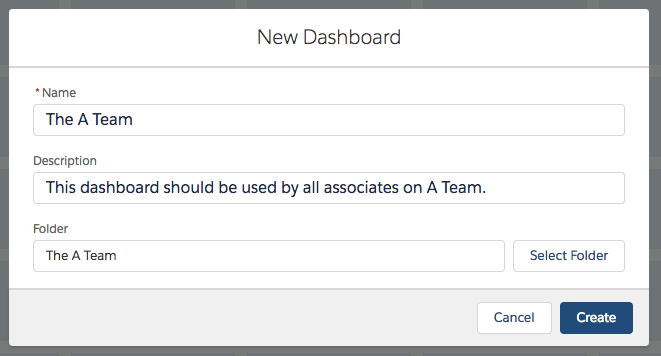
- When finished, click Create.
Adding Reports
On the following page you'll see a large, blue grid layout. These blue boxes denote the space available for the current Dashboard. Looking empty? Let's add some Reports!
- Click the "+ Component" button at the top of the screen.

On the next screen you will be prompted to select a Report. Use this screen, and it's navigation options, to find the Report that you would like to add.
- To select a Report, simply click it.

- Once selected, click Select in the lower right corner to add the Report.

The next screen will display visualization options for adding the selected Report. These options are very similar to the visualization options available when viewing Reports individually. (See "Core Feature: Reports" article, "Visualization" tab.)
- Once you are satisfied with your selection, click Add.

Nice work! You just added a Report to the current Dashboard. Next, decide where you want the Report to be located, as well as how large or small you want the Report to be. You can move the Report by clicking and dragging it. It will automatically "snap" to the blue grid boxes. You can adjust the size of the Report by dragging one of the "edge boxes" and shown in the image below.

Continue adding Reports and modifying their size and location until you are satisfied with your Dashboard.
- When finished, click Save in the top right corner of the screen.

This is Part 10 of 10 in our Propertybase Core Features series.
Propertybase Core Features: Table of Contents
- Contact Management
- Create & Manage Companies
- Sending Email with Quicksend
- Inquiry Management
- Listing Management
- Property Management (Coming Soon)
- Offer Management (Coming Soon)
- Closing Management (Coming Soon)
- Using Reports
- Using Dashboards


Comments
0 comments
Article is closed for comments.