

Mass Deleting Records Follow

There may be times when the data you have in Propertybase may need to be deleted in the masses and would take ages doing manually. Using the Data Loader, deleting records is done faster and with just a few steps.
The basic process is to export all the data that will be deleted into a CSV (.csv) file, including the record ID’s, and finally permanently deleted in Propertybase.
It is possible to export your data with the Data Loader available in the PB Setup or by creating a report using the Report Builder.
Creating a Report for the Data Loader:
Create a report with the criteria and filters needed to capture the exact records you would like to delete. Include the record ID in the report and all fields of valuable information to be used as a Back Up.
Using the Data Loader:
The Data Loader must be first downloaded and installed on your computer. To download this application you must go to: Setup/ Data Management/ Data Loader and click on Download. Once download is complete follow the simple installation instructions.
Export via Data Loader
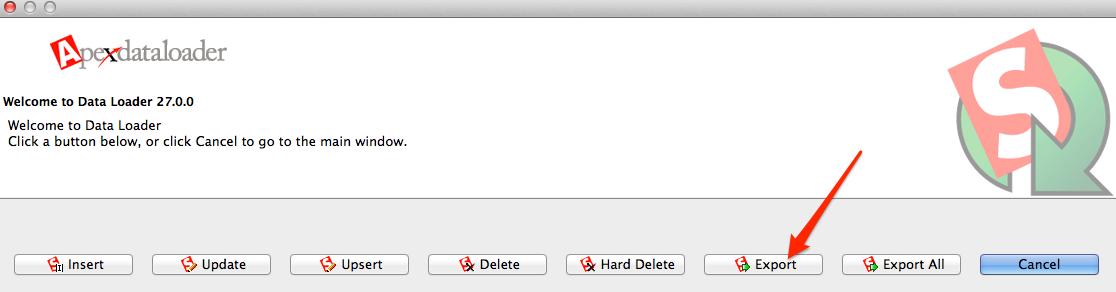
The first step is to choose the action you would like to preform using the Data Loader. In this case we would like to export the data.
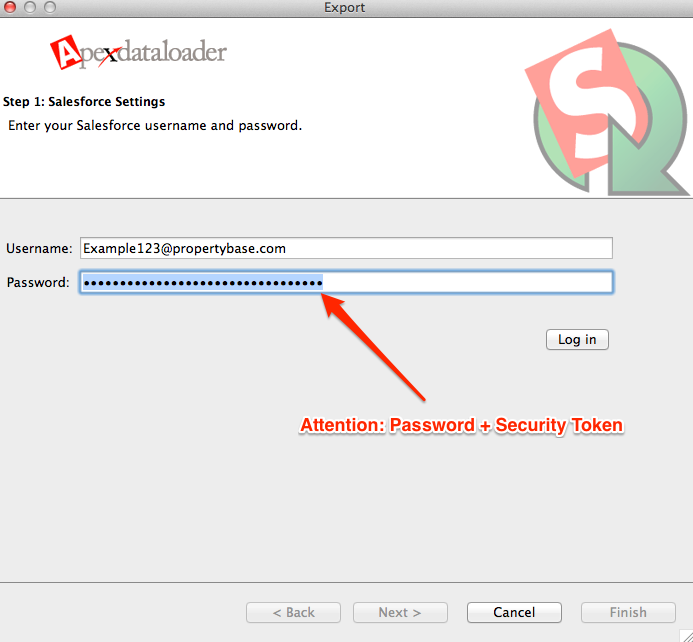
After selection is made, the Data Loader will prompt you to login. Use your username and password+security token.
If you are not sure what your security token is you can request in from within Propertybase. Please check out Security Token, to find out how.
Next select the object you want to export from, in this case we will export from the Contacts object. Click the browse button to choose where the document (.csv) will be saved and name it.

On the next page, you must select the fields that you wish to export. When the final goal is a mass delete, we STRONGLY suggest you select all fields. This will be used to back up all your data within that object in Propertybase in case anything would happen. If you would like to delete only a group of records, be sure to establish criteria in the section that states: "Create the where clauses to your query below." Here you will be able to select fields and values to make sure that your records are filtered out correctly and only the records you wish to delete will be exported.
IMPORTANT: The names of the fields that appear in the data loader are API names and may differ to the field labels seen in the normal user interface. Here is a great article on how to identify the field API names.

Once all fields are selected, click Finish and all data from that particular object will be exported to the location you specified in the naming step.
After export is complete open the CSV file. The file will display columns with the fields that were exported. Save a copy of this file to have a back up just in case.

Next save a new copy of the CSV file, with only the ID column in it.
Go back into the data Loader and select the Delete option. Choose the object from where you wish to delete the records, and upload your csv file with the ID’s.
You will then need to map the ID field from the CSV with the field found in Propertybase (in this case also ID). This can be done easily be selecting the Auto map fields button.
Finally select the Finish button.
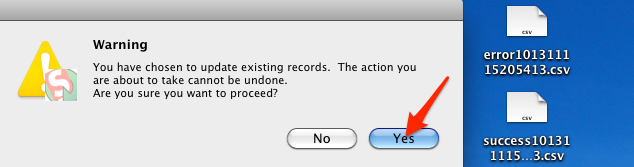
A pop up will appear with a warning, you can proceed and click Yes.
An error and success file will be saved on your desktop, so that you can see if there might have been any errors.
Once the process is complete, all of the records in that particular csv file will be permanently deleted.
**REMEMBER: Always back up your data before ever doing a Mass Delete of records.
If you want to access / delete archived activities (tasks or events) you need to select "Export All" and and choose as condition "IsArchived" equals "true" and do not forget to press the "Add condition" :-)
As this can be really a lot of records be prepared to wait a while for the export.
Comments
0 comments
Please sign in to leave a comment.