Configuring Email Campaigns Follow
In this article, we review the steps required to install and configure Propertybase Email Campaigns.
Note: Already installed? Click here to learn more about using Email Campaigns.
Table of Contents
- Enable control center tile
- Activate Propertybase Mailservice
- Add "opt out" to contact page layout
- Importing default templates
- Customizing templates
- Disable trial mode
- Sending from a custom domain (optional)
Enable control center tile
When configuring Email Campaigns for the first time a setting must be added to Propertybase. This setting allows the "Mass Email Campaign" tile to appear in the Control Center.
Note: With the release of Propertybase 1.536 this step is no longer required. Click here to update.
- Add the following setting to Propertybase: "mass_email_campaign_active" equals "true".
Need help adding this setting? Click here.
Activate Propertybase Mailservice
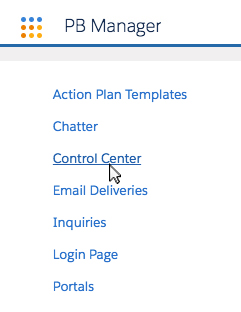
- Open the Control Center through the App Launcher.
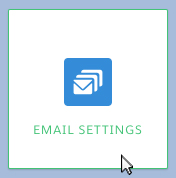
- On the Control Center page, click the Email Settings component.
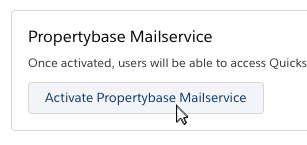
- Click Activate Propertybase Mailservice below the Home tab.
That's it! Your account can now utilize all of the features that rely on Propertybase Mailservices to function.
Add "opt out" to contact page layout
Just like drip campaigns, there is a specific "opt out" field located on each Contact record. When a recipient unsubscribes from a campaign, this box will become "checked" on their Contact record.
Follow the instructions below to add this field.
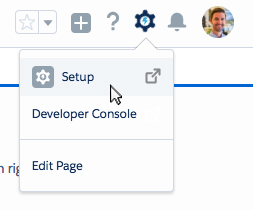
- Click the gear icon in the top right of the screen, then click Setup.
- Next, click Object Manager located near the top left of the screen.

- On the following page, scroll down and click Contact.

- On the left side of the screen, click Page Layouts.

- Next, click Individual Contact.

- Next, drag "Email Campaign Opt Out" from the list of fields above to the area shown in the animation below.
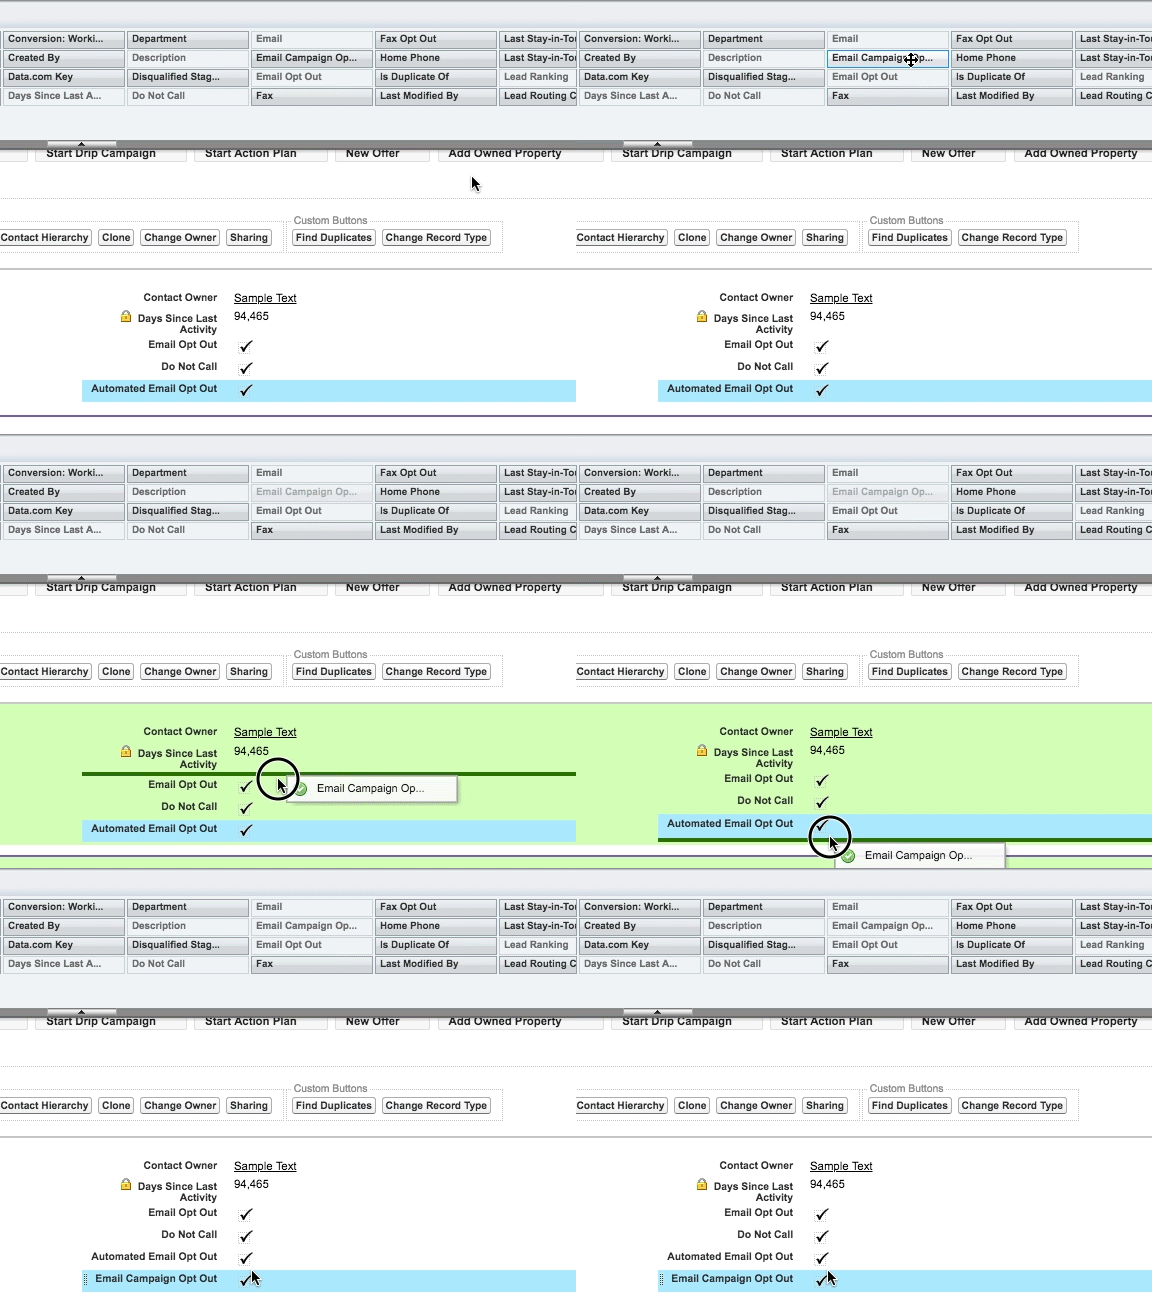
- Lastly, click the Save button located near the top of the page.

Done! The email campaign opt out field will now appear on all Contact records.
Importing default templates
Propertybase has developed several default templates to help get you started. Two of these templates, "Branded Template" and "Default Template", as well as five new templates created just for the marketing center can be downloaded from the Propertybase update page.
 Not a reader? Watch this video instead.
Importing default templates
To import marketing center templates, follow the instructions below.
- Visit https://update.propertybase.com and click the blue button.

- Once logged in, click the Resources tab at the top of the page.

- Click the import link underneath Mass Email Campaigns.
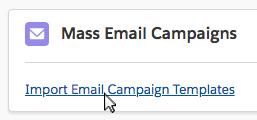
- When prompted, click Execute Update.
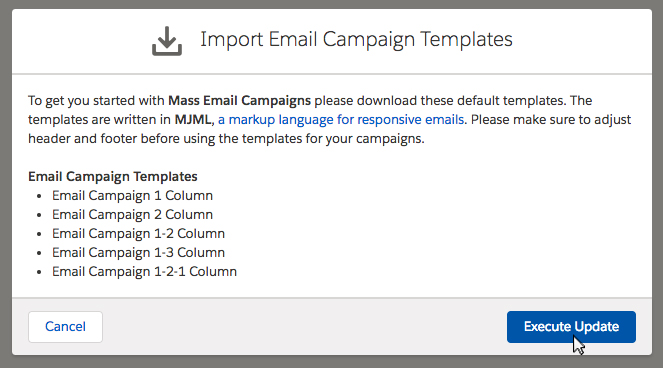
Done! You now have the default marketing center templates.
Customizing templates
Once you have imported templates from the update page, you will want to customize them with your company's logo. To update these templates to match your company's branding, follow the steps below.
 Not a reader? Watch this video instead.
Customizing templates
- Click the App Launcher in the top left corner of the screen, then click Templates.
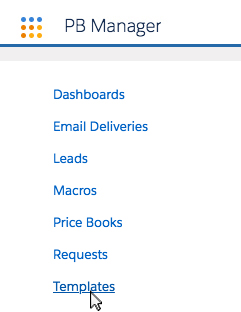
- Locate the marketing center templates and select one of them.

Customizing template header
Follow the steps below to update the template header.
Note: It is recommended that only those with proficiency in HTML & CSS coding language modify templates. Propertybase does not support or offer guidance for HTML or CSS code.
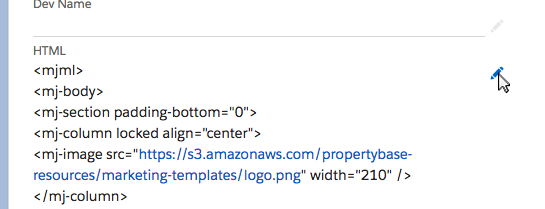
- Scroll down and locate the "HTML" section, then click the pencil icon.
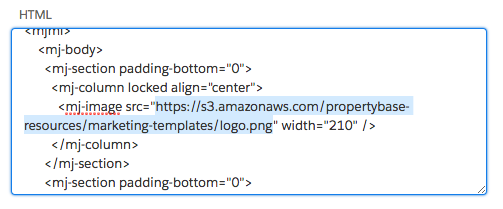
- Replace the highlighted text below with the URL to your company logo.
Note: The recommended logo size for marketing center templates is 210x36.
Customizing template footer
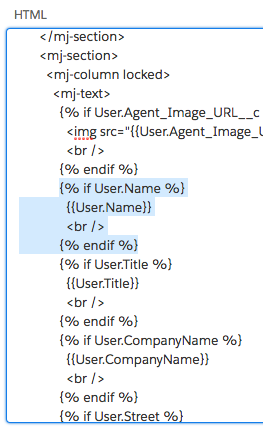
By default, several "merge fields" are available in the footer. These fields automatically pull information located on the User record. For example: "User.Name" will pull in the name of the User sending the email. You can leave these fields at their default, remove some of them, or remove all of them.
Note: It is recommended that only those with proficiency in HTML & CSS coding language modify templates. Propertybase does not support or offer guidance for HTML or CSS code.
Follow the steps below to update the template footer.
- To remove a field, highlight the tags that surround it and then delete the code.
- When finished scroll to the bottom of the page and click Save.

Note: Repeat the steps above for all marketing center templates. (1, 2, 1-2, 1-3 and 1-2-1.)
Disable trial mode
When you install mass email campaigns for the first time, a "trial mode" will be enabled. During this trial mode all standard features are available, however any scheduled campaigns will be sent to your email address only, regardless of which recipients are selected.
Note: While in trial mode, no email campaign statistics, no email campaign snapshots and no detailed email events are created when sending out campaigns as they are always sent only to the sender.
To disable this limitation, please contact Propertybase Support.
In your message, please include the following information:
- Org ID
- Email Address
- Your Domain
Once submitted, our support team will notify you when the trial mode has been deactivated for your account. Until then, please continue to familarize yourself with all available email campaign features!
Note: Want to send emails from a custom domain? See below.
Sending from a custom domain (optional)
By default, Propertybase will send all email campaigns from your domain via sendgrid. When a recipient receives your email campaign, the "from address" will look similar to the image below.

If you would like to remove the "via sendgrid.net" messaging shown in the image above, please include that when sending your support request above. Our support team will reply with additional instructions.
Ready to build a campaign? Click here to learn about using Email Campaigns.


Comments
0 comments
Article is closed for comments.