

Updating Your Email Signature Follow

Updating your email signature in Propertybase is simple. The following article will walk through that process.
Custom Signature Block
The "Branded Layout" (included by default) automatically pulls information from your Propertybase profile to create your email signature. You can modify what appears (or doesn't appear) in your signature by editing your profile information. To edit your profile follow the steps below:
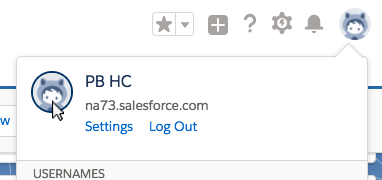
- Click the profile image at the top of the screen, then click the profile image again.
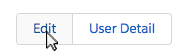
- Next click Edit in the top right corner of the profile.
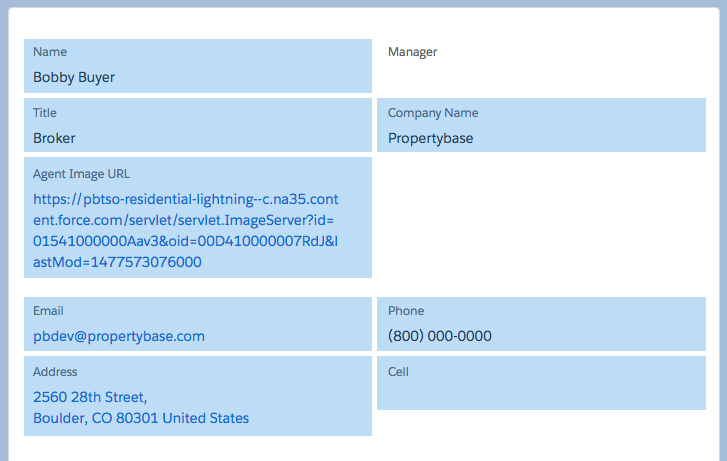
The following fields will appear in your email signature:
- Name
- Title
- Company Name
- Profile Photo URL (See how to change User Image here)
- Phone
- Cell
- Address
- When finished, click Save.
Customizing Signature Block
In order to customize your Signature Block, HTML expertise will be required. Please know that Propertybase does provide a "out of the box" Signature Block.
To customize the Signature Block for an existing template, follow the steps below:
- Click the App Launcher in the top left corner of the screen, then click PB Templates.
- Select the template that you wish to edit.
- Click Edit in the top right corner.
- Modify the code located in the HTML field.
Note: When making extensive changes, it is much easier to copy the HTML out of Propertybase and edit using third-party software. When finished you can copy and paste the code back into Propertybase.
- When finished, click Save in the bottom right corner.
Comments
0 comments
Article is closed for comments.