Changing the logo in your Branded Layout Template Follow
Not sure where to find the "Branded Layout" email template, please check Templates in Quicksend.
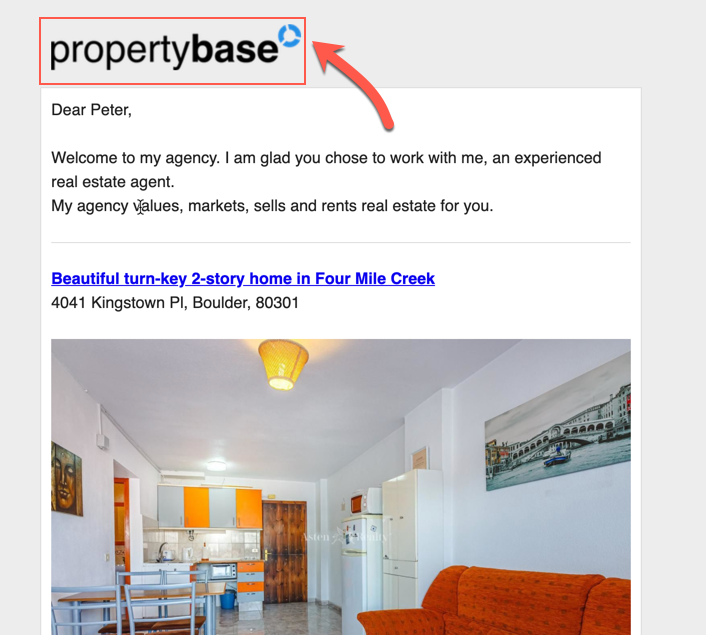
By default the Propertybase logo is displayed on the Branded email template used for emailing clients.

To change the logo in your those emails you must first upload the image to the Propertybase Documents Tab or on your website's server (anywhere it is publicly accessible). To do this please make sure you have switched your interface from Lightning to Classic via your User Menu, if not already working on Classic.
- In Classic, go to "Documents" (might be hidden behind + symbol in tab bar)
- Name your image
- Add it to a Marketing folder or any folder you will find it again
- Make sure you mark it "Externally Available" by clicking the appropriate check box field.
- Select the file from your computer you want to upload
- Click "Save" to upload the image
- After saving the image, you will see a preview of the image with the description and details of the newly created document. Right-click on the image and select "Copy Image Address" or "Open image in a new Tab". This will open the image into a new tab with its unique URL. Copy this URL.
Then switch to your Templates:
- Go to "Templates" in AppLauncher or "Email Templates" in Control Center
- Find "Branded Layout"
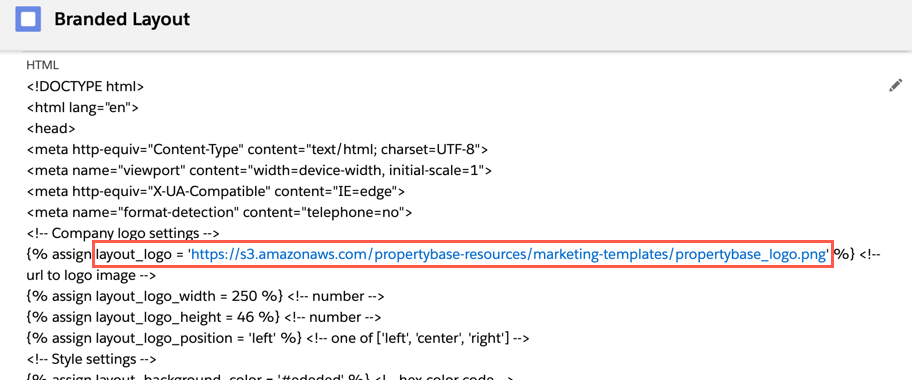
- Replace the URL within the quotation marks as seen here:

If your Propertybase version is on Classic (1.398.8 and lower): go into Setup > Communication Templates > Email Templates and find the Recommendation Email. If you don't see it immediately, check and through the folders drop down, there will be a Recommendation Emails folder. Click Edit, you will see the HTML code for the email. Don't be intimidated ;) simply scroll down to the middle, there will be a section marked as logo with:

Paste your image URL between the quotation marks in the src="" section. Then click Save. This will add your logo to the email!
PDF Templates:
To replace the example logo in PDFs, find a template named "pdf_logo" or otherwise similarly named. Then place the URL as done for the email template/branded layout. Follow the same steps as explained above and replace the URL.
The steps are the same, but we explain them in this article in detail as well.


Comments
0 comments
Please sign in to leave a comment.