

Managing Pictures and Video Follow

Managing your listing images within Propertybase is a great way to display what the property looks like to your users, in your website or even in PDF print outs. With our improved Media Loader we have gotten rid of the major bugs of our older version and have provided a sleek new look to it as well making it simple to use. Now you are able to add links to videos and upload all types of documents. Here is a more in depth look at the Media Loader.
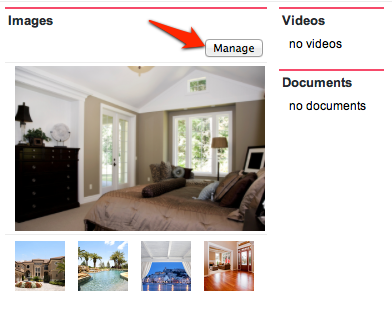
You can enter the Media Loader for each particular Listing record. Simply press the Manage button found under the Media Manager section.
This will open up a smaller window with the actual Manager. The following image depicts the loader. Each part has been numbered with further explanation below:
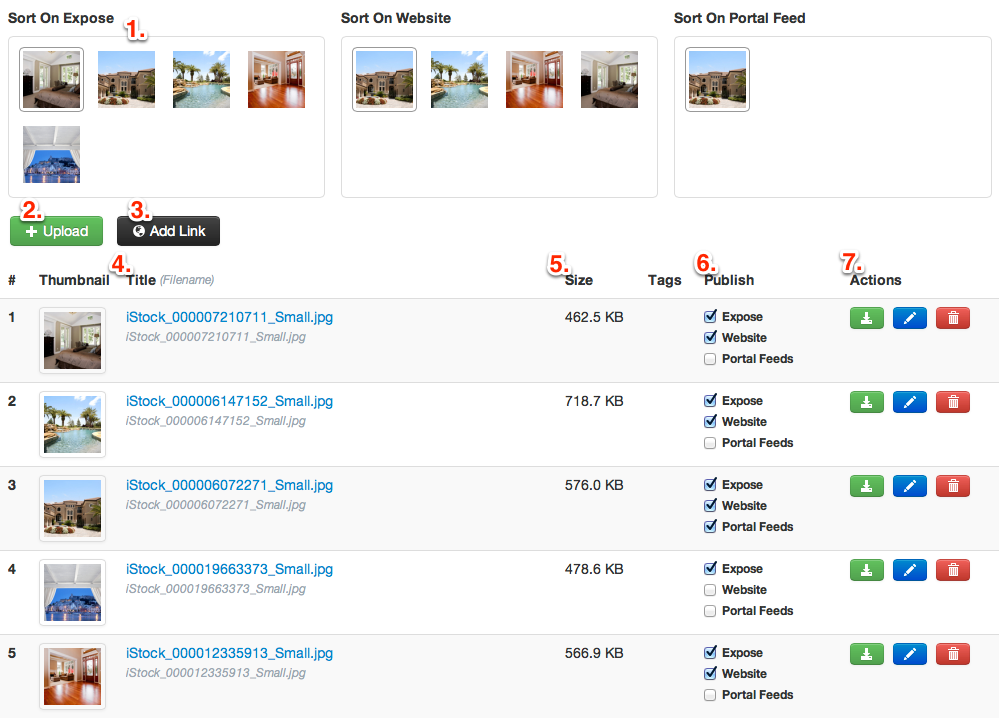
The following is a description of the different parts of the Media Manager:
1. Media Pools - There are three media pools found at the top, which determine where your images will be presented (Expose, Website or Portal Feed). Once the files are in one of these pools, it is possible to sort them by using your mouse and dragging and dropping them into the order you want. The Main image will be the first, while the image that follows is the second, etc.
2. Upload Button - Use this button to upload images or documents to the Media Manager from your computer. (NOTE: If the Upload button is not functional, please open this article to learn how to enable it.)
3. Add Link Button - Use this button to add a link from a video of the listing to have available within the listing record. You Tube and Vimeo will be auto tagged and a thumbnail image might be available.
4. Thumbnail and Title - The thumbnail is a small preview of your image and when pressed will provide a larger image in a pop up window. The title of your image will appear next to the thumbnail and is used as a link to see a larger version of your image.
5. Size - This column shows the actual size of the image or will recognize if the image/video is an actual link.
6. Publish - Using the three checkboxes provided you are able to determine where you would like to present your images. Simply add a checkmark to any of the three options and your image will appear.
7. Action - There are three action buttons:
- Green Download Button - Downloads your image/video/document directly in your browser for visibility outside of the media manager
- Blue Edit Button - You are able to edit the Title of the media and add tags to easily determine which type of media it is
- Red Delete Button - Used to delete media for your listing record
You are able to combine the images uploaded on the media loader to the Cover Flow, so everyone in your organization has a better experience using them.
*ATTENTION: Deleting an image from the Media Manager will permanently delete it from Propertybase.
Jump to Setting dimensions for website images and watermarks to find out how to resize your images and add watermarks.
Comments
0 comments
Article is closed for comments.