How to set up Sales Rotations Follow
The Sales Rotation package allows you to automatically allocate your Web Requests/Enquiries to individual Sales Agents.
To learn more about the Sales Rotation and its assignment rules, please refer to the Sales Rotation Overview Help file.
To Set up a New Sales Rotation, please click the step-by- links below which will guide you through this process;
- Go to the Sales Rotations Tab. Click the + button at the top right of your screen to access all of the available Tabs for your profile.
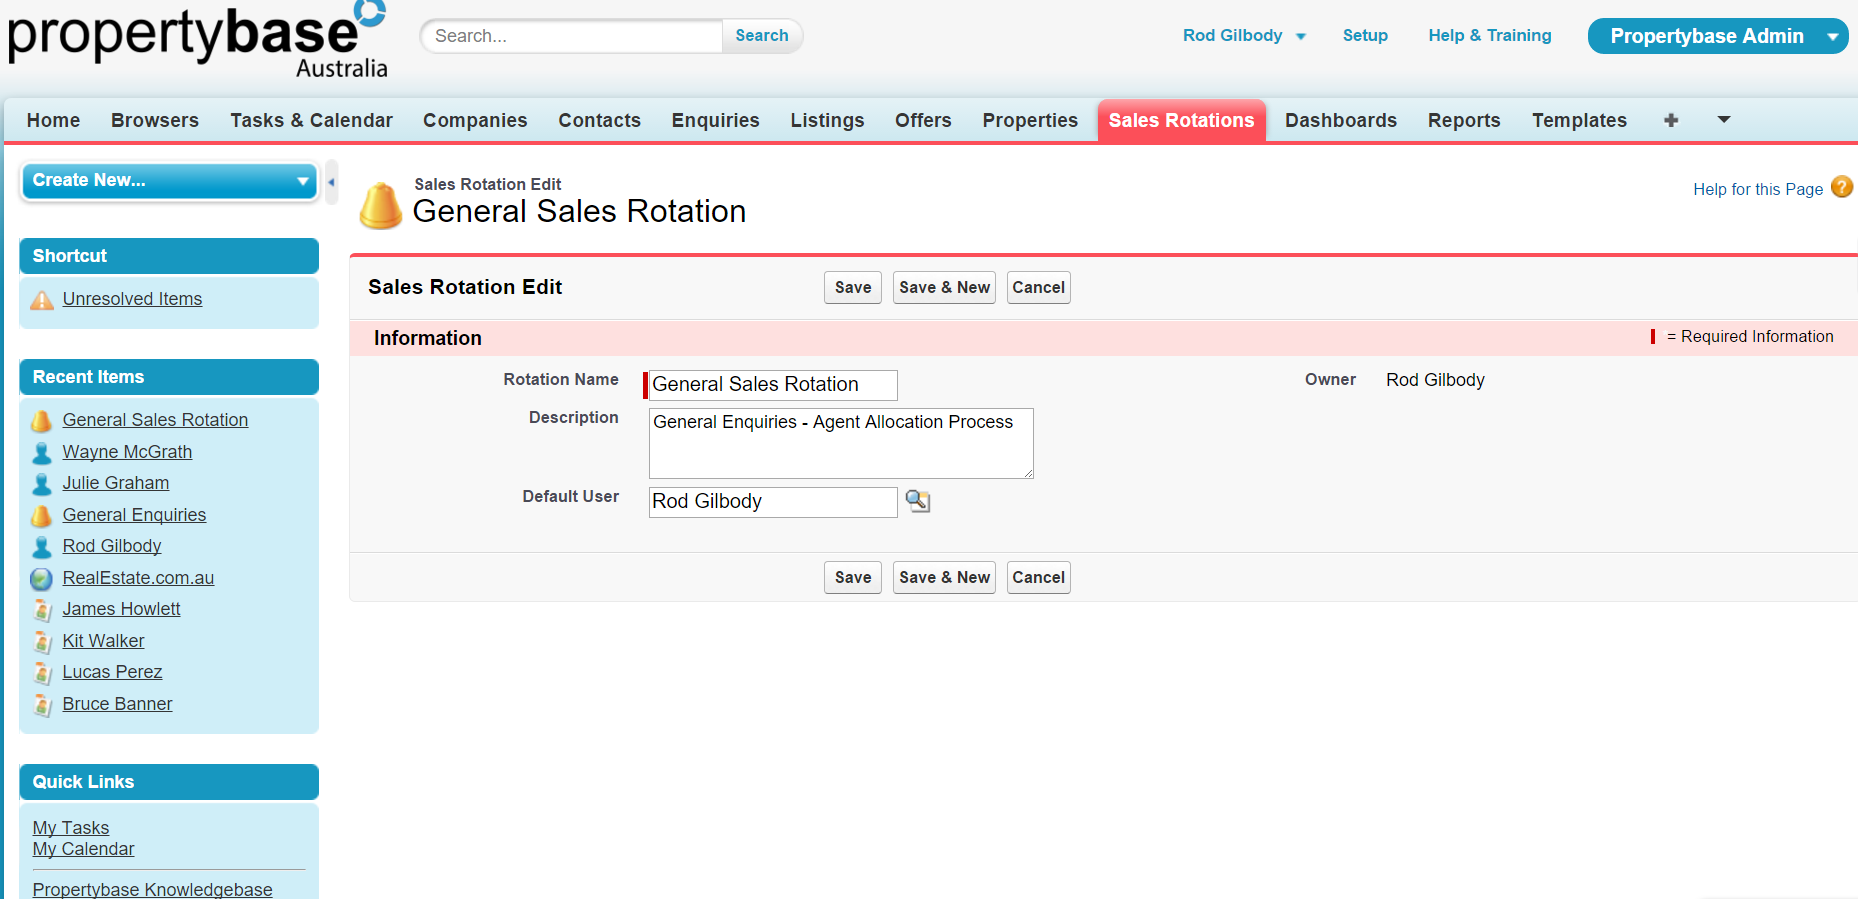
- Select New and enter the new Sales Rotation Name, in this example the Sales Rotation is called ‘Sydney Project’
- Enter the New Sales Rotation Description, such as Sydney Project - Agent allocation process
- Enter the New Sales Rotation Default user, who must be set up as a Propertybase User and will receive any Rotation notifications
- Click Save

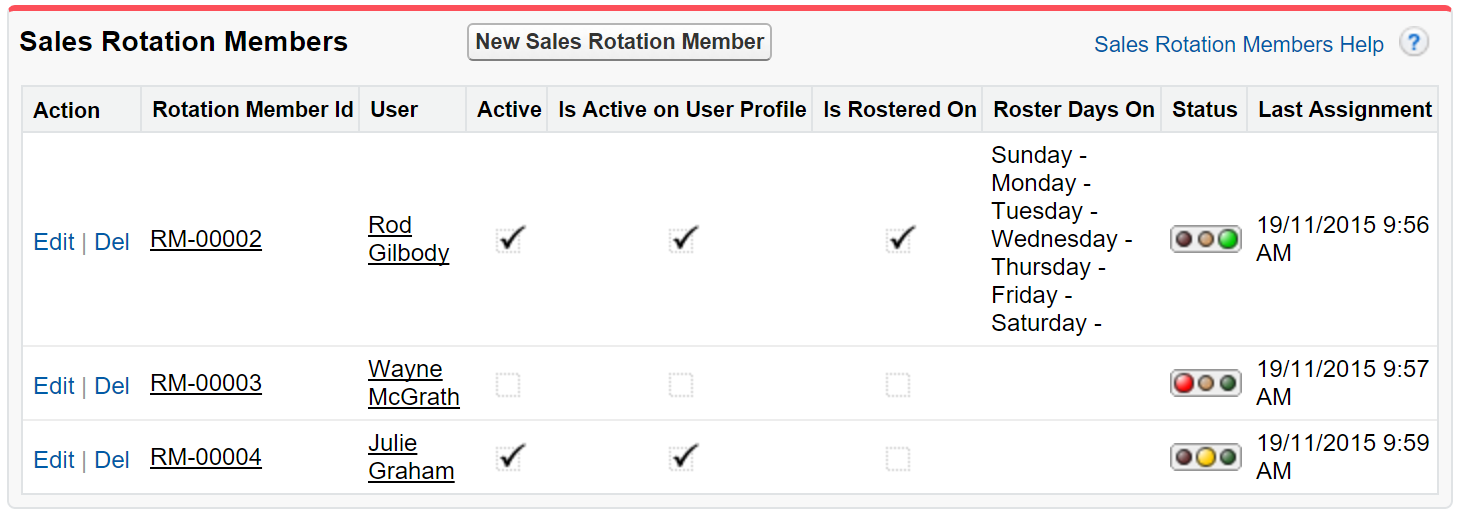
- Within your new Sales Rotation, go to the Section Sales Rotation Members and click on the button 'New Sales Rotation Member'.
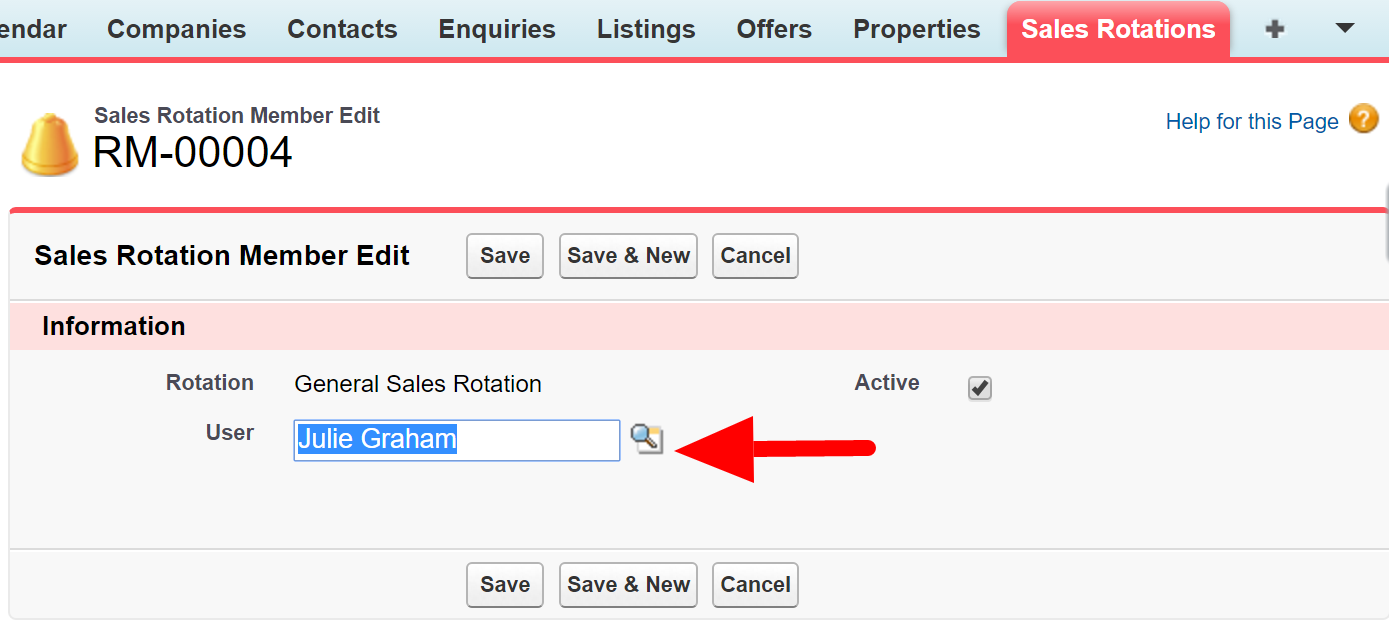
- In the Sales Rotation Member edit page, click on the magnify button to select the Propertybase user that you would like to add as a Sales Rotation Member and select

NOTE: Each Member on the Sales Rotation will have a status and they are only assigned new Requests if their status is green. The status can be turned off from the Sales Rotation record to skip an Agent for a period of time if necessary. Alternatively, Users can be deactivated from the User’s record while on Annual Leave or unavailable.

Green If Active is True on the “Sales Rotation Members” record AND “Sales Rotation Active” field on the User Profile
Orange If Active is True on the “Sales Rotation Members” record AND “Sales Rotation Active” field on the User Profile is False
Red If Active status in the User record is FALSE or Active is False on the “Group Member” record AND the “Sales Rotation Active” field on the User Profile
- Go to Setup Administer > Manage Users > Users > Click on the Sales Rotation Member's name, to edit their User Profile. Click Edit and in the User Detail > Additional Information section, as below tick the checkbox for 'Sales Rotation Active' and enter the Rotation Members Working Days (e.g Mon, Tues, Thurs, Friday & Saturday and leave out Wed & Sunday if they are rostered days off).

NOTE: If you do not see these fields you will need to Edit Layout and add them to the page.
- Set up your Web enquiries to write to the Rotation Name field on the Request, so that your New Sales Rotations can allocate the Requests correctly. If you do not see the field on the enquiry page layout, add the field to the page, it has already been created for you. Lightning Classic
-
If you are using the WebToProspect API to create new contacts in Propertybase then you will have to ask your Web Programmer to add in the API Field name for the Sales Rotation (pbasr__Rotation_Name__c) on the Request object to the data submitted through the API. The package will then allocate the enquiry accordingly.
-
If you are not using the WebToProspect API then you will have to create internal workflows to set the Rotation Name field on the Request object in accordance with your own defined workflow trigger.
- If you are using Front Desk you can push your Sales Rotation in your email and it will start the process. If you don't have the ability to add it to your email you will need to submit a ticket to the support team above, to let them know that you will want the pbasr__Rotation_Name__c to be defaulted to your specific rotation.


Comments
0 comments
Please sign in to leave a comment.