Displaying Data Between Objects Follow
In Propertybase it is possible to have field data display on multiple objects. This is done through what is called Cross Object Formula. Although every field must be owned by a single object (and only editable on that object), that same information can be displayed on multiple objects. This would be helpful, for example, if you wanted to show the Company field (from the Company object) on a Listing object. We will use that as our example in this article. Also if you want to use merge fields for email templates as they are only one object at a time.
Creating a Field
The first step in linking data between objects is to create a new custom field. This field should be created on the primary object.
- Click the gear icon in the top right of the screen, then click Setup.
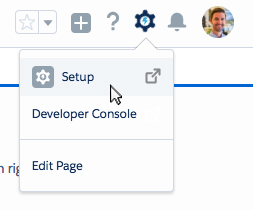
- Next click the Object Manager tab.

- Scroll down and click Listing.
- Next click Fields & Relationships in the left menu.
- In the top right corner of the page click New.

- For field type, select Formula.

- In the top right corner of the page click Next.
- Select Text for formula return type.
- At the top enter Field Label and Name, in this example we are using 'Company'.

- Click Next.
Next we need to create the formula that will be used call our field.
- Select the Advanced Formula tab and then click Insert Field.
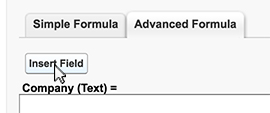
- Find the Company Name field and click Insert.

Now our new field will pull information from the original Company Name and display it.
Note: You can concatenate, or combine two fields using &" "&. For example first and last name would look like this: PropertyOwnerContactID__r.FirstName &" "& PropertyOwnerContactID.LastName.
- Click Next.
On the next screen select field-level security for the new field. In this example, we will leave everything default.
- Click Next.
On the next screen select which page layouts you want this field to be added to. In this example, we will leave all selected.
- Click Save.
Done! You should automatically see the newly created field on the Listing pages.
Picklist Values
If you use a picklist in a custom field you must incorporate the Text function for it to display correctly. To incorporate a field value into a function, see below:
- In the functions picklist find TEXT and then click the Insert Selected Function button.
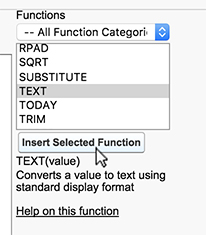
- Replace 'value' inbetween the parethises with the custom field value.

Multi-Picklist Values
If you want to display multiple picklist values in your field, use the formula below. Each picklist value must be referenced.
| IF( INCLUDES(Multi_Picklist_field_name__c , "Pick List Value 1"), "Pick List Value 1; ","") & IF( INCLUDES(Multi_Picklist_field_name__c , "Pick List Value 2"), "Pick List Value 2; ", "") & IF( INCLUDES(Multi_Picklist_field_name__c , "Pick List Value 3"), "Pick List Value 3; ", "") & IF( INCLUDES(Multi_Picklist_field_name__c , "Pick List Value 4"), "Pick List Value 4; ", "") |
Note: When using advanced formulas, you can use the Check Syntax button to check your work.

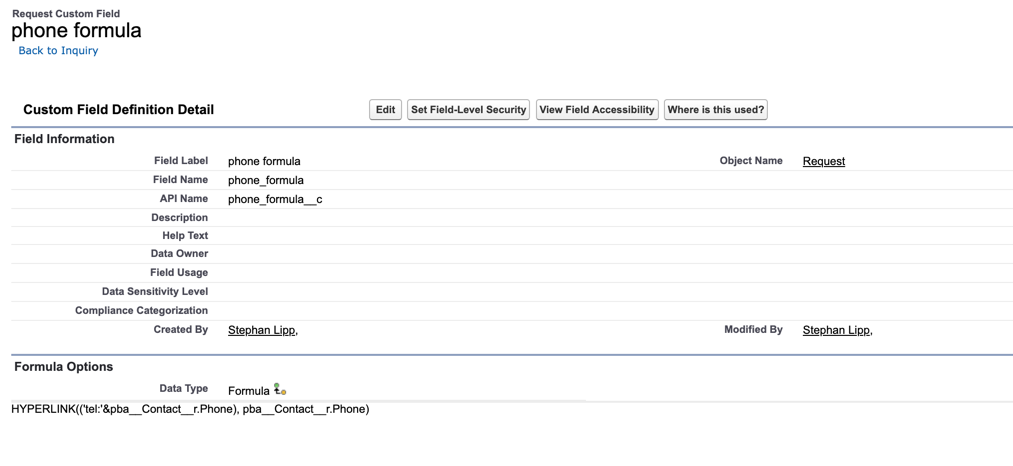
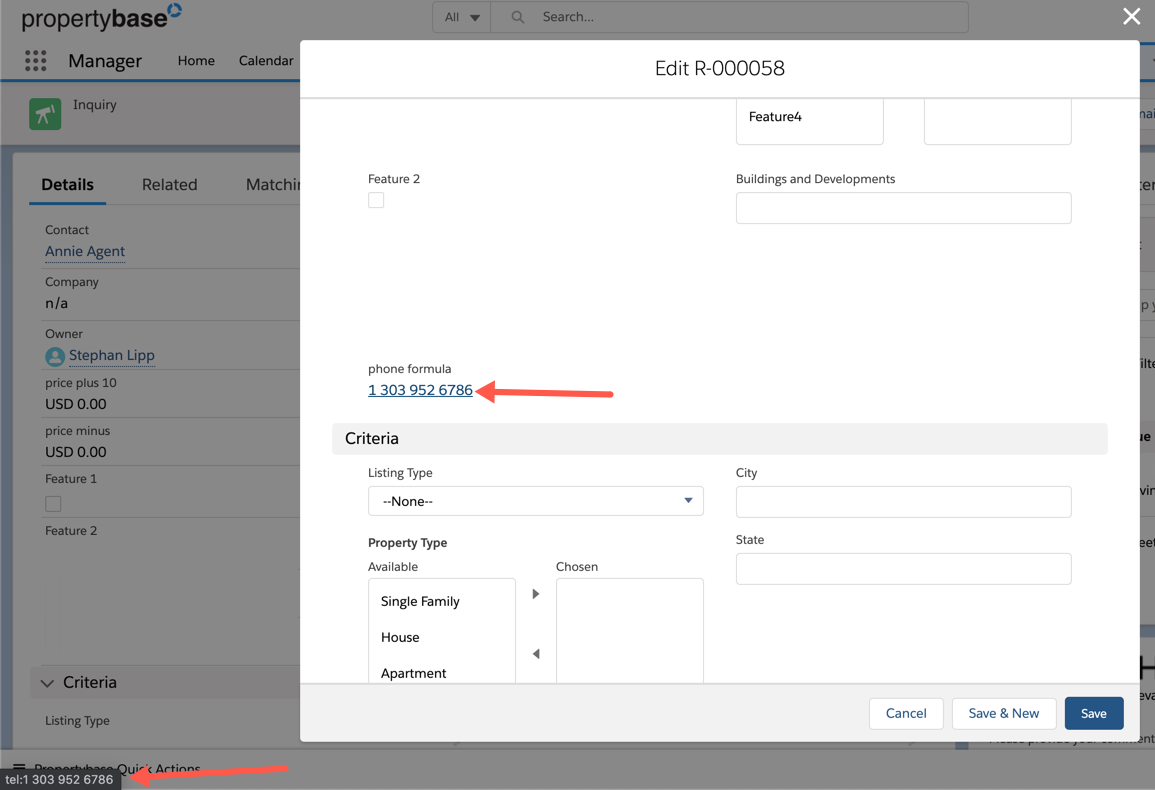
Tip - Phone Numbers: if you are trying to show a Phone number on another record and don't want to simply see it but also use it as a clickable number, try adding it in a formula text field as a hyperlink e.g.
| HYPERLINK(('tel:'&pba__Contact__r.Phone), pba__Contact__r.Phone) |


Comments
0 comments
Article is closed for comments.