Configuring Drip Campaigns Follow
In Propertybase version 1.474 we've added Drip Campaign functionality to all Contact record pages. This article will walk through the process of configuring Drip Campaigns to work in Propertybase accounts upgrading to 1.474 or later. Already configured Drip Campaigns? Learn how to send your first Drip Campaign.
How do I know if I've configured Drip Campaigns?
Before completing the steps below, you must update to version 1.474 or later.
Configure Unsubscribe
Note: If you haven't registered a public API site, click here to do that now. If you have previously registered a public API site, please verify it's configured correctly by reviewing these steps.
Next, we need to configure the public API site to support unsubscribe.
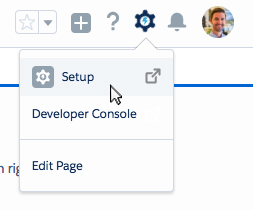
- Click the gear icon in the top right of the screen, then click Setup.
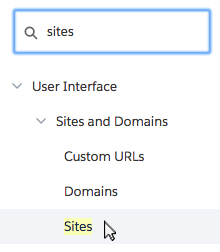
- Type 'sites' in the Quick Find menu, then click Sites.
- Scroll to the bottom of the page and click the name of your public API site.
Note: Your public API site could also be called "Webservices" or something else entirely.

- Next scroll down the page and click Edit next to Site Visualforce Pages.

- Using the Add button, move pba.Unsubscribe to the Enabled column.
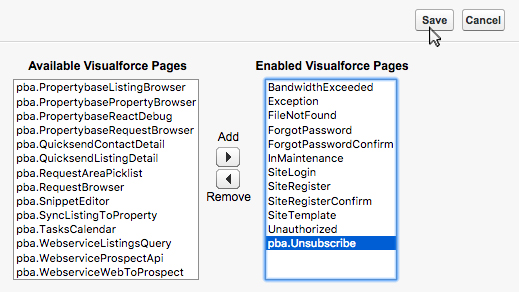
- Click Save.
Done! You have successfully configured your public API site to support unsubscribe.
To continue configuring Drip Campaigns, click the "Restart Email Scheduler" tab at the top of this page.
Restart Email Scheduler
Next we need to restart the Email Scheduler.
- Click the app launcher in the top left of the page and select Control Center.
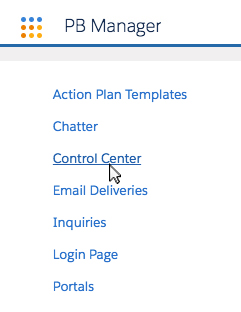
- Click "Propertybase Services" (formerly known as Email Settings)
- Click "Automated Emails".
- Click "Restart Scheduler".

- When promted, click Restart Scheduler.
Done! You have successfully restarted the Email Scheduler.
To finish configuring Drip Campaigns, click the "Layout Configuration" tab at the top of this page.
Configure Contact Page Layout
Once you have completed the first two steps, we need to add necessary buttons to the contact record page.
Do I need to complete this step?
- Open any Contact record.
If you see the Automated Email Opt Out checkbox on the contact details page, you can skip this step.
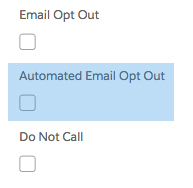
- Open any Contact record.
If you see the Start Drip Campaign button in the actions menu, you can skip this step.

If you see both of the components above, you can skip this entire last step.
Congrats! You have successfully configured Drip Campaigns. Learn how to send your first Drip Campaign.
Add Automated Email Opt Out Checkbox
- Click the gear icon in the top right of the screen, then click Setup.

- Click Object Manager at the top of the screen.

- Scroll down the list of Objects and click Contact.
- On the left side of the screen, click Page Layouts.
- Select Individual Contact from the list of layouts.
- At the top of the page, click Fields in the grey box.

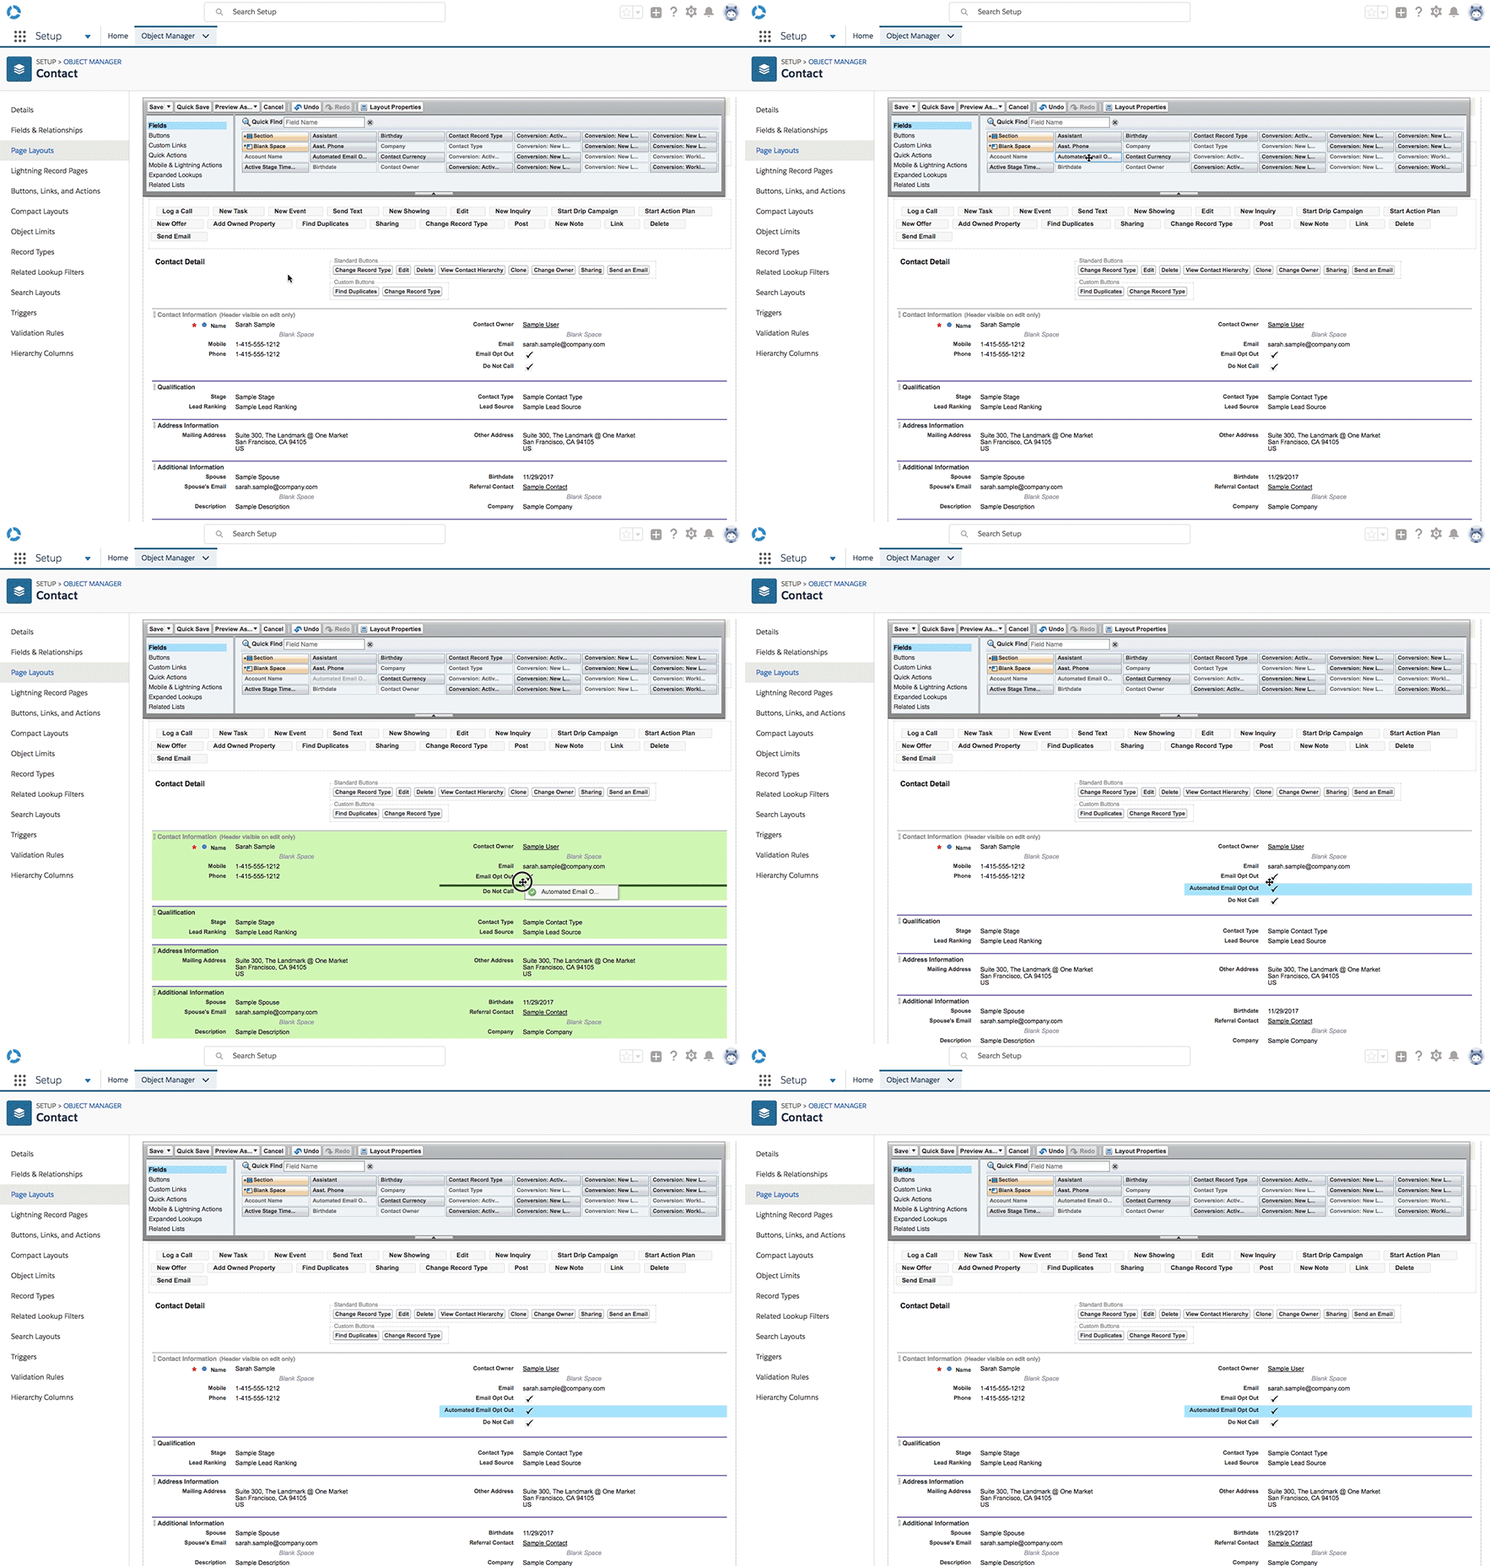
- Drag 'Automated Email Opt Out' from the grey box at the top of the screen to the position shown below.
Add Start Drip Campaign Action Button
- At the top of the page, click Mobile & Lightning Actions in the grey box.
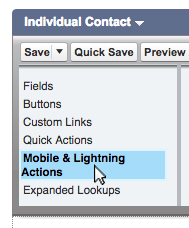
- Drag Start Drip Campaign from the grey box at the top of the screen to the position shown below.

- Next click Related Lists at the top of the page.

- Drag Drip Campaigns from the grey box at the top of the screen to the position shown below.
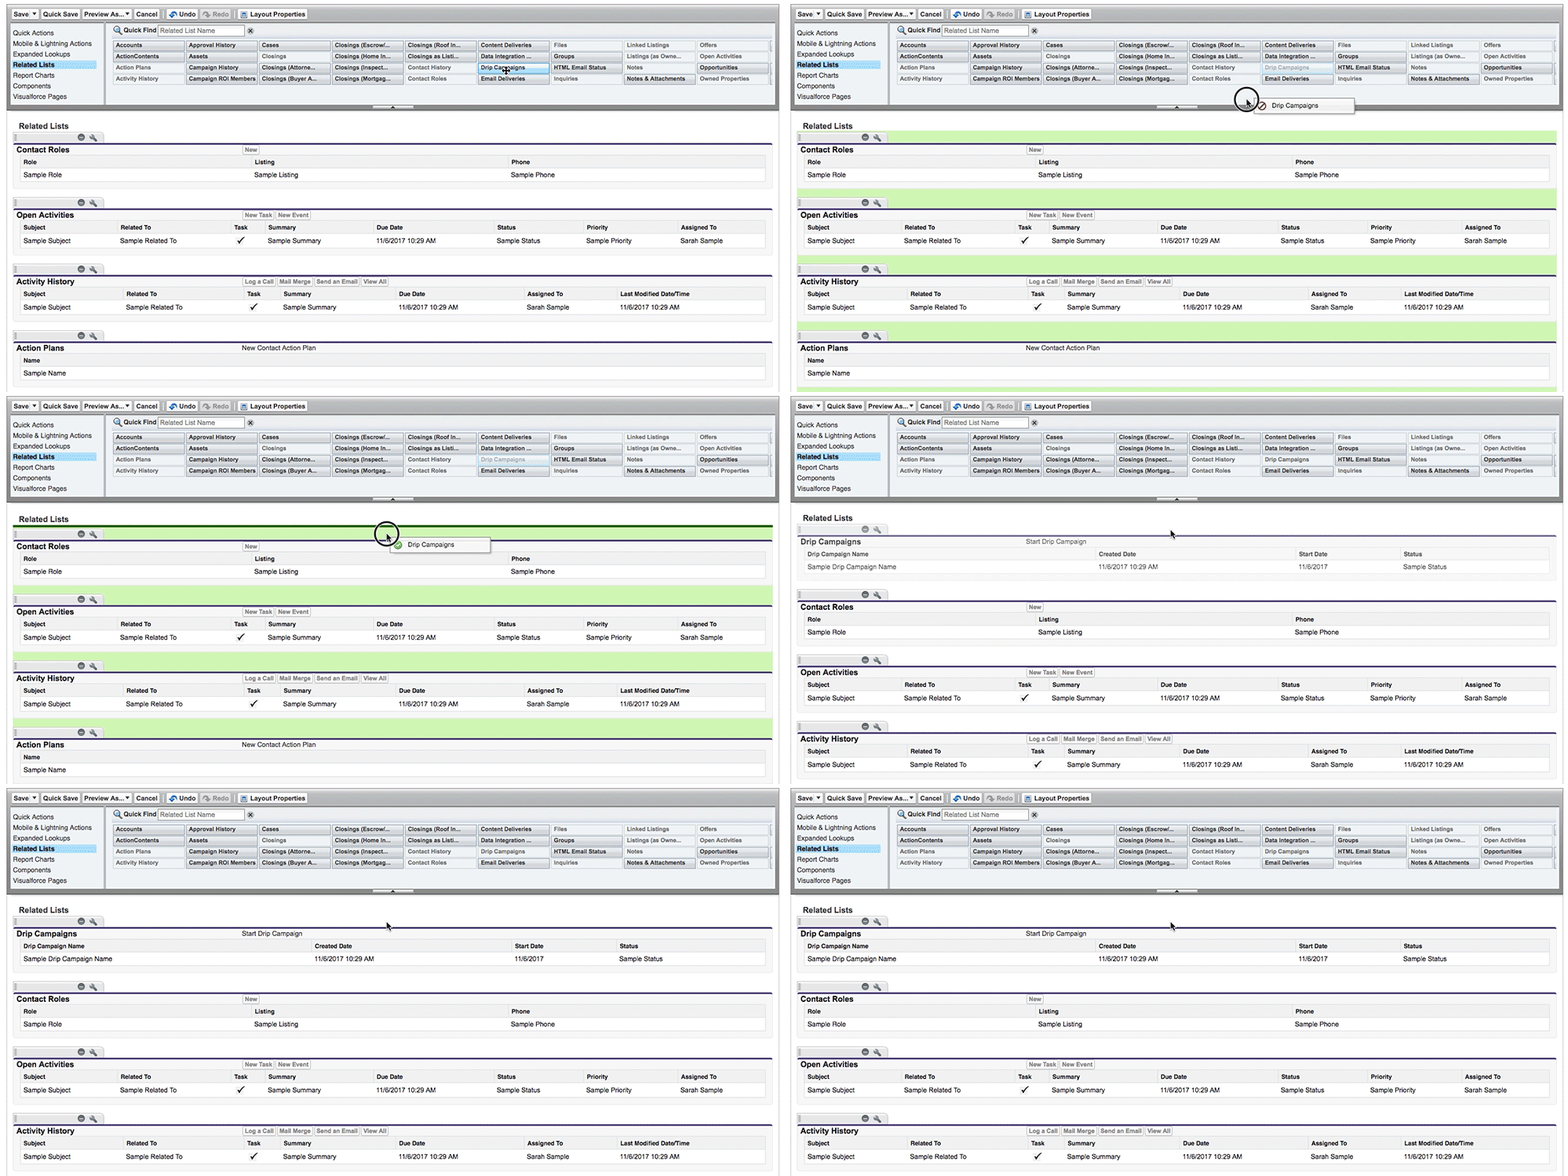
- Next click the Properties icon next to Drip Campaigns.
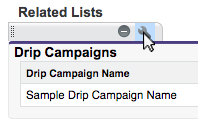
- Configure properties for Drip Campaigns based on the image below.

- Click save at the top of the screen.
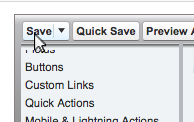
- Repeat the same process for the Company Contact layout.
Congrats! You have successfully configured your account to support Drip Campaigns.
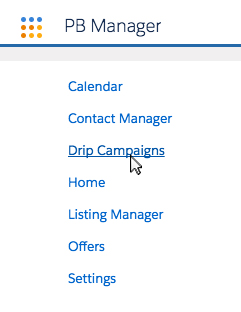
Click here to learn more about using Drip Campaigns in Propertybase.



Comments
0 comments
Article is closed for comments.