

Using Contact Roles Follow

Many real estate properties have a single owner, but that's not always the case. When a property has multiple owners it can be difficult to track relationships between those involved. Propertybase has a solution for this called Contact Roles. Contact Roles allow you to specify a specific relationship between a Contact and a Listing record. For example, if you want to track multiple owners of a Property, as well as Appraiser, Contractor, etc. you can do so using Contact Roles.
Overview
Without an understanding of the relationship between Properties and Listings, you may find understanding Contact Roles difficult. To summarize, when a new Listing is created all existing data from the corresponding Property record is imported. By design the Property object does not include Contact Roles, so these must be defined after a new Listing record is created.
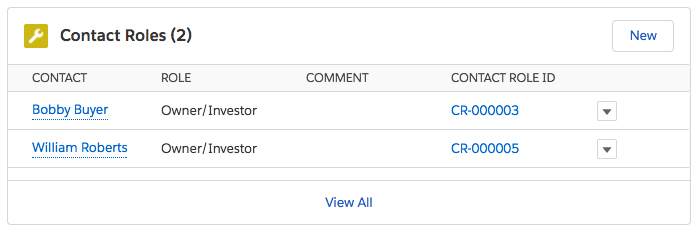
Contact Roles can be found on any Listing record, under the Related tab. Here you can view all Contact Roles for a given Listing. New Contact Roles can be created by clicking "New" in the top right corner.
Creating New Contact Roles
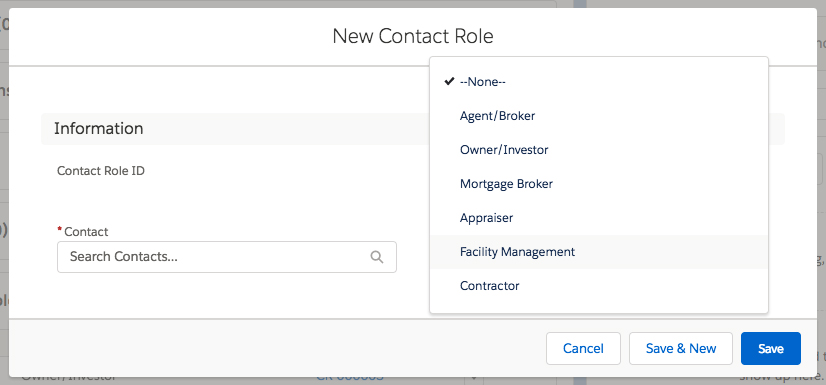
When you create a new Contact Role the following fields are available: Contact, Currency and Role.
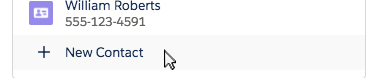
Contacts are limited to records in your Propertybase account, however you can create a new contact by clicking the New Contact option at the bottom of the Contact list.
Currency should match the local currency of the select Contact.
By default Role has the following options available:
- Agent/Broker
- Owner/Investor,
- Mortgage Broker,
- Appraiser
- Facility Management
- Contractor
- Builder/Developer
- Stager
- Property Manager
- Landlord
- Lender
- Other
Once all fields are filled, simply click Save to create the new Contact Role.
Advanced Options
Like most things in Propertybase, you can customize Contact Roles to fit your specific business needs.
Adding Contact Roles to the Property Object
By default, Contact Roles are only available on the Listing object. This is because we encourage all users to take full advantage of the Listing/Property relationship - rather than just using Properties and ignoring Listings. That being said, the following steps will walk you through adding Contact Roles to the Property object.
- Open any Property record.
- Next, click the gear icon at the top of the page, then click Edit Object.

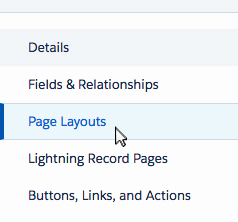
- On the left side of the screen, click Page Layouts.
- Click Property Layout under Page Layouts.
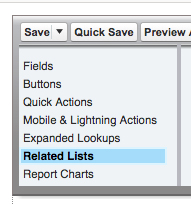
- At the top of the page, click Related Lists in the grey box.]
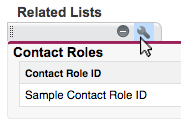
- Drag Contact Roles into the Related Lists below.
- Next click the edit icon next to Contact Roles.
- Configure properties for Contact Roles based on the image below. (Feel free to deviate.)
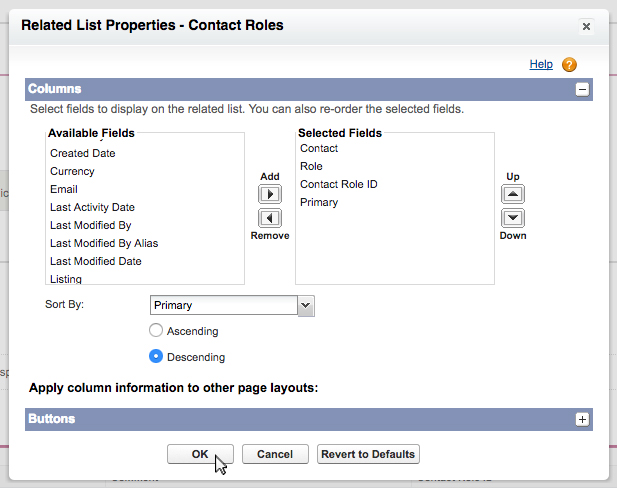
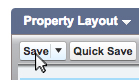
- Click Save.
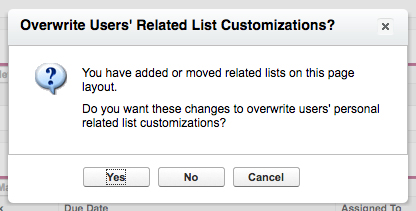
- When promted, select yes or no depending on your preferences.
Done! You've successfully added Contact Roles to the Property object.
Creating Additional Roles on the Contact Roles Object
By following the steps below you can add additional roles to the Contact Roles object.
- Open the Object Manager.
- Select the Contact Roles object.
- Select Fields & Relationships in the left-hand menu.
- Scroll down and click Role.
- Scroll down to Values and click New.

- Enter your new role into the available textbox.
- Click Save.
That's it! You've successfully added a new role to the Contact Roles.
Comments
0 comments
Article is closed for comments.