

Using Action Plans Follow

Regardless of industry, everyone has groups of recurring tasks that must be completed - and real estate is no exception. Individually these tasks may be small, but together they make up a substantial part of day-to-day business and are crucial to operating efficiently. To help facilitate this, Propertybase includes a task management feature known as Action Plans. In this article, we'll cover everything you need to know to start using this powerful feature.
Note: Missing buttons? Click here to configure Action Plans for your account.
Prerequisites
Before working with Action Plans (or "APs"), there are two important steps that must be taken. First, make sure you are on the latest version of Propertybase. Once on the latest version, make sure you have imported the default Action Plan Templates from the Propertybase Update Page.
Updating Propertybase
To update Propertybase, visit https://update.propertybase.com and follow the instructions. Alternatively, you can use the "update check" feature located within Propertybase. You will see this feature on the right side of the homepage, upon logging into your account.
Importing Action Plan Templates
Action Plan Templates allow you to quickly create new APs. In this section, we will walk through the steps required to import the starter templates created by Propertybase. These templates include APs for new closings, buyers, sellers, listings and more. For more information on using templates, see the "Using Templates" tab on this page.
Note: You may already have these templates in your account. Importing them again will fill your account with duplicate records. If you are not sure, click the red box below.
How do I know if I already have the default templates?
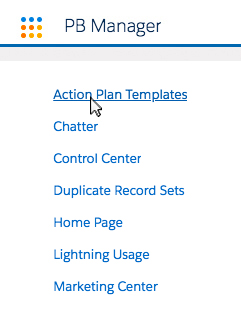
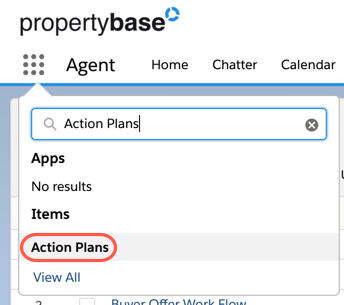
- From the home page, click the app launcher and then Action Plan Templates.
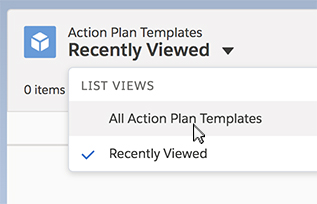
- Change the list view from Recently Viewed to All Action Plan Templates.
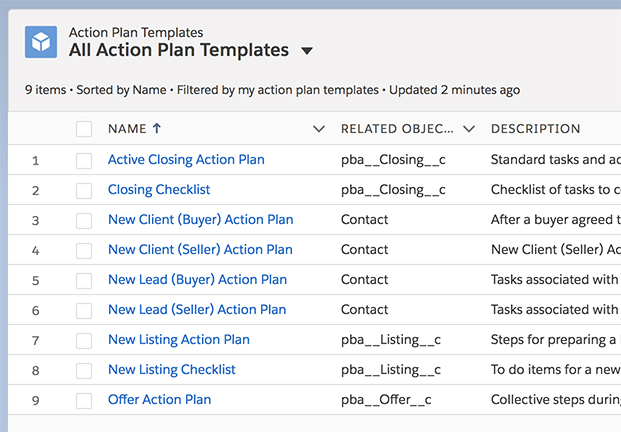
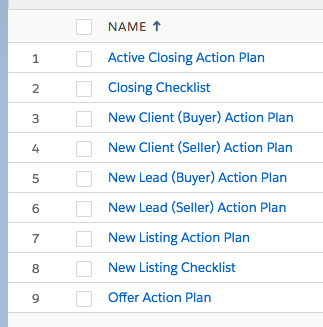
If you see the records in the image below, then you already have the default templates. If you do not see these records, you need to import the default templates.
To import the default templates, visit https://update.propertybase.com and follow the instructions below.
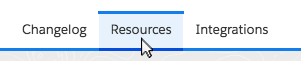
- Click the Resources tab at the top of the page.
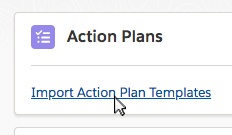
- Underneath Action Plans, click the import link.
- When prompted, click Execute Update.
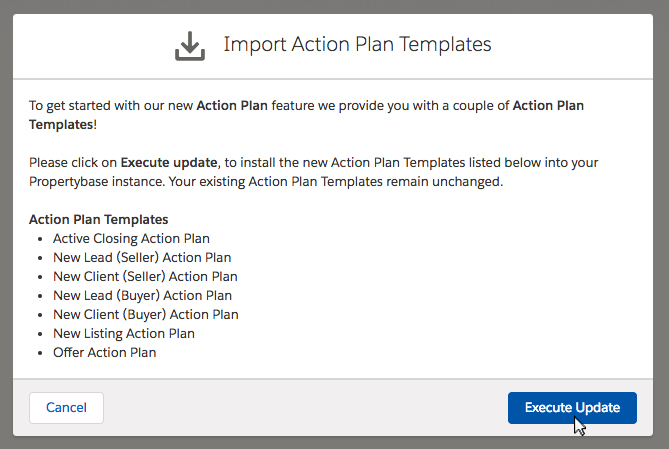
Congrats! You now have the default Action Plan templates from Propertybase.
Feature Overview
Put simply, an Action Plan is a group of individual tasks. These tasks outline actions (emails, phone calls, etc.) needed to reach an overarching goal (close deals, reach leads, etc.). This goal is usually the name of the Action Plan (e.g. New Lead Seller Action Plan.) However, there are additional features available that make Action Plans more than just a glorified task list. These features include task dependencies, categorization, prioritization, email reminders and more. Below is a breakdown of these individual features.
|
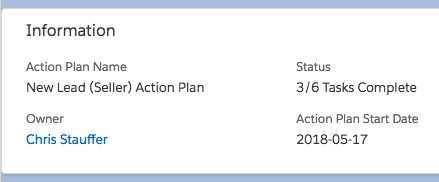
Information One of the first things you will see when opening an AP is an information section. This section displays basic information for the current AP. |
|
|
Related Record In the related record section of an AP you will see the record that the current AP relates to. |

|
|
Tasks Tasks are the main focus of an AP. In this section you will see the Tasks contained in the current AP. Subject The Task subject provides a short description for the current Task. Task Dependency If a dependency is listed, that means the current Task cannot be completed prior to its dependency. Days Later This field tells an individual Task how many days later it's due, based off the AP start date. Due Date This field shows when an individual Task is due. Assigned To This field displays the User that the current Task is assigned to. Category This field categorizes the current Task. Available categories include e-mail, phone, meeting and misc. Status This field shows the status of the current Task. Available statuses include not started and completed. Priority This field shows the priority of the current Task. Available priorities include low, normal and high. Send Email If checked, this field will send a reminder email to the assigned User when the current Task is ready to be completed. Reminder If checked, this field will show a reminder notification (inside Propertybase) to the assigned User when the Task is ready to be completed. |

|
Ready to create an Action Plan? See the "Creating Action Plans" tab at the top of this page.
Table of Contents
Creating Action Plans
Like many of the objects in Propertybase, Action Plans can be created several different ways. The table below outlines the many different ways to start a new Action Plan.
|
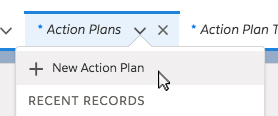
Action Plan Tab To quickly create a new Action Plan, click the drop down arrow in the Action Plan tab, then select the New Action Plan option. |
|
|
Action Plan List View Page Alternatively, you can click the New button (top right corner) from the Action Plan list page. Where is the the list view page?

|

|
|
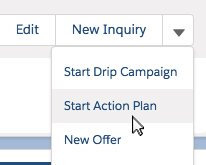
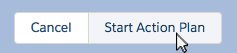
Related Record Did you know that all Action Plans must have a related record? This record is selected when creating an AP manually. However, you can also start a new Action Plan directly from several objects available in Propertybase. To do this, click the Start Action Plan button located in the actions menu. (The image to the right shows how to create a new Action Plan from a Contact record.) |
|
Regardless of the method you chose above, the screen for creating a new Action Plan looks the same. The only exception to this, is that if you create a new AP from a related record (see table above), that field will be automatically filled in.
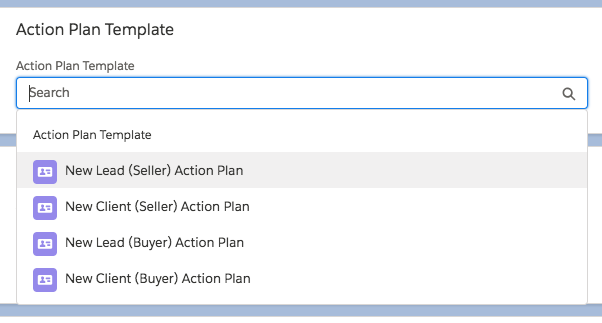
Choosing a Template
One of the first steps in creating a new AP, is to decide if you want to start from an Action Plan Template. Starting from a template will automatically fill in most fields. If you start from a template, you can still modify the AP details. Alternatively, you can start your new AP completely from scratch.
Basic Information
Next, you will need to give your AP a name and start date. This name should be descriptive enough that you can easily distinguish your AP from others that you have previously created. The start date can be the date of creation, or a future date. The start date determines due dates for the Action Plan Tasks. We will define Tasks in the "Defining Tasks" section below.

Related Record
All Action Plans must relate to another record in Propertybase. This record should be related to the primary goal of the Action Plan. This record is also used later when creating and assigning Tasks to Users. (See "Defining Tasks" section below.)
For example, if the Action Plan you are creating contains a number of Tasks that involve reaching out to a new Lead, then your Related Record would be that specific lead (in Propertybase terms this would be a Contact.)

Defining Tasks
Now for the good stuff! Tasks are the primary function of Action Plans. In this section we will walk through the process of creating a single Task, from start to finish. However, it's important to note that most Action Plans contain several Tasks!
First, decide if you want this Action Plan to fire on weekends. Some people work during the weekend and some people don't. If you, like myself, do not typically work on the weekends, then you will want to check the box next to "Skip weekends when generating task due dates".

If you checked the box above, then you will also want to tell Propertybase when those tasks should be assigned. For most people, work resumes on Monday. However, if your business is different, you may also have those tasks assigned the previous Friday.
For example, let's say a Task due date naturally falls on a Saturday. In this scenario Propertybase will assign the task to the appropriate User either the day before (Friday) or two days later (Monday), depending on the day you select below.

Once you've decided how you want Propertybase to handle assigning Tasks, it's time to create some!
- First, name your Task using the Subject line.
Note: If you need additional space to leave comments, click the clipboard icon to the right.

- Next, decide if this Task is dependent on another Task in the current Action Plan.
Since this is the first Task in our Action Plan, it will not have a dependancy. However, additional Tasks can have dependency. This means that they cannot be completed until the Task marked as a dependency has been completed.

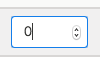
- Next, decide how many "days later" the Task should be due.
This is based on the Action Plan "Start Date" that was defined earlier. If you are familiar with the Drip Campaign feature in Propertybase, then this concept should be familiar to you. Since this is the first Task in our Action Plan, our "Days Later" will be "0". This is because we want the first Task to be due immediately after the Action Plan is started. However, this can be any value you want.
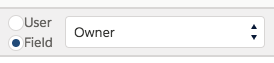
- Next, determine how the Task should be assigned.
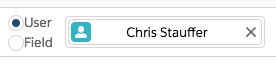
The Task can be assigned to a User two ways. In the first image below, we are using a field to assign the Task. In this specific example, the Task will be assigned to the "Owner". This is means Propertybase will lookup the "Owner" of the current Action Plan's Related Record. In our example, we selected a Contact as our Related Record. So this Task will be assigned to the "Owner" of that Contact.
The second method of assigning Tasks is manually. Simply select the User option and select a User record, as shown in the image below.
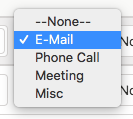
- Next, determine the category for the current Task.
This tells Propertybase what category the current Task is. If it's not one of the default Task categories, simply select "Misc".
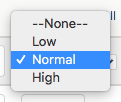
- Next, determine the priority for the current Task.
This tells Propertybase what priority the current Task is.
- Next, decide if you want an email to be sent for the current Task.
This will send an automated email to the assigned User when the current Task is due.
- Next, decide if you want a reminder to be sent for the current Task.
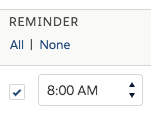
This will send a notification (in Propertybase) to the assigned User when the current Task is due. In addition to sending a reminder notification, you can specify what time the reminder should be sent.
- When finished, click Start Action Plan.
Done! You just successfully created an Action Plan. However, in our example we only created a single Task. Most Action Plans will have several Tasks, each dependent on others. After all, that's the power of Action Plans! To get ideas for new Action Plans, check out the "Using Templates" tab on this page.
Table of Contents
Action Plan Templates
Action Plan Templates (or "APTs") are reusable templates that allow you to quickly create Action Plans that you use most often. Propertybase offers several templates available for download to get you started. (For download instructions, see the "Prerequisites" tab on this page.)
- To access APTs, click the App Launcher and then select Action Plan Templates.
- To see all APTs, select the appropriate option from the List View menu.

Once selected, this is where you will see all of the APTs you have created. If you have downloaded the starter templates from Propertybase you will see those here as well. Clicking on a record will open that template.
Upon opening an APT, you will see all of the fields available when working with regular Action Plans; however the fields will not be editable. From this screen you have three options: edit the current template, delete the current template or start a new AP from the current template.
Editing Templates
- To edit an APT, click the Edit button in the top right corner.

The following screen will allow you to edit the current APT. There are only two differences between editing an Action Plan Template and a standard Action Plan. The first is that when editing APTs you select the related object, not a specific record. Secondly, you only select a related object, not a specific related record.
Using Templates
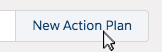
- To use an APT, click the New Action Plan button in the top right corner.
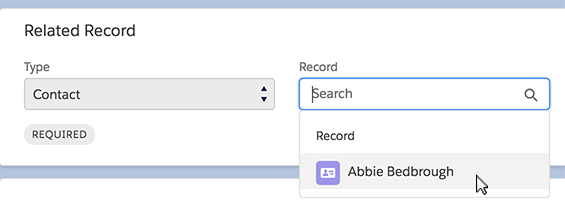
The following screen will show the new AP screen, with all fields filled in based on the APT. The only field required when starting a new AP from a template, is the related record. Without selecting a record, you will be presented with the following error. "You need to select a related record."
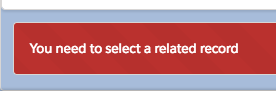
- Simply select a record to resolve this error.
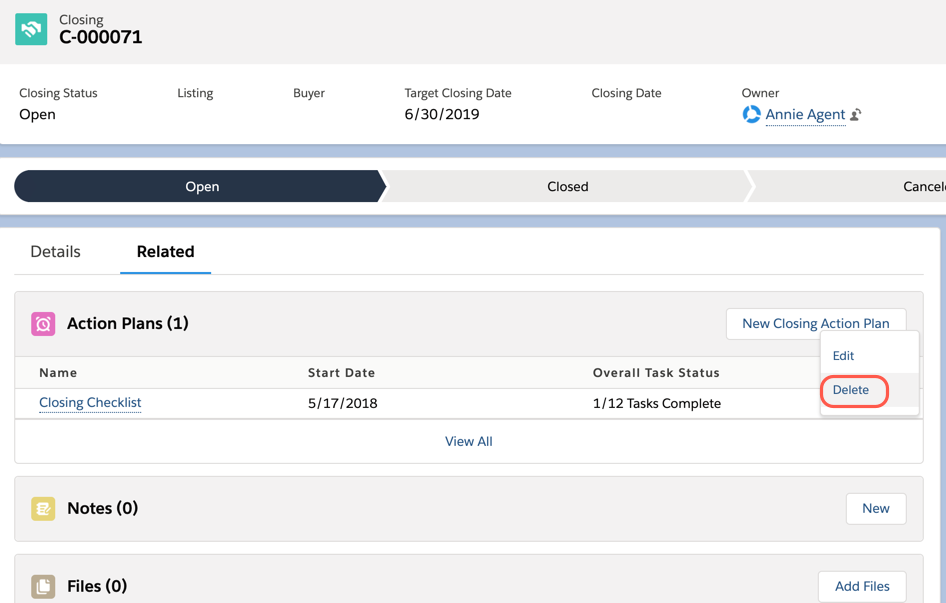
Stopping Action Plans
Action Plans can be stopped by deleting them from the related list on the record you started the Action Plan on:
If you don't remember where you started the Action Plan, you can also go to the Action Plan object via AppLauncher and find the plan e.g. in an "All Action Plans" list view:
Do note: deleting an Action Plan will stop it, so it will no longer create new tasks. Already completed tasks will not be deleted.
Comments
0 comments
Article is closed for comments.