How to Configure Action Plans Follow
There are several different ways to start a new Action Plan. They can be created through the main application launcher, by clicking on "Action Plans". However, they can also be created through specific objects (Contacts, Listings, etc.) Some older Propertybase accounts may not see the latter option in their accounts. In this article we will walk through the steps required to add the "Start Action Plan" button to page layouts.
Note: Already configured? For an in-depth look at using Action Plans, click here.
Configuration
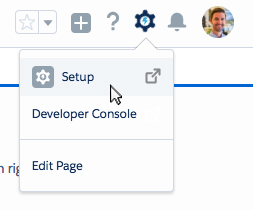
To get started open the Setup menu.
- Click the gear icon in the top right of the screen, then click Setup.
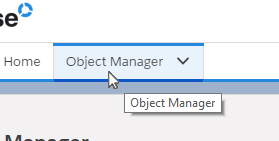
- Click on Object Manager in the top menu.
- Scroll down the page and click Contact.

- On the left side of the screen, click Page Layouts.

- Select Individual Contact.

The next screen is the editor for the Individual Contact page layout. On this page we need to add the "Start Action Plan" button to the section titled "Salesforce Mobile and Lightning Experience Actions".
- Drag "Start Action Plan" to the appropriate position, as shown in the image below.
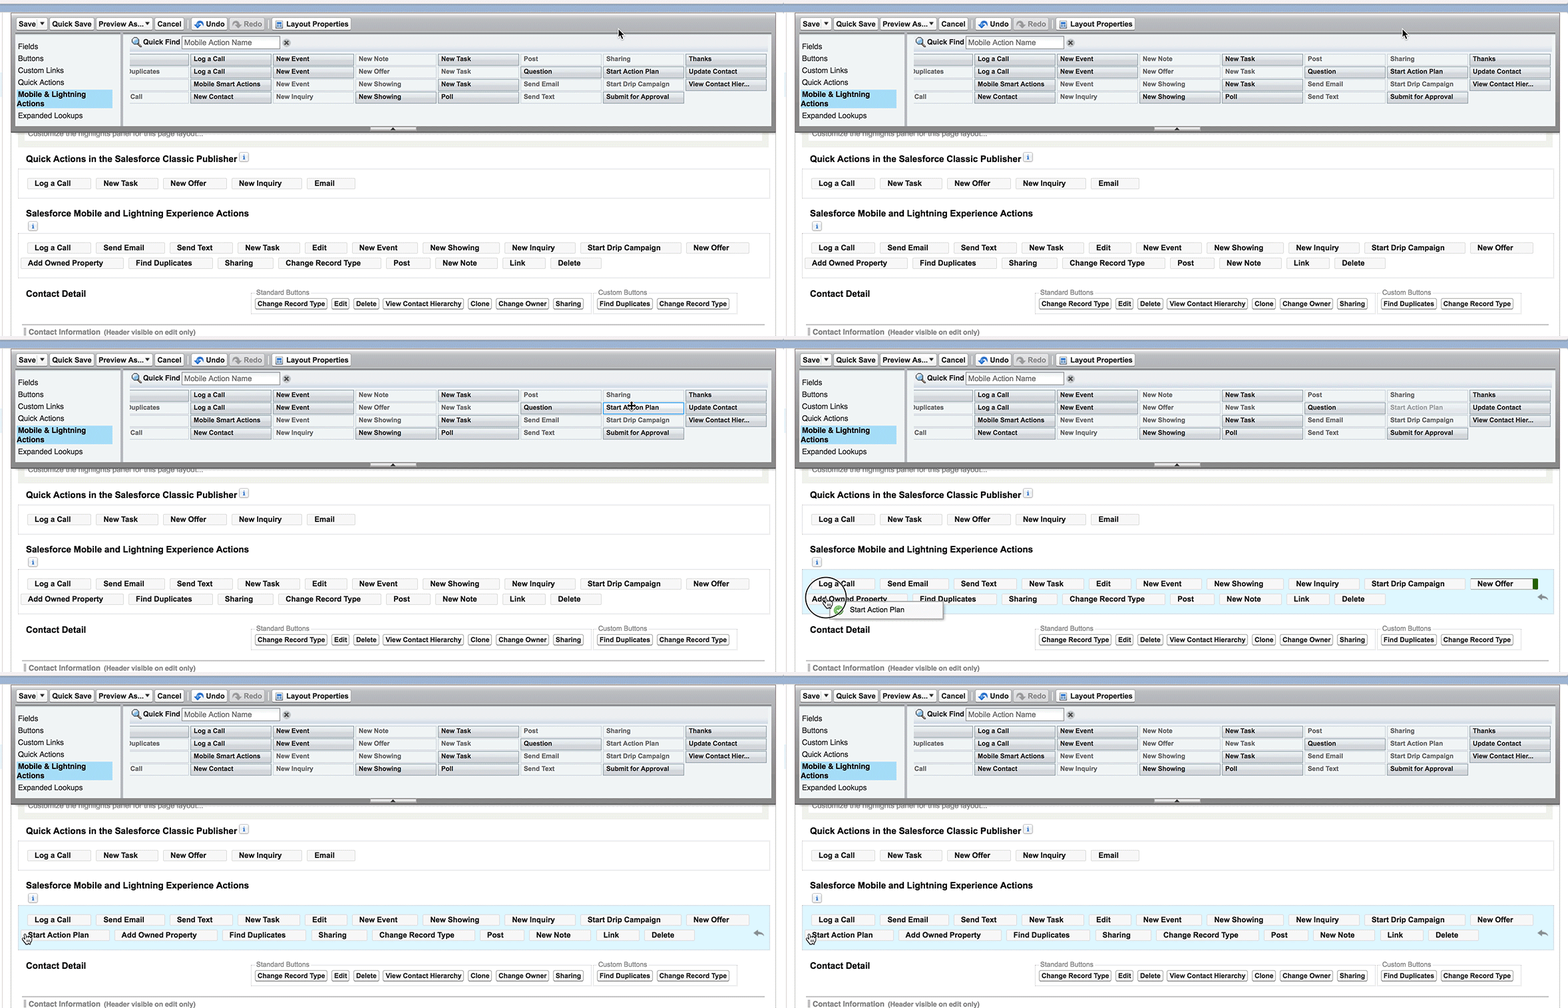
- Click Quick Save in the top menu.

Next we need to add Action Plans to the related list section.
- Click Related Lists on the left side of the top menu.

- Drag the "Action Plans" related list to the appropriate position, as shown in the image below.
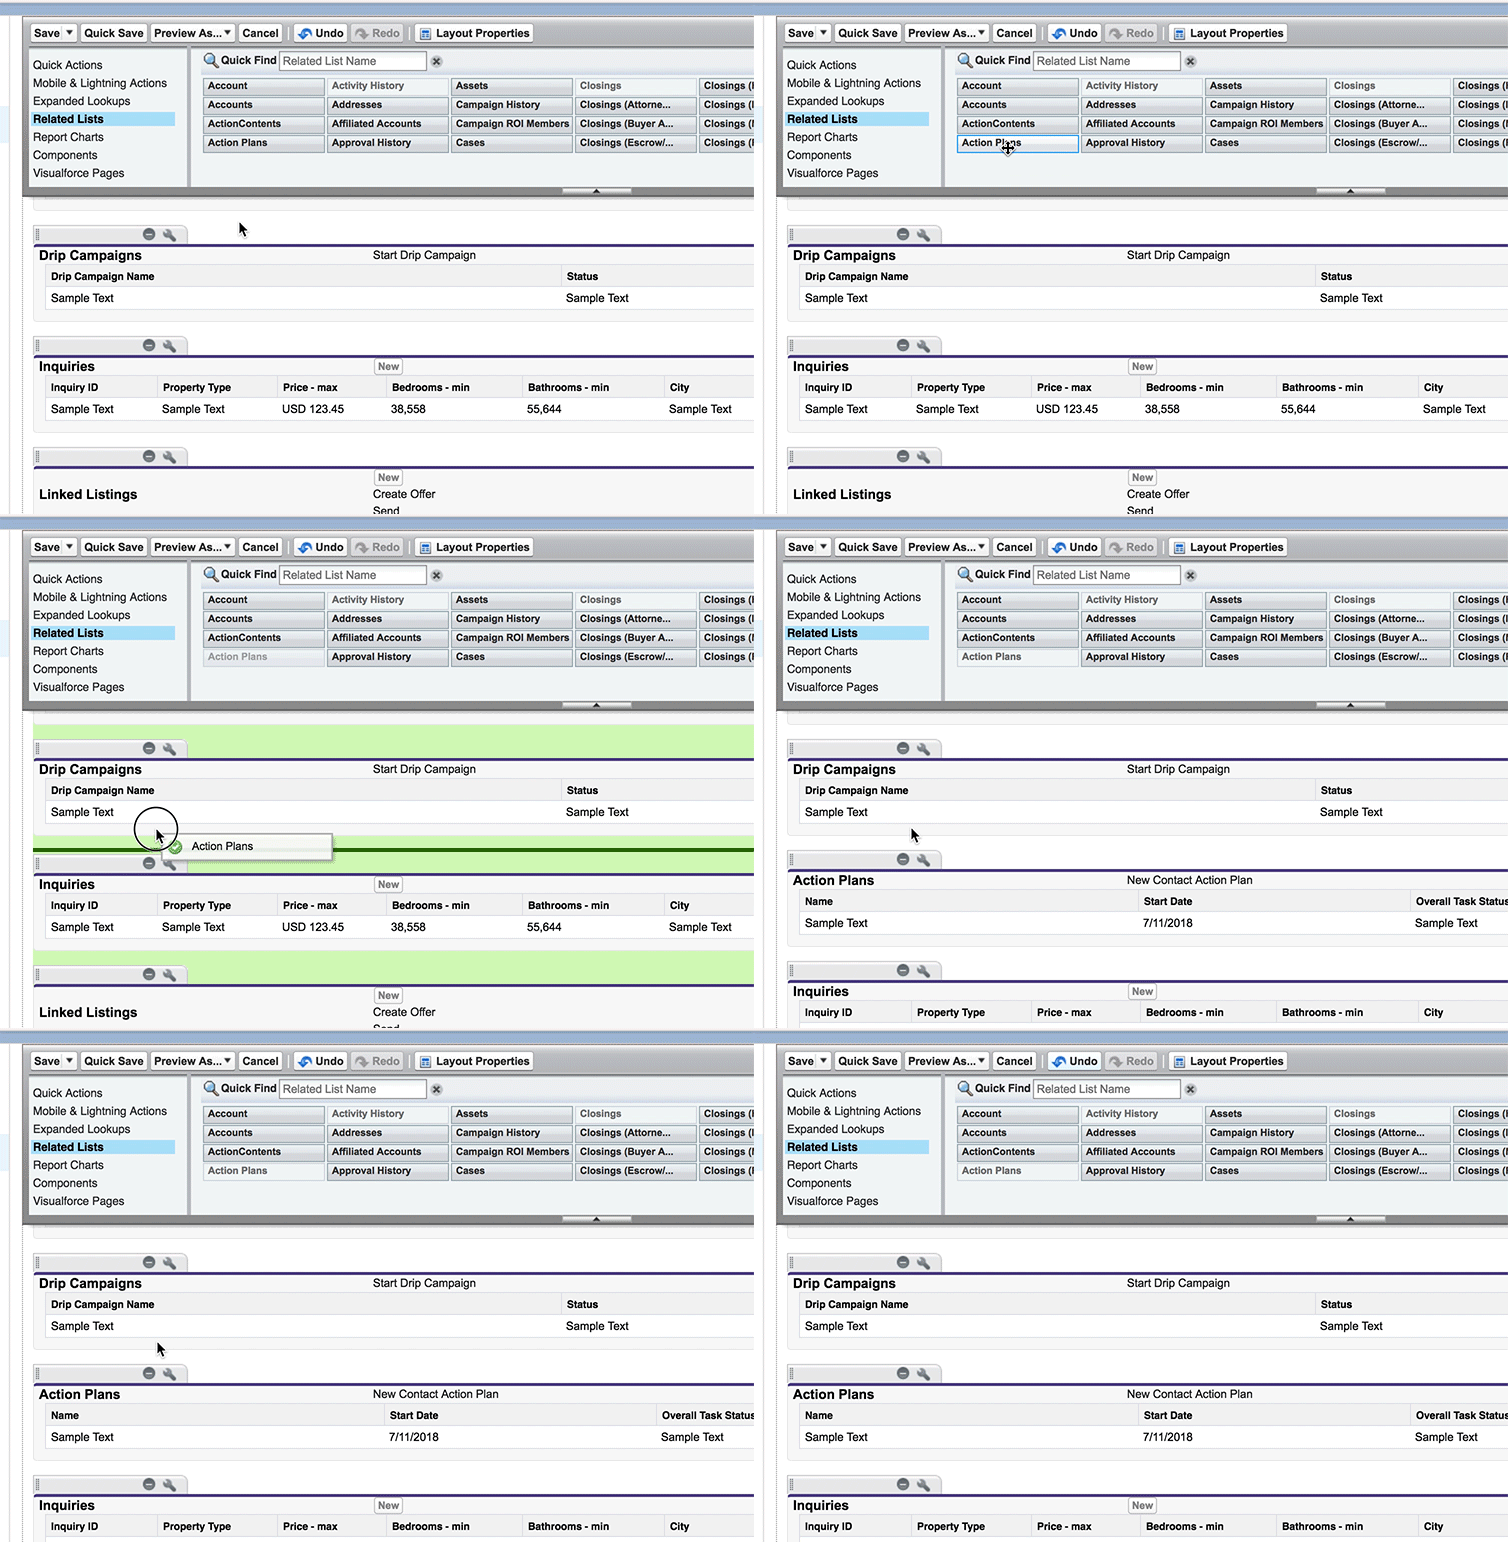
- Click the wrench icon next to the new Action Plans related list.
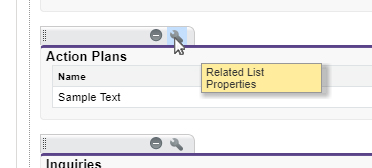
On this screen you can modify which columns display when viewing Action Plans in the related tab.
- Adjust the columns until your setup looks like the image below.
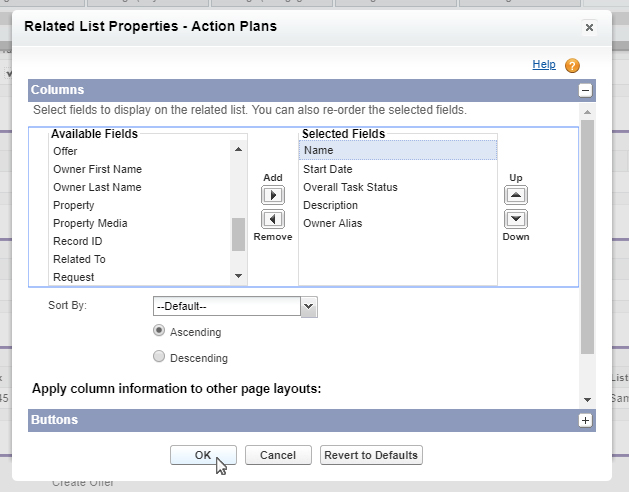
- When finished, click Ok.
- Click Save in the top menu.

Nice work! You just configured Action Plans for your account.
After waiting a few moments and refreshing your account you should see these new changes in your account.


Comments
0 comments
Article is closed for comments.