Deploy from Sandbox with Change Sets Follow
A sandbox environment is an exact copy of your Propertybase account. You can utilize a sandbox to create and test changes in a safe environment and then, when ready, deploy them using change sets.
Change sets are simply a package of predefined modifications.
- Click the gear icon in the top right of the screen, then click Setup.
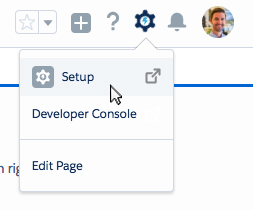
- Type Sandboxes in the Quick Find box, then click Sandboxes.
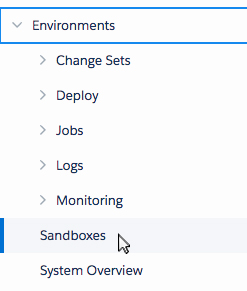
- Click New Sandbox.

- Enter a name for your sandbox, then click Next, under Developer.

- Ignore Sandbox options, click Create.
Wait about 5 minutes for your sandbox to be created.
Once your new sandbox has finished initializing, we need to configure our main Propertybase account to receive changes from our new sandbox environment.
Note: Your new sandbox must finish copying before moving to the next step.
- Type Deployment Settings in the Quick Find box, then click Deployment Settings.
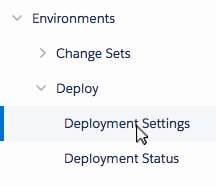
- Click Next.
- Check Allow Inbound Changes.

- Click Save.
Next we need to return to our Sandbox screen.
- Type Sandboxes in the Quick Find box, then click Sandboxes.

- Click Login next to your new sandbox environment.

- Your username will be pre-filled. Login with the same password as your production environment.
Congrats! You should now be inside your new sandbox.
- In your Sandbox, from Setup, type Outbound Change Sets in the Quick Find box, then click Outbound Change Sets.
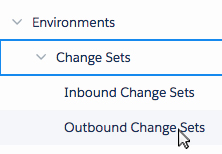
- Click New.
- Enter a Name for your change set.
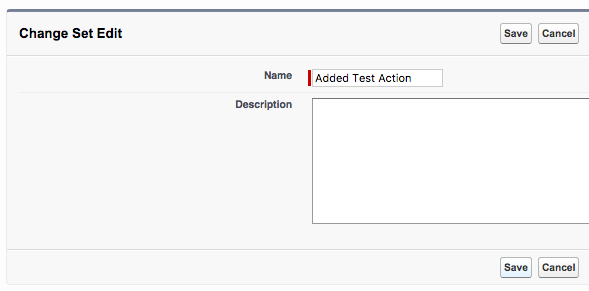
- Click Save.
Now that our change set has a name, we need to specify what changes to include.
- Click Add next to Change Set Components.

Note: For this example, I added a new action called Test to the Contact object. The component(s) you select in the next few steps will be dependent on your specific changes.
- For component type, select Action, then select Test for the Contact object.

- Click Add to Change Set.
- Click View/Add Dependencies to see if the components you’ve added to the change set are dependent on other customizations. Add any dependencies to the change set.
- Click Upload.
- Select the destination organization.
- Click Upload.

Great job! You have successfully created a new change set.
Note: Recently uploaded change sets may take up to 30 minutes to be available for deployment.
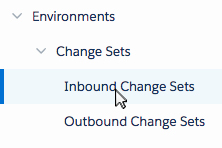
- In your production environment, from Setup, type Inbound Change Sets in the Quick Find box, then click Inbound Change Sets.
- Click the name of the change set you want to deploy.
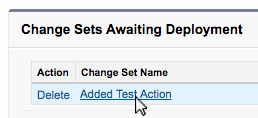
- Click Validate next to View Details.
Note: It’s best to start validations during off-peak usage time and limit changes to your org while the validation is in progress. The validation process locks the resources that are being deployed. Changes you make to locked resources or items related to those resources while the validation is in progress can result in errors.
- Select Default for test option, click Validate.
- Click Ok.
Once your change set has successfully validated, you can deploy.
- Click Deploy.
- Select Default for test option, click Deploy.
- Click Ok.
Nice work! You have successfully deployed a change set to a production environment.


Comments
0 comments
Please sign in to leave a comment.