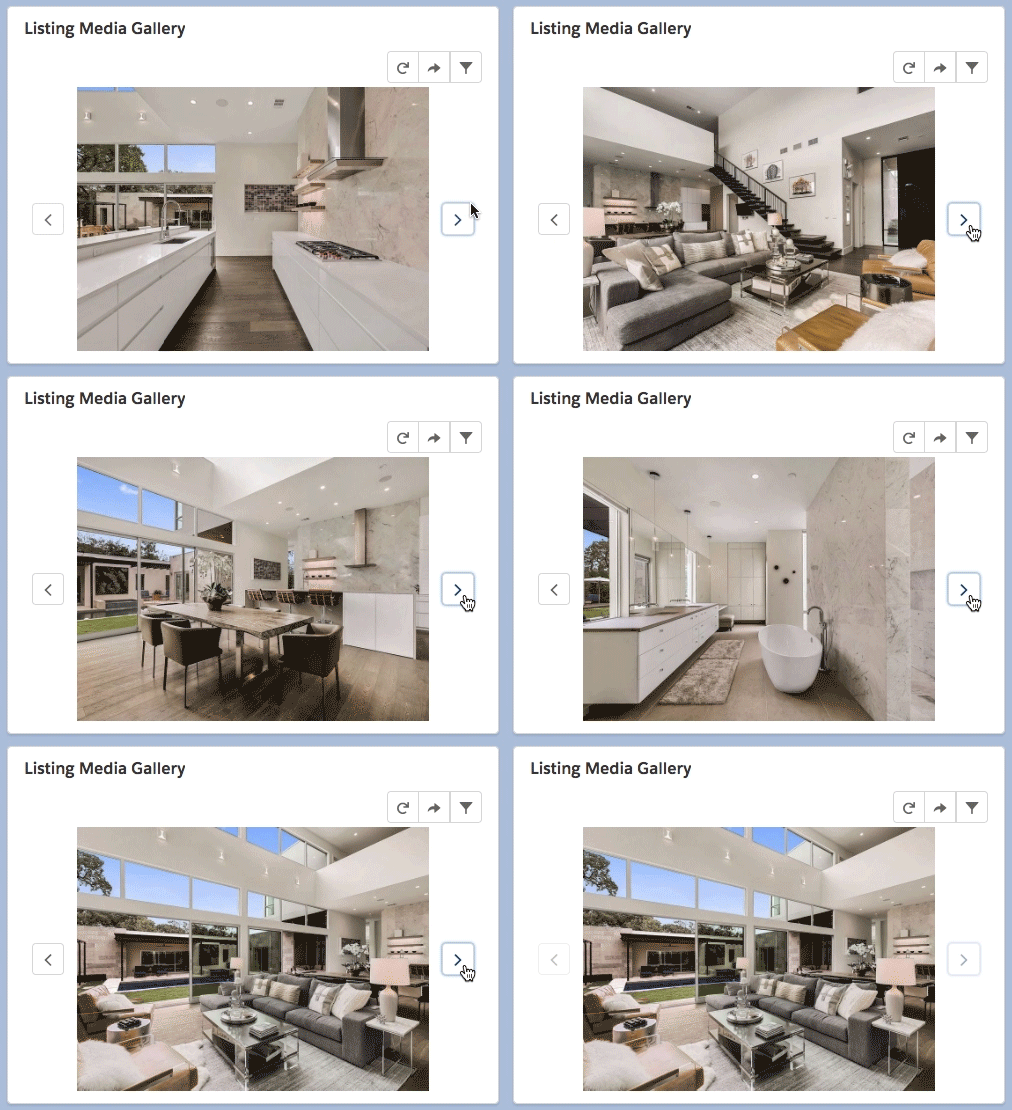
Adding the Listing Media Gallery Follow
Propertybase 1.532 introduced the Property Media Gallery. Once added to the appropriate page layout(s), this component will show media specific to the current Listing. This article will provide the necessary steps to add this component to your account (Configuration tab), as well as an overview of available features.
Not on version 1.532? Click here to update to the latest version of Propertybase.
Feature Overview
Review the table below for a detailed overview of the features available within the Listing Media Gallery.
|
Browse Images You can use the left and right arrows to browse available images. |
|
|
Image Filter By clicking the filter icon (funnel), you can sort by All Images, Only Expose, Only Portal Feed and Only Website. Click here for more information on managing images and media. |
|
|
View in New Window Click the arrow icon to view the image in a new window. This will show the image in a much larger format. |
|
|
Refresh After making changes to images, you can refresh the Listing Media Gallery by clicking the circle arrow icon. |
Configuration
Watch the videos below for instructions on adding the Listing Media Gallery to your account.
Adding the Listing Media Gallery (Desktop)
Adding the Listing Media Gallery (Mobile)
Default Filters
New with version v1.594.
Listing Media Gallery can now be sorted by Expose, Website or Portal Feeds once a setting is added.
Configuration Steps:
Add a new setting by going to the Settings Tab in your App Launcher and then clicking on the "New" button.
Add the setting: listing_image_gallery_default to the fields Name and Key and select between the values: "Website", "Expose" or "Portalfeed".

Then click on the Save button. When the setting is added, all users will see the selected filter by default on the Listing Media Gallery when the open the listing record.


Comments
0 comments
Please sign in to leave a comment.